Showing posts with label Happy Easter Greeting. Show all posts

Tuesday, March 07, 2023

Happy Easter


Hello CottageCutz friends! Thanks for taking the time to stop and visit with us today. It's Mary Marsh here bringing you the Tuesday edition of the Blog.

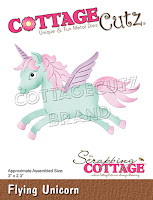
We have a brand-new release of dies in the online store. It's our Flowers & More release. The individual dies are currently on sale for 30% off. This release has what we are calling "simple cuts". Meaning not as many pieces to put together so they assemble quickly.

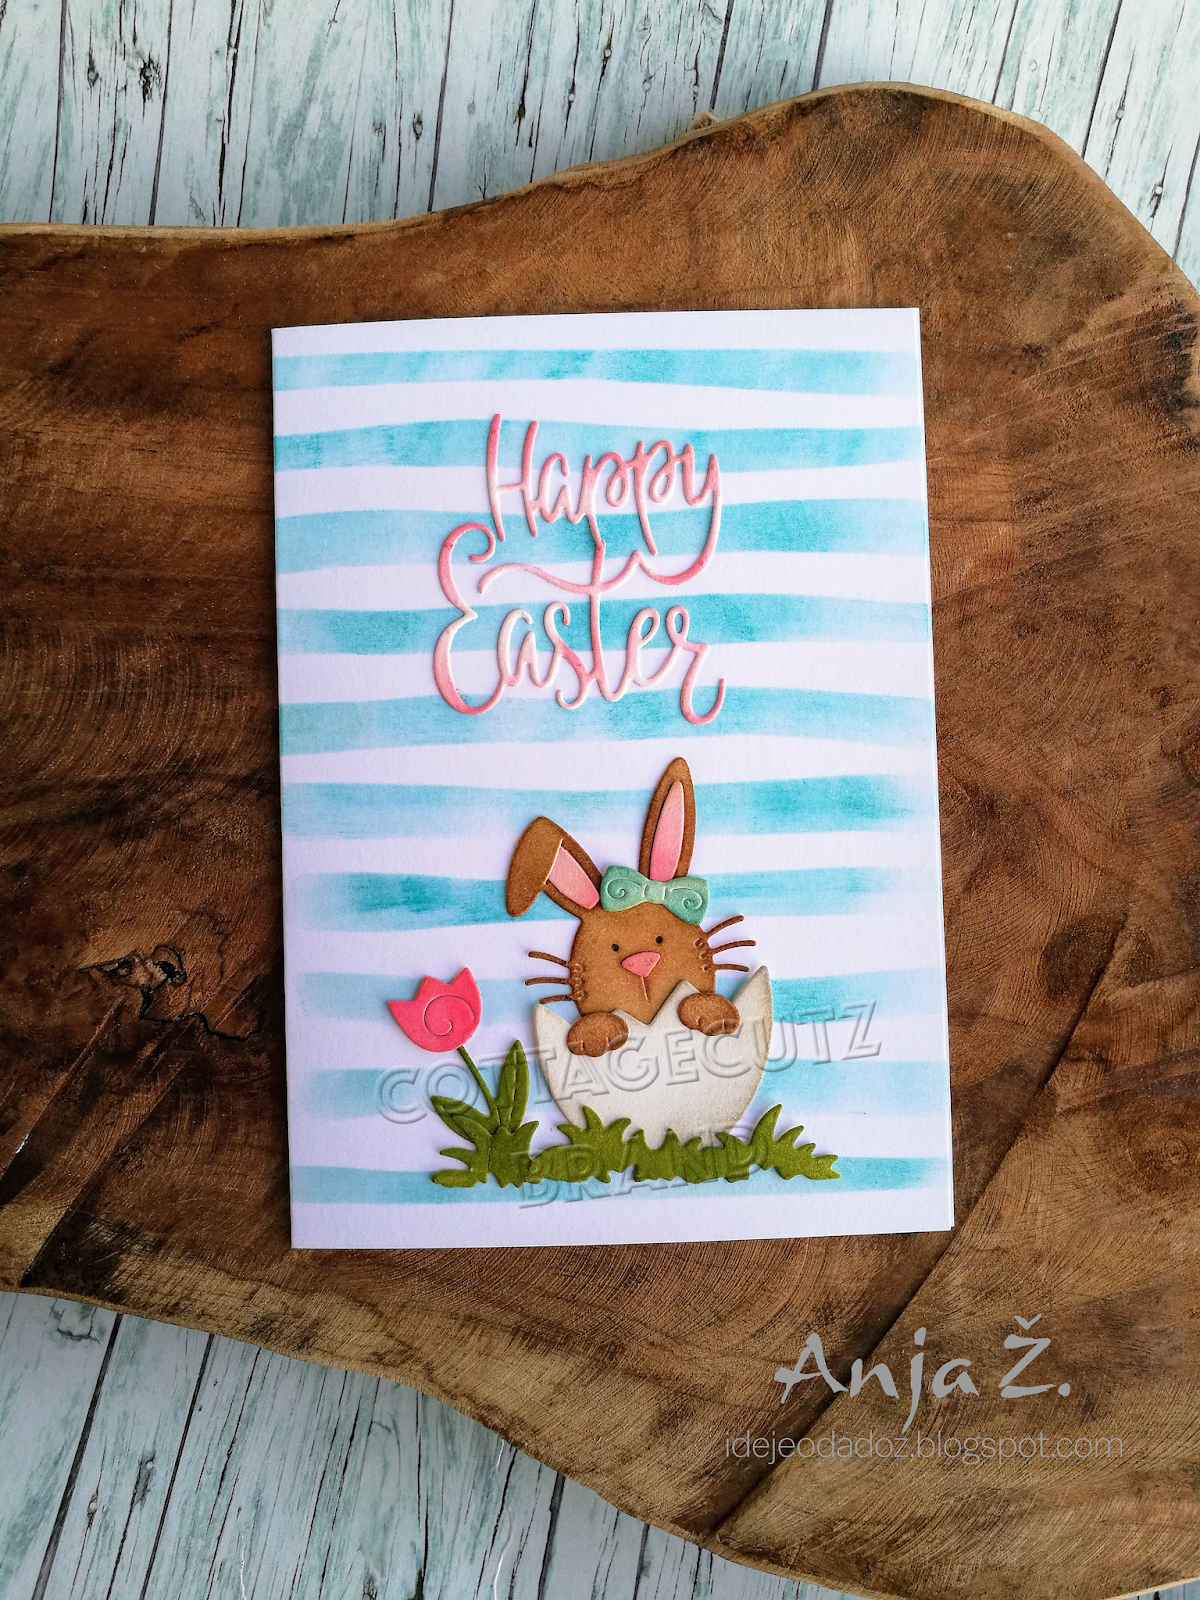
They are so perfect for the many card making occasions that we all have. Birthdays, Thank You, Sympathy, Mother's Day or even a scrapbook layout just to name a few. Today for your viewing pleasure, I am featuring some of our older Spring release dies and I created an easy Easter card. 

I started my card with the colors from this week's color challenge on Splitcoaststampers #938. We were to use flirty flamingo, pear pizzazz and crushed curry for our color trio. Optional was to add any 4th color. I used gorgeous grape for my additional color. 

flirty flamingo, pear pizzazz, crushed curry
My card was inspired by an ad for an off-brand stamp company I saw on Facebook. I decided to recreate it with the challenge colors and CottageCutz dies to make it my own.

I thought the colors had a definite Spring vibe so I went with the Easter card idea. This one is a mini-slimline.
Grape Card Base: 6 1/4 "x 3 3/4"
White layer Panel: 6 1/8" x 3 5/8"
Grape Ombre Designer Paper: 6" x 3 1/2"

I used the Stitched Alphabet die for my Easter phrase. I cut the letters in the challenge colors using different dotted designer paper. 

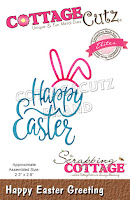
I layered the letters on gorgeous grape ombre specialty paper. I loved all the sparkle this paper has. The Happy phrase is part of the Happy Easter Greeting die. This die also includes the bunny ears. I cut the ears in flirty flamingo and placed them above the letter A.  The happy word is cut from pear pizzazz cardstock.

The bunny feet are part of the Bottoms Up Bunny Baker die. That's it for today's sample. See you again on Saturday.

Reminder: Our YouTube Channel has a new video from Jen Hartsgrove. There is a giveaway for being a subscriber, liking the video and leaving a comment. Click here.

Dies I used to create card:


Sunday, March 15, 2020

Easter Egg Hunt

Hi!

It's Anja here. Hope you're all doing well. I have a simple card for you today, combining two new dies in a lovely Easter scene.


For this card I used:
- Cottage Cutz dies (Easter Egg Hunt, Hide & Seek Bunny, Happy Easter Greeting),
- Distress Inks,
- craft card base (15x15 cm),
- white card stock for die cuts,
- bristol paper for background (12,5x12,5 cm),
- green card stock for background (13x13 cm),
- brush,
- paper glue.

First I cut and colored the bunny and the sign.


Next I did the same with the sentiment.


Then I cut the paper for the background and colored it.


Then I cut another piece of paper for the background. This time I used green cardstock.


When I had all the pieces I assembled the card together.


Stay healthy. See you again next week.

Anja Z.


Cottage Cutz dies I used:


Wednesday, April 17, 2019

DT Samples w/Spring and Magical Release dies


Hello Scrapping Cottage friends! Thanks for taking the time to stop and visit today. We are sampling DT cards for the next 4 days from our Spring release and also our the brand new Magical Fantasy release.

There are 27 new designs in the Magical Fantasy release. And for a limited time the individual dies are on sale at 25% off.
 We want to  give you some creative ideas for using the dies. So let's get started with the cards for today.

Card 1:  Our first sample today is from Sukie Dhillon. She is featuring the new Flying Unicorn die. She created a shaker card that is sure to brighten someone's day. The sweet Flying Unicorn is at the focal point of the card and is accented with the stars and clouds in the background. The inspirational sentiment finishes off this magical scene. To create this polaroid style shaker card she also used the Fairytale Birthday, Unicorn Floral and Square Set dies.
Card 2: Our next sample today is from Anja Zurga. She used the sweet Hatching Bunny and Happy Easter Greeting dies to create her colorful Easter card.  Anja always gives us such beautiful backgrounds for her cards and she didn't disappoint with this card.
 
She stenciled with a bright blue distress ink so perfect for this cute little hatching bunny. The Happy Easter greeting was cut in white cardstock and sponged with a bright pink ink. The Hatching Bunny dies would also work well for a new baby card or even as baby shower invitations. Think out of the box with seasonal dies.
Card 3: Our last sample for today is from Janja Albreht. She used the cute Spring Frog w/Lilypad die to create a great card of encouragement for a friend. It's a perfect mix of a fun card and a way to show a special friend that we understand.  The water underneath the lilypad is from the Fishing Pole and boat die.  Her sentiment is so spot-on when a friend needs a pick me.
Well that's our samples for today. I hope the team has given you some fresh ideas for a way to use the dies. Stop by the Blog again tomorrow for more team samples.
 
dies used to create cards: 
http://www.scrappingcottage.com/cottagecutzflyingunicorn.aspx
 
http://www.scrappingcottage.com/cottagecutzfairytalebirthday.aspx
http://www.scrappingcottage.com/cottagecutzunicornfloral.aspx
http://www.scrappingcottage.com/cottagecutzhatchingbunny.aspx

http://www.scrappingcottage.com/cottagecutzhappyeastergreetingelites.aspx
http://www.scrappingcottage.com/cottagecutzspringfrogwlilypad.aspx


Saturday, February 23, 2019

Bunny in his New Ride

Hello Scrapping Cottage friends! Thanks for taking the time to stop and visit with us today. It's Mary Marsh here bringing you the Saturday edition of the Blog.

We have a new release of 36 Spring dies in the online store. There are a variety of designs so perfect for Easter or Spring cardmaking. Take a look in the store you definitely won't be disappointed. And, they are currently on a 25% off sale.

For my card today I am using the new Bunny Carrot Car  and the Happy Easter Greeting dies. He is just the cutest little thing. So perfect for your Easter card making. So let's get started with some details of how I created my card.

Step 1: I started my card this week with a sketch. I am using the Splitcoaststampers weekly sketch #737. I thought it would work well to showcase this sweet little bunny driving in his carrot car. 

I just had to select my card colors, and I decided on a soft green for my designer paper. 
White card base: 4 1/4" x 5 1/2"
Pistachio Designer Paper: 2" x 5 3/8"
For the bunny and carrot car, I just chose colors that would coordinate well with the pistachio designer paper. 
Step 2: Now that all my elements are cut I am ready to start card assembly. I attached the designer paper to the white card base with double sided tape. 

For element 2 of the sketch I cut 2 rectangles for my Happy Easter sentiment. Used the 4th largest rectangle and pierced rectangle dies.  I was undecided what color to use for the rectangle that would be against the designer paper. I tried several colors and then settled on the pistachio shade. I cut the Happy Easter phrase from a Strawberry colored cardstock.  
I secured these panels together also using double sided tape. I decided to add some soft green sequins to the left side of this panel just to balance it off. 
I added this panel to the card base with double sided tape. 
To finish off my card I place the bunny image atop the rectangle panel. Secured it to the designer paper also using double sided tape. 
The sentiment panel still wasn't right for me so I added 2 additional sequins to the bottom left. And it was a fit and a wrap for my card. 
Well that's it for me for this week. See you next Saturday. The DT has begun showing these new dies so if you missed any of the cards you can look back on the Blog to view.
 
dies I used to create card: