Showing posts with label Garden Ladder. Show all posts

Sunday, June 28, 2020

Planting A Garden


Hi!

It's Anja here. I have the last gardening card for you today. I combined my favorite gardening quote with this lovely ladder die and this is the final result.


For this card I used:
- Cottage Cutz die (Garden Ladder),
- Distress Inks,
- craft card base (15x15 cm),
- white card stock for die cuts,
- white paper for printing (220 g; 14,2x14,2 cm),
- silver pigment ink,
- black pen,
- orange pen,
- printer,
- paper trimmer,
- brush,
- paper glue.

First I cut and colored the ladders and all the other smaller pieces. I cut three ladders for more dimension. On the last one I used a bit more color to add the shadows.


Then I printed the sentiment and trimmed the paper for the background.


I added a bit of color for grass and sky using a brush.


And when I had all the pieces ready I combined it in a card.


That's all from me for today.

Before I go I just want to inform you there's 4th of July sale going on on The Scrapping Cottage site. You can save up to 60% on selected CottageCutz designs

Have a nice Sunday and see yu again next week.

Anja Z.


Cottage Cutz die I used:


Wednesday, June 17, 2020

All Things Grow with Love

Hello!  This is Sukie and today I'm sharing this all occasion card for my design team post.  I used one of the fun dies from the Gardening die release.
My card features the Garden Ladder, the Pierced Circle Set and a little arrow from the Retro Alphabet die set.
I incorporated a couple of different patterns for my card base on a solid white card panel.  The sentiment was stamped on a strip of solid card stock.
The base of my card came together quickly with the different layers which were topped off with the circle.
The ladder was adhered to the left side of the circle.  The neutral background allows for the gardening elements to pop even in the softer colors.
The sentiment strip was adhered along the top edge of my card.  I added the arrow inside the circle as an embellishment.
Here are the die sets used on my card, available in the store:

Friday, June 12, 2020

Thinking of You Garden Ladder

Happy Friday!  It's Jeanne today and I have a thinking of you card today that features the Garden Ladder die from the new release.  This die creates such a sweet scene with it's variety of accessories  that it can be used for many occasions.
To start my card I cut most of the pieces from white cardstock.  I cut the ladder and birdhouse roof and hole from a medium brown.  Then I used blending brushes and sponges to color the pieces.  I chose two shades of green, a soft blue and soft lavender.
I created shading on the ladder by masking off the front legs and supports, then shading with Walnut stain ink.  I used that and Vintage photo to also shade the other pieces.
I cut three panels for my card front - 2 3/4 x 5 1/2 inch panel from a patterned paper, 2 7/8 x 5 1/2 inch panel from dark brown cardstock and a 4 1/4 x 5 1/2 inch panel from vanilla cardstock.

I ran the vanilla through a script embossing folder to mirror the light script design on the patterned paper.  Using Distress Oxide ink I aged the edges of all the panels and assembled them keeping the left edges flush.
I glued the ladder to the far left panel using a clear ruler to keep the top of the ladder straight.
Next I worked on the sentiment strip.  The photo above shows the front and back.  I heat foiled the sentiment in Espresso foil to a half inch wide strip and then inked the edges with the Walnut Stain ink.  Since I had a built up panel on the left side of the card, I added a small scrap to the back right side of my strip.  When I glue this down the strip will sit more evenly on the card.
After gluing down the strip and accessories, I used a little linen thread and a rhinestone to finish it off.  The panel is glued to an A2 card base.

Dies used:
http://www.scrappingcottage.com/cottagecutzgardenladder.aspx

Thanks for stopping by today.  I hope you have a fun and creative weekend!


Thursday, May 07, 2020

Garden Display!

Hello Crafty Friends,

It is Pam creating with you on the blog this wonderful Thursday!

Wow!! What a great new release!!  This collection is so fantastic for spring through summer and don't forget Mother's Day and Father's Day!  Especially if your folks love to be in their garden.  Check it out in the online store there are 19 different dies to choose from and everyone of them is so wonderfully detailed!

The die I am using today is called Garden Ladder isn't it adorable!!  I am making a Front Flap Card that I saw a tutorial for on at Splitcoaststampers.

(Background Photo by Teemu Paananen on Unsplash)

Design Steps
1.  Blue card stock 4 1/4 x 5 1/2 (base),  Flower DP 4 x 5 1/4,  Blue card stock 8 1/2 x 3 1/4 folded in half, white card stock (for inside) 3 1/8 x 4 1/8, Red Dotted DP 3 1/8 x 4 1/8, Yellow checked DP (not shown in the above picture) 2 1/4 x 4
2.  Open up the folded blue card and glue down the white card stock and add a 1 inch strip of the red dotted DP
3.  Glue down the red dotted DP onto of the folded blue card and then added the yellow checked DP (I decided to layer the yellow onto blue card stock) 
4.  For the base of this card glue the Floral DP on top of the blue base rectangle 
5.  Using the Garden Ladder die cut out the pieces.  I used rust, silver metallic, blue, brown, yellow, light blue, green and olive card stock 
6.  Shade the pieces using a variety of inks and then assemble with a fine tip glue 

7.  Next add pop dots to the back of the ladder and pop it to the small blue card front.  Then glue the small card to the base rectangle.  Add the sentiment and the rhinestones and your card is complete


CottageCutz Products
I hope you are keeping busy.  I am in Arizona and we are finally beginning to open our state.  I am so ready to enjoy being able to get out and about again!
Blessings
Pam

Saturday, May 02, 2020

Garden Ladder Step card

Hello Scrapping Cottage friends! Thanks for taking the time to stop and visit with us today. It's Mary Marsh here bringing you the Saturday edition of the Blog. Hope you are doing ok in the midst of the pandemic. Since so many of us have the stay at home orders in place, it's nice to have a hobby where we can create beautiful cards. I put on some music and let my creative juices flow!!!

We have a brand new release of dies in the online store. This one is garden themed and has 19 new designs. These new dies are perfect for birthdays, Mother's Day, Father's Day or even a thinking of you card for the person who loves to garden. 

For my card today, I am featuring the new Garden Ladder die to create a Mother's Day card for a friend. I make a lot and send them to my family and friends. This year they will especially like the kind thoughts. So let's get started with some details on how I created my card.
Design Steps:

This week I decided to use a fun card fold to display the ladder image. I made a side step card. Check out this step by step tutorial with a video for how to create one. Here is another tutorial that a former DT member did for our Blog. They are fairly easy and also fun to decorate with images or stamps.
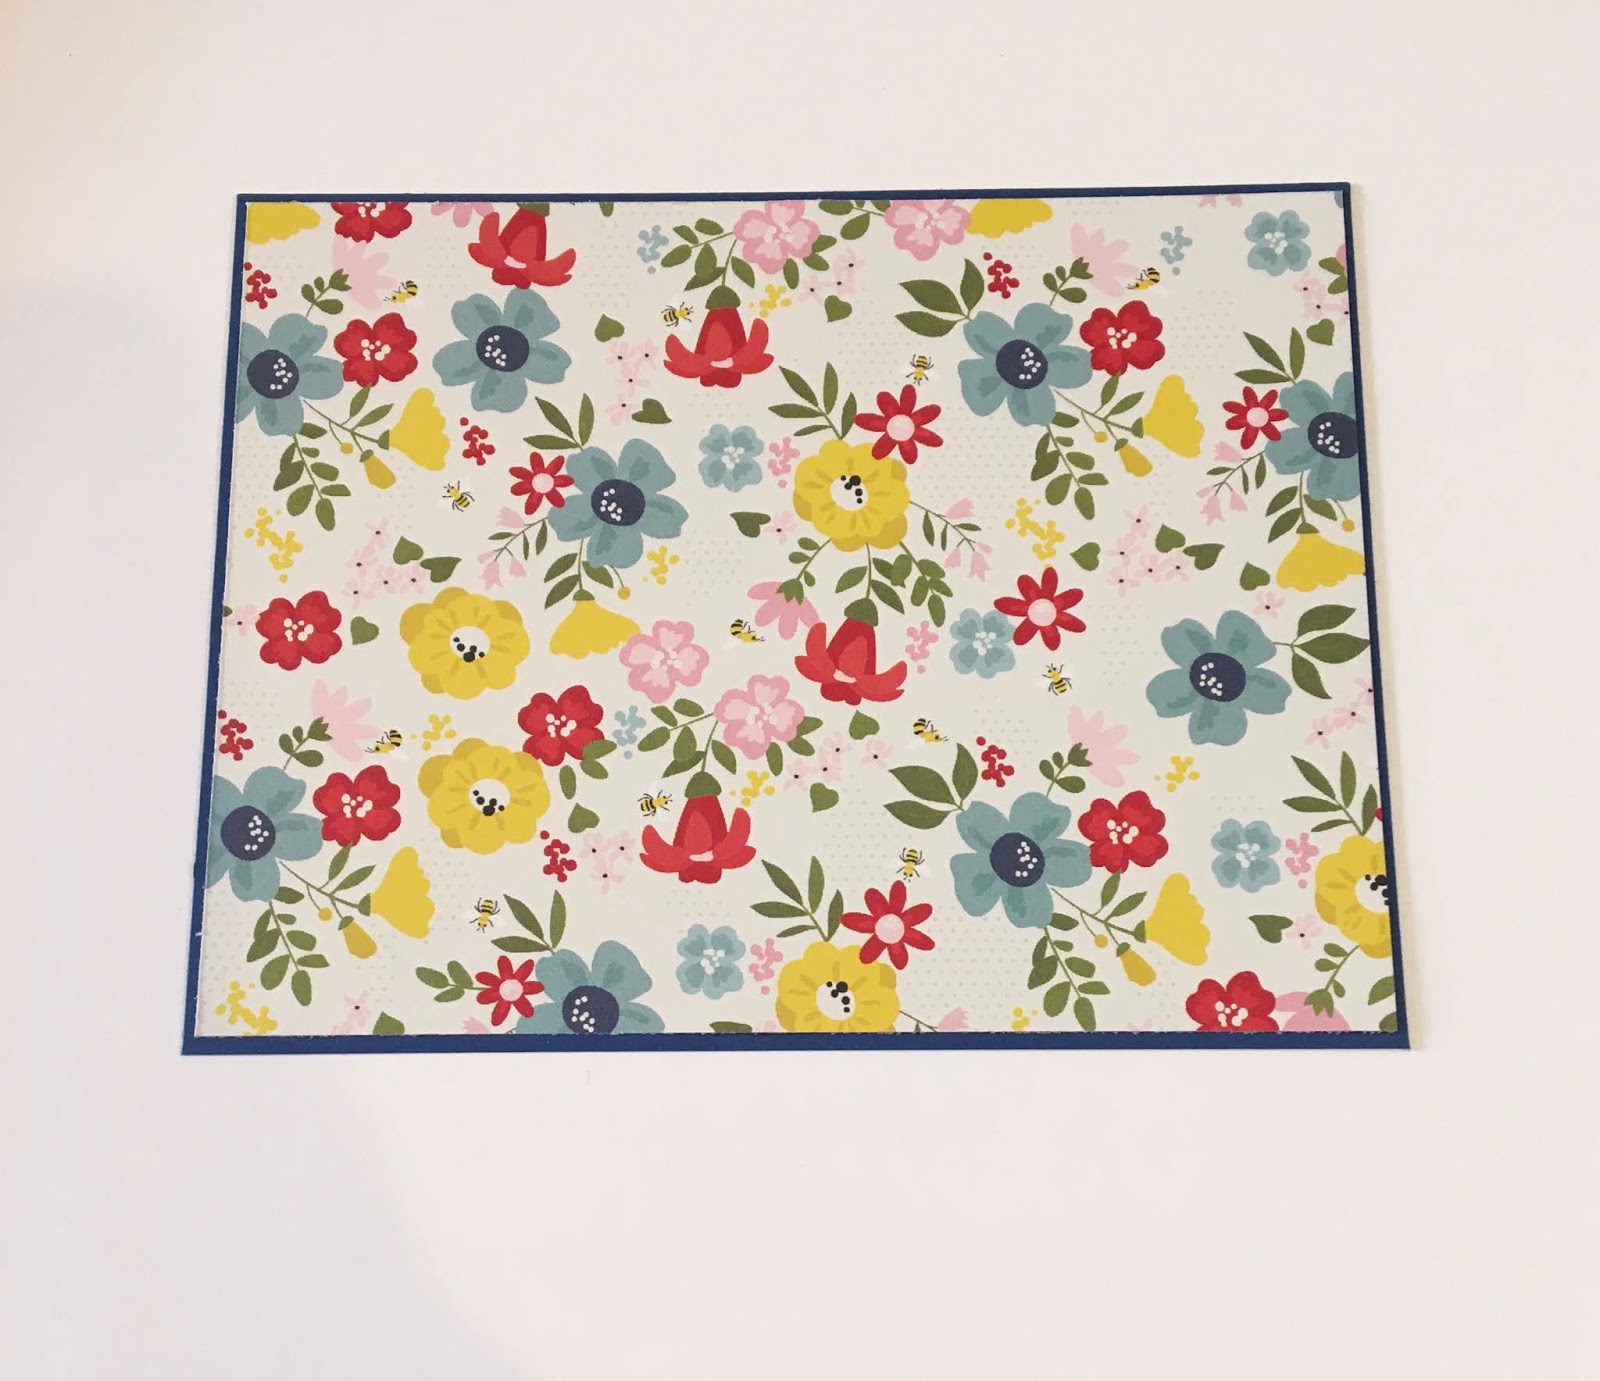
This is one of those cards for me, that is a work in progress. When I started I wasn't really sure how I would decorate the side steps. So I started with the main rectangle panel. I found this designer paper in my stash and thought it would work for a sky background. For grass I used a dirt mound from an older CottageCutz die - it's retired now and out of stock - the Carrot Patch Bunny die. But you could use this Spring Grass die also.
Next, I cut all the images from the Garden Ladder die. I used various colors of cardstock. You could use white cardstock and color with your medium of choice or sponge with distress or other inks.
Attached the ladder to the designer paper using glue dots and then attached all the other elements to the ladder.
The grassy border was attached with double sided tape.
Next I started on the side steps. On the first step, I used the garden tools from the Potting Shed die. On step 2 I used the seed packets from the Planter Box & Seeds die. The tulips on Step 1 are also from this die. On the 3rd step, I used the same die for the heart banner. My card is starting to take shape.
For the top step, I decided to stamp a sentiment. I thought this one complemented the garden images well. I stamped on the designer paper and then cut another layer from the same paper.
To finish off the front of my card, I attached the sentiment and added 2 small bees to the 3rd panel. 
For the back of the card, I stamped a Mother's Day sentiment and added a small flowerpot.
And, that's it for me for this post. I hope I have given you an idea for a way to use the new Garden Ladder die. Have a great week and I will see you next Saturday.

dies I used to create card.