Hello CottageCutz friends! Thanks for taking the time to stop and visit with us today. It's Mary Marsh here bringing you the Sunday edition of the Blog.
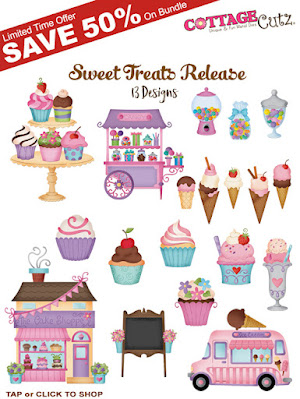
It's new release time!!! We have new dies in the online store. It's our Sweet Treats release with 13 new designs. They are so perfect for any card making occasion you may have. The individual dies are currently 30% off.
We are also having a big Memorial Day sale with savings of up to 70% off. Check the online store.
Today for your viewing pleasure, I have created a birthday fun fold card. This fold is called a double easel fold. I am using the new Fountain Sundae die for my card. This is a birthday card for a friend, so I decided to add a "gift card" holder. I am giving her a gift card to a local ice cream parlor. They make the most delicious Sundaes. So, let's get started with some details of how I made this card.
Today for your viewing pleasure, I have created a birthday fun fold card. This fold is called a double easel fold. I am using the new Fountain Sundae die for my card. This is a birthday card for a friend, so I decided to add a "gift card" holder. I am giving her a gift card to a local ice cream parlor. They make the most delicious Sundaes. So, let's get started with some details of how I made this card.
Design Steps:
Since I knew the fold I was going to use for my card, I picked my designer papers and coordinating cardstock. I found this fun and festive paper that I thought was perfect for a birthday card. The ice cream cone paper was a perfect addition to my fun fold.
The card base is 4 1/4" x 11" and I scored it at 2 3/4" then at 5 1/2". The cardstock color is a rich blackberry shade. I am using designer paper that is the same color.
You fold it in half at the 5 1/2" score- this makes a valley. Then fold the 2 3/4" score back- to make a mountain. See photo below

You fold it in half at the 5 1/2" score- this makes a valley fold. Then fold the 2 3/4" score back- to make a mountain fold. I used ombre designer paper in the blackberry color. Cut it at 4" x 2 1/2". All attached with double sided tape.

Next, I cut a piece of the blackberry cardstock at 3 1/2" x 9" and scored at 4 1/2". This is the card front and attaches to the back panel and over the ice cream paper.

I used another ombre designer paper on this panel measuring 3 1/3" x 4 1/4". Then attached to the card base with double sided tape.

For this panel on the inside, I used more designer paper - 3 1/4" x 4 1/4" to create my gift card holder. I just used a 1 1/2" circle punch to cut a notch to slip the gift card in. I attached with Art Glitter Glue on the bottom and about 3/4 of the way up the sides.

I cut a piece of white cardstock the same size and stamped my birthday sentiment.
Attached this panel to the card inside with double sided tape.

Now for my fountain sundae image. I cut in cardstock that coordinated with the designer paper. I decided to attach it to a circle with dimensional adhesive. I used the 3rd largest Circle die. I stamped my sentiment in coral ink.

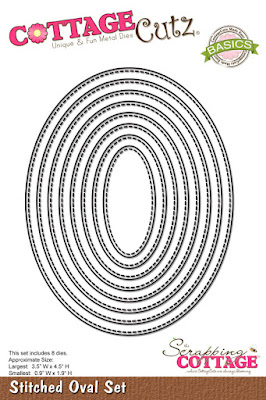
Now for the easel "holder". I used the Stitched Circle die and cut in blackberry cardstock. Cut a smaller one with the Circle die and added a heart. To complete my card, I scattered a few sequins.

Here is more of a side view of this fun fold.

And then what it looks like completely open. I decided to add another piece of the ice cream designer paper.

I hope I have given you a fun idea for a way to use this new die. See you next Saturday!
Reminder: Our YouTube Channel has a new video from Marla Harris. There is a giveaway for being a subscriber, liking the video and leaving a comment. Click here.
Dies I used to create card: