Happy Friday! It's Jeanne today with a vintage looking Christmas card. My daughter said the colors looked vintage to her and I had to agree. And the card uses previous Christmas and non-Christmas dies.
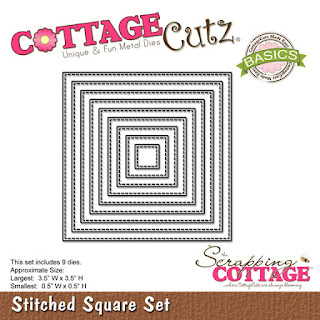
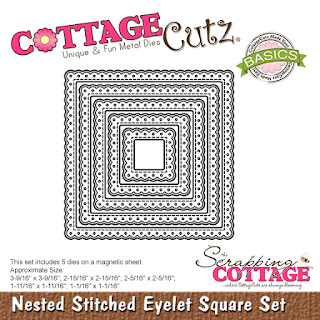
I started by die cutting all pieces in various colors of card stock to match my plaid. For the frame I used the second largest of the Eyelet Squares and the fourth largest of the Stitched Squares. I centered one inside the other and used washi tape to hold them in place as I ran it through my die cutter.
I cut a white panel for the front 5 1/2 x 4 1/4 inches, a 2 1/2 inch square from the plaid paper and a piece of ribbon a bit longer than the panel so I could wrap it around the back.
I glued the candy together and covered them in Wink of Stella.
I laid things in place to get a general placement and took a photo with my phone. I often do this so as I'm gluing things down I have a reference. This is especially good if you have a lot of pieces or critical placement.
I glued the ribbon 1/2 inches from the left side and lined up my plaid square with the edge. The bottom of the square is 1 1/2 inches from the bottom of the panel. I also glued the dog to the plaid square. His eyes and the nose piece are colored with a marker.
I glued the candy with the notch to the frame (I snipped off the part that showed beyond the frame) and used narrow foam strips to raise up the frame.
Next I tucked one candy under the frame and the other on top. I also decided at this point to angle my sentiment rather than put it on straight.
In looking at the panel, I thought it needed just a bit more. So I rounded the upper right hand corner using a corner rounder. Then on the white A2 card base I adhered a small strip of the plaid paper. I toyed with the idea of using a solid, but decided the plaid looked better.
And the finished card!
We're getting ready for a new release of holiday dies that promises to be WONDERFUL! There are so many cute dies coming - I can't wait!
Dies Used:
Thanks for stopping by. I hope you have a fun and creative weekend!