Hello Scrapping Cottage Friends
It is NEW RELEASE TIME!!
It is our
Sweet Treats release! There are 13 different designs and everyone of them can be used for a variety of occasions especially Birthdays!! The individual dies are 30% off. This sale price won't last long so click
HERE to hop on over to the store!
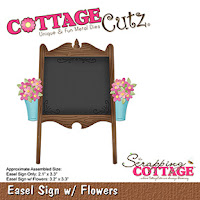
Today, I am using the adorable
Easel Sign w/Flowers. This die can be used to proclaim any occasion. I think it would make a really cute Wedding announcement.
Design Steps:
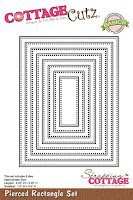
1. Use a white 6 1/4 x 4 1/4 card base, 6 1/8 x 4 1/8 blue card stock, 6 x 4 flowered DP, use the largest
Pierced Rectangle die and cut out blue card stock and finally use the second from the largest Pierced Rectangle and cut out white card stock
2. Use the
Easel Sign w/Flowers and cut out the following card stock: red, yellow, green, silver, black and a piece of wood grain DP
3. Stamp the black insert piece with VersaMark and emboss with white powder. Assemble the easel with a fine tip glue
4. Glue the white rectangle to the blue rectangle and add a strip of green to the bottom of the white rectangle
5. Glue the easel to the middle of the rectangle and add a few flowers to the grass below the easel as shown above
6. Glue the flower DP to the piece of blue card stock add the white ribbon tied in a square knot. Then glue that panel to the front of the white card
7. Place dimension tape to the back of the blue pierced rectangle and then pop it onto the card front as shown below and your card is complete
CottageCutz Products
We have more inspiration on our YouTube Channel check it out HERE Thanks so much for stopping by! And I will see you next Thursday.
Blessings and Take Care