Showing posts with label Double Stitched Oval Set. Show all posts

Sunday, March 31, 2024

Blessings Card

Hey crafty friends,
So glad you stopped in today! Happy Easter! Today I am sharing a card I created with an Easter or even just a thoughtful blessings card. Here is what I created.
My card is a top folding A4 card.

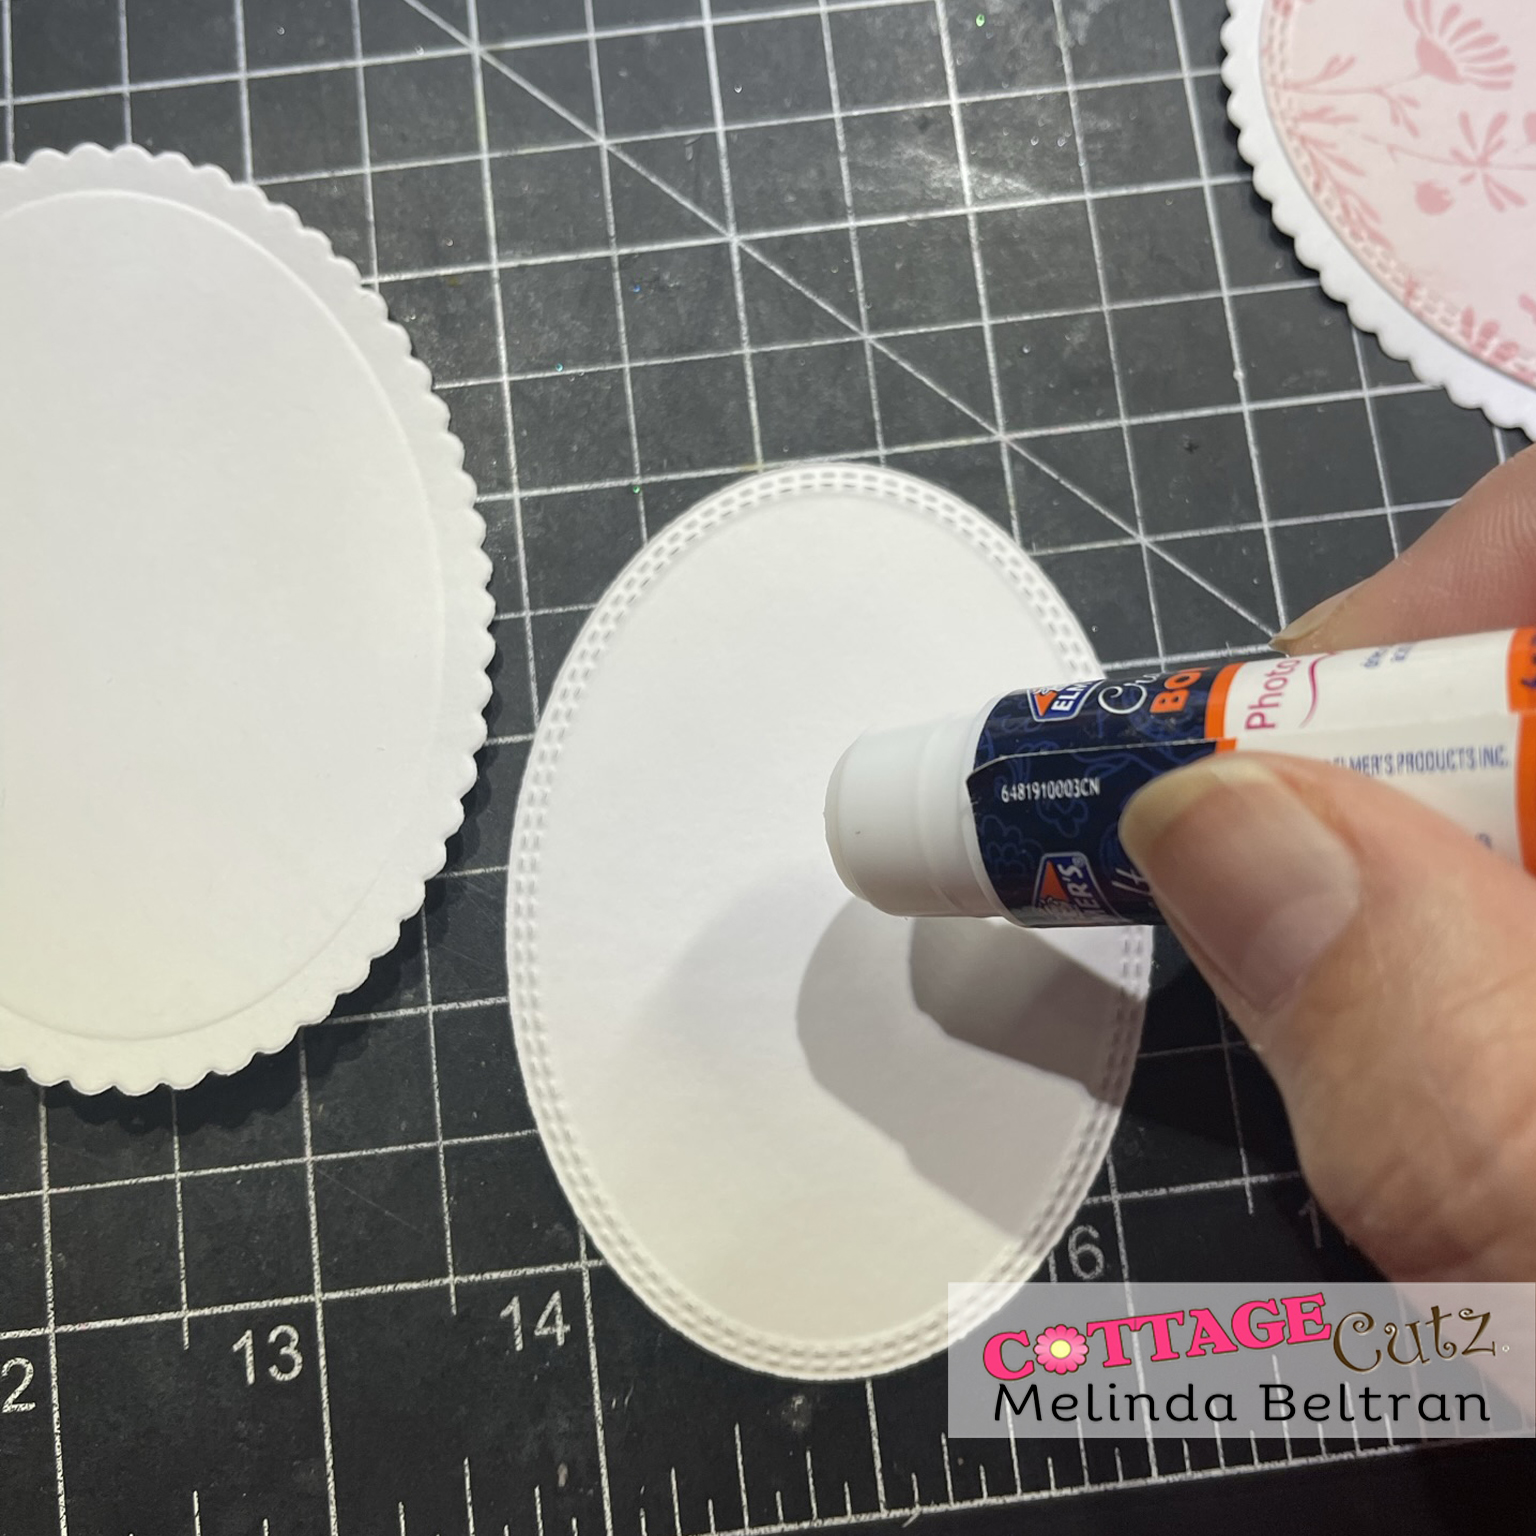
As usual, I started by cutting all of my pieces out in white. I used my markers to color my various pieces.


I layered the two white cross pieces together. I wanted to keep the crosses white but wanted to add a little extra pizzaz to it. So I decided to brush a little sparkle on it.

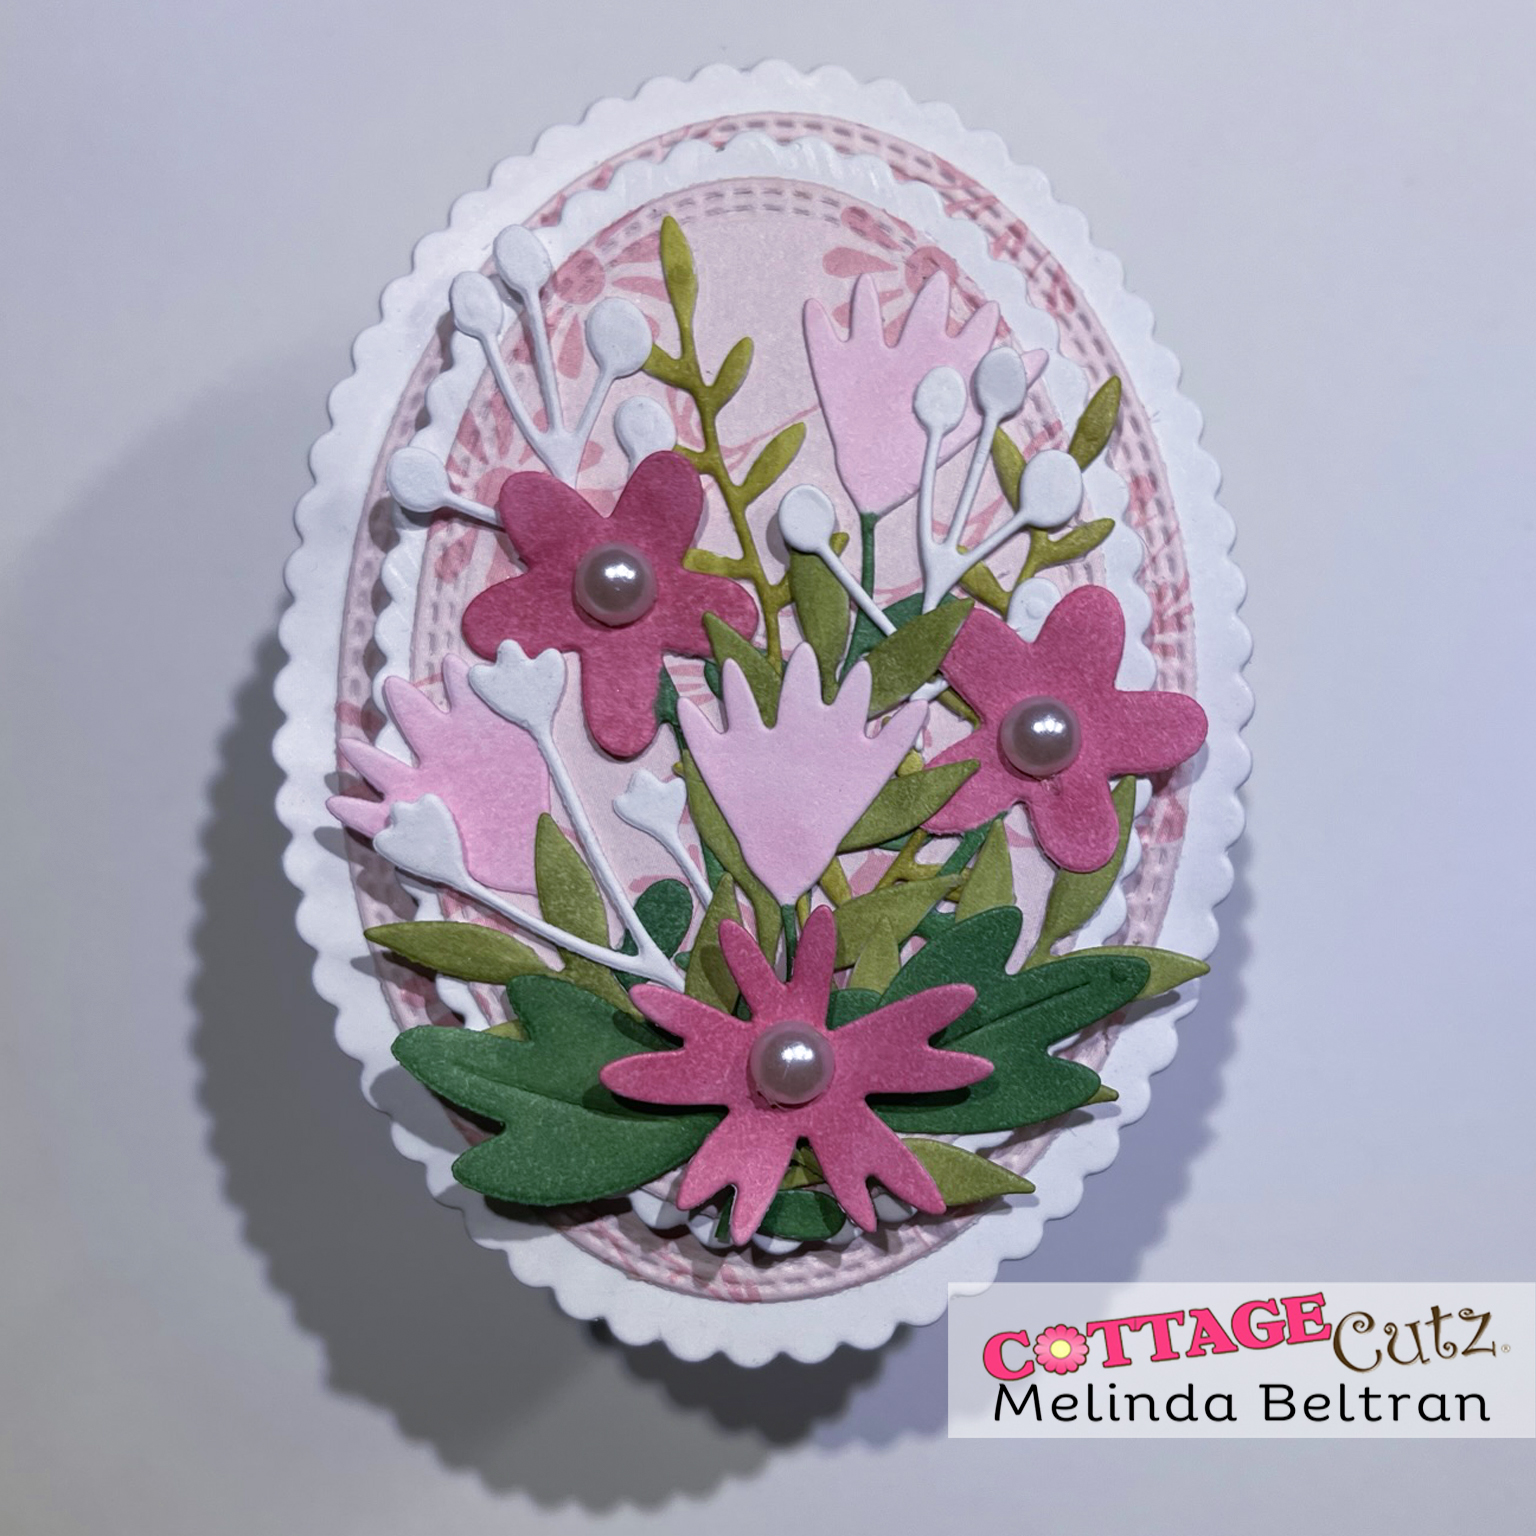
I then proceeded to build my flowers and leaves around it. I also built the cute little bird after I colored all of the various pieces. I went ahead and mounted all that to a double stitched oval with a piece of patterned paper. I put that onto the next largest white double stitched oval mat. I used a piece of green plaid paper 

Here's another view of the finished card to show you the depth of the pretty flowers and the little bird.


Dies Used For This Project


Double Stitched Oval Set

Well, that about covers it for today. Be sure to come back. You will want to keep up with all our crafty adventures!  Don't forget to check out our YouTube Channel! Links are below.
Until the next time, have a wonderfully crafty day!
Melinda


Head over to Cottage Cutz and do a little shopping today!

Get Social With Cottage Cutz

Wednesday, August 02, 2023

Birthday Die Cut Banner

Happy Wonderful Wednesday crafty friends!
Melinda here with you. I hope your mid-week/hump day is going fantastic so far! Today I am sharing a fun little birthday banner I created with some beautiful cottage cutz dies! Here's what I created.
I made this pretty little mini birthday banner to celebrate a co-worker's birthday. 


I started by cutting out my scalloped ovals from white cardstock. I then used my double stitched ovals to cut out a size smaller some patterned paper. 


I then glued the patterned paper to my scalloped bases for mats.


I then cut out all of my various die cuts n white cardstock and then colored my various pieces in in a variety of shades of pink. Here I am coloring in my Happy letters.


The following are closeups of each little panel I created.

For this one I used my Happy Birthday Shadow die along with the pretty filigree bow die.

For this one I used the Folk Art Butterfly and the Folk Art Mixed flowers. For the butterfly, I cut out two of them and layered them onto each other and then lifted the top layer to give the illusion of the butterfly in a side view.


For this one, I used the swirl cupcake die cut.

For this panel, I used the Folk Art Mixed Flowers die set. I actually created two panels like this one. 

Here is a view of the little banner hanging from my desk. In between each panel I added a little strng of beads and then some tulle. I strung it all on some thin white ribbon.


Folk Art Flowers Mixed


Spring Butterflies


Fligree Bow


Cupcake w/ Twists


Happy Birthday w/Shadow
Currently out of stock

Double Stitched Oval Set

Nested Scallop Oval Set

Well that about covers it for today. I hope you were inspired to have some fun and pick up some of these wonderful dies!

Don't forget to check back often and see what the rest of the design team is creating. Until the next time, have a wonderfully crafty day!

Saturday, May 06, 2023

O Snap Card

Hello Cottage Cutz friends,
Melinda here with you today. I am sharing a fun and quick card for that time when you "forget" someone's birthday or "special" day.

Here is what I created. It is a horizontal A2 card base from white cardstock. I then used a green cardstock for the base mat. I used some cute patterned papers from Doodlebug and matted them with a black cardstock mat as well as a double stitched rectangle mat. I also used the double stitched oval die for the base of the title and to put on the camera. I used the sweet little Elephant die and one of the birthday hats. I also used the cute Celebrate Banner. I colored in all those sweet little heart and stars. I then used the cute little camera and then used the Lemonade Stand title for the sentiment.


Here is a closer look at the banner. I cut it out in white and then colored in the various stars and hearts with my markers. This sweet banner is from the Celebrate Banner die.

Here is a closer look at the Camera. I also put on the title O Snap I created. I adhered all of that to one of the Double-Stitched Oval Dies. I cut it out in white cardstock so the camera and title would really pop. 
I used the O from the lemonade title. I then used the title stand and created the word snap by cutting out the "t" and flipping the "d". I also moved the n in front of the a. This is from the Lemonade Phrases die set.


Here is a closer look at the sweet little elephant from the Festive Elephant Die set. I colored him with my gray markers and some chalks. I used one of the birthday hats from the Party Hats die to dress him up. I used some stickles for some extra touches.


Here is one last look at my finished card. I think it turned out super cute!

Dies Used


Well that about covers it for today! Be sure to stop back by and see what the other super talented designers create and don't forget to check out Cottage Cutz on YouTube!

Until the next time, have a wonderfully crafty day! Melinda.