Hi!
It's
Anja here. For today's post I made cute little hello tags. I used different "bugs" dies to make a trio of Spring tags.
For this project I used:
- Cottage Cutz dies (
Busy Bee,
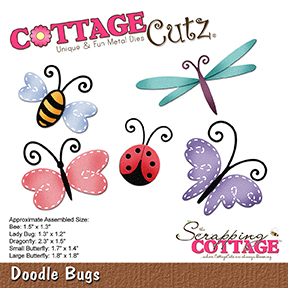
Doodle Bugs,
Mail Tag Set,
Dogwood Branch),
- patterned, colored (black, red, yellow, green, turquoise) and white card stock for die cuts,
- black pen,
- Wink of Stella glitter brush,
- liquid pearls (black and yellow),
- pieces of ribbon,
- embossing mat,
- embossing tool,
- paper glue.
First I cut the tags. I used white cardstock for smaller tags and patterned card stock for bigger tags.
Next I cut hello phrases and the bugs.
I used black pen for the eyes and glitter brush for the wings to add more interest.
Then I cut the branches and the flowers. I cut two bigger and two smaller flowers of each color.
Then I embossed the leaves and the flowers using the embossing tool and mat.
When I had all the pieces ready I assembled the tags together. When flowers were on its place, I added a bit of liquid pearls in the center of each flower. I let it dry.
When the tags were finished I just added the ribbon. I used two types of ribbon for each tag.
Before I go, I just want to invite you to the store to check out all
the new dies from the Gardening release. Can't wait to start using them.
Have a nice Sunday and see you again next week.
Anja Z.
Cottage Cutz dies I used: