Showing posts with label CottageCutz Nested Stitched Scallop Square Set. Show all posts

Friday, June 11, 2021

Tickled Pink

Happy Friday!  It's Jeanne posting today.  I am in love with all the little pigs from the new Country Farm release.  This release features the most delightful dies.  Everything from Tractors to Chicks to Cows!  Each die is just full of awesome details and can be used for so many different occasions. 

I started this card by cutting out the Piggy w/ Crate from white cardstock and used Distress Oxide inks to color.

I colored the pig using the Tattered Rose and then used a sponge dauber to add some shading with the Vintage Photo.

I cut a panel 4 1/4 x 5 1/2 inches from floral designer paper.  Using the largest of the Nested Stitched Scallop Squares and Stitched Squares I cut out two white squares.  I used the banner from the Windows Slimline die to cut the striped banner.

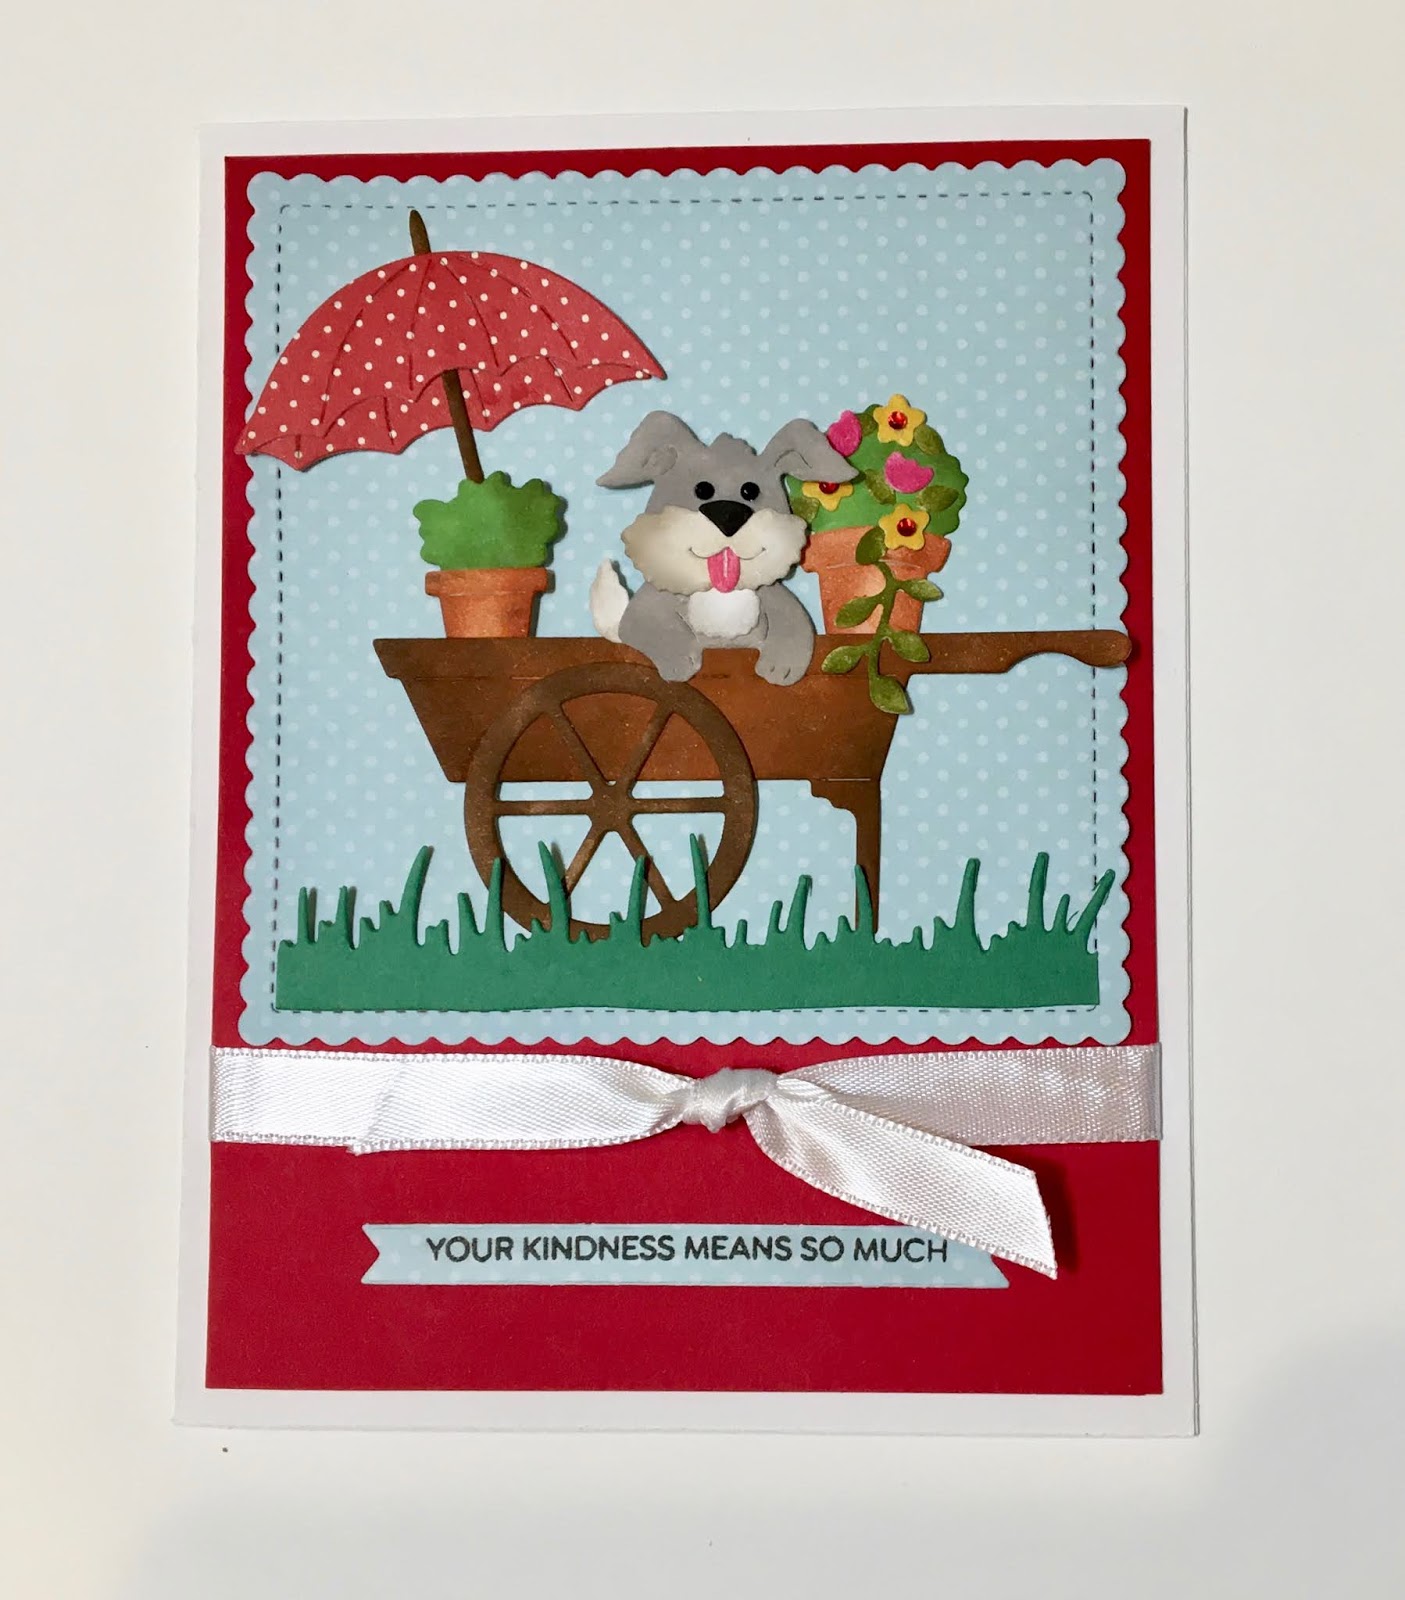
I stamped my sentiment centered on the bottom of the plain stitched square and then ran it through an embossing folder to add texture and contrast with the scallops.

I mounted the floral paper on a card base and added the squares.  I tied a coordinating ribbon around the center.

My last step was to add the banner and pop up the pig using foam dots.

This little pig is super cute and can be used for many occasions.  I picked this sentiment since I could used it as a congratulatory or birthday card.

Be sure to visit the online store where the new release is on sale for a limited time.

Dies used:


Thanks for visiting today. I hope you have a fun and creative weekend!


Friday, December 11, 2020

A Warm and Toasty Holiday

Happy Friday!  It's Jeanne today with a card that made my mouth water while creating it!  S'mores bring back many of good memories for me - from Girl Scout camp when I was young to sitting in front of our fireplace and making them when our girls were little.

This card was fun and easy to create.  Starting with a sketch is always a time saver and I found one on Splitcoaststampers.


I cut three pieces of cardstock and paper.  First I cut an A2 size panel cut from Crumb Cake,  I then used two different patterns and cut a rectangle using the second largest of the Nested Stitched Scalloped Rectangle dies and a square using the middle of the Nested Stitched Scalloped Square dies.  I found this paper in my stash and although it's not Christmas, it fits the theme perfectly.
I used Distress Oxide ink in Vintage Photo to antique all the edges and then I heat embossed the sentiment with dark brown embossing powder.

For my marshmallow snowman and s'more cookie I cut all the pieces from white cardstock.  I used markers to color the nose, hat, scarf and chocolate.  I also antiqued all the edges of these pieces.  After all, s'mores should be toasted!

Finally I popped up my snowman using foam dots. 

Dies used:


Thanks for visiting today!  I hope you have a fun and creative weekend!


Thursday, August 20, 2020

Slothy Thinking of You

 Hello Scrapping Cottage Friends

It is my turn to post today so happy Thursday morning to you from Pam!

We have an amazing Summer Sale going on right now but the bad news is today is the last day.  Many dies are on sale for 50% off.  DON'T MISS OUT!

The design team is continuing to showcase our brand new release called Beach & Tropical Dies!  It includes 14 new designs and it is currently on sale for a limited time at 25% off!  Each of these dies can be used in so many different ways.  Today,  I am using the little sloth surrounded by tropical leaves and flowers.  I just love how he is peeking out ready to say Thinking of You!!

Background Photo by Bart Zimny on Unsplash

Design Steps
1.  Using the Sloth die cut out the pieces using 2 different shades greens, 2 different shades of purple, yellow, black and 2 different shades of brown
2.  Using the largest Pierced Circle die cut out a white circle.  Assemble the sloth and flowers using a fine tip glue.  
3.  Place some pop dots on the back of the sloth and then pop him up on the white circle
4.  Arrange the greenery around the sloth and then pop up the purple flowers.  Add small white dots to the sloth's eyes using a white gel pen
5.  For the base of the card use an A2 white piece of card stock.  Cut a piece of purple just slightly smaller then the white base.  Then cut a piece of purple flowered DP slightly smaller then the purple card stock.  Glue the purple card stock to the white card base and then glue the DP the purple card stock.  Using the largest Stitched Scallop Circle die cut out a purple circle. Also cut out of the purple card stock 2 Thinking of You with the Expressions die
6.  Glue the purple scalloped circle to the upper have of the card as shown.  Next add the white circle with the sloth on it.  Last glue the 2 Thinking of You together and then glue to the card as shown and your card is complete
CottageCutz Products


So happy you were able to stop by today!  I aways appreciate your visit!

Blessings
Pam

Thursday, June 18, 2020

Peeking Pup!

Hello My Scrapping Cottage Friends!

Today,  I have a sweet pup just peeking out of a lovely garden cart!  I decided to make it into a thank you card but it could easily be a birthday, just because or a hello card!

Background Photo by Joe Woods on Unsplash

Design Steps:

 1.  Using white card stock and the Puppy in Garden Cart die cut out all of the pieces.  I did use a piece of red polka dot DP and recut the umbrella pieces
2.  Using Tim Holtz inks and a small sponge applicator color and shade all of the pieces.  Next assemble them using a fine tip glue
 3.  Use a white A2 card base, a piece of red card stock cut 4 x 5 1/4, a piece of polka dot blue DP cut with a Stitched Scallop Square and a piece of green card stock cut with the Spring Grass die
4.  Attach the ribbon toward the bottom of the red card stock and add your sentiment
5.  Next add the grass to the bottom of the polka dot blue scallop square.  And then glue your garden card to the square as shown.  Pop the blue square to the red panel just above the ribbon and then attach to the white card base.  Lastly add the tiny black rhinestones to the pup's eyes and some tiny red rhinestones to the yellow flowers and your card is complete


 CottageCutz Products

Thanks so much for stopping by today! And I will see you next Thursday!
Blessings
Pam