Showing posts with label Circus Train. Show all posts

Thursday, February 11, 2021

Love Train

 Hi To All My Crafty Friends!

It is Pam sharing with you on the blog today.

I don't know if you all are old enough to remember the song Love Train By the O'Jays.  It was an R&B hit back in 1972!  Now I am really dating myself! Anyway it is now playing in my head and that was the inpiration for this fun Valentine card.


Design Steps:

1.  Using the Circus Train die cut out the pieces on silver, white and black card stock. The little window and headlight I cut in white then colored with an C1 copic marker.  Next use the Be My Valentine Puppy die and cut out the pink and red hearts several times.  Turn the cage car over and glue down the hearts, add hearts to the wheels and car tops as shown
2.  For the base use a white A2 card, heart DP 4 x 5 1/4 and cut a white retangle using the second from the largest Stitched Scallop Rectangle die
3.  Glue the heart paper to the white card base then center and glue down the rectangle
4.  Pop up the train using dimensional dots or tape
5.  Add the sentiment layered on red card stock and finally add the sequins

6.  I decided to decorate the inside with some leftover paper and a little pink heart and your card is complete

CottageCutz Products


I hope you enjoyed this little trip back in time and I will see you next Thursday!  Remember to check out all of the wonderful dies in our online store HERE!

Blessing and Take Care
Pam


Wednesday, January 27, 2021

Happy Birthday

Hello!  This is Sukie I have another card to share this week. I'm loving the versatility of the new Circus die release.  I created a simple birthday card which would be perfect for a younger child.

I cut out the Circus Train, the bear from the Circus Train Animals and the stars from the Circus Side Show die set.  I went with a cheerful color theme for my die cuts coordinating the colors to the background papers.
I found the star paper in my stash and paired it with a striped panel.  A simple Happy Birthday sentiment was stamped in the corner.
The Circus Train was placed along the edge of the striped paper which helped to align it.  The sweet bear was placed inside the cage with his eyes peeking out.  I added some solid white card stock behind him, it keeps him from blending into the patterned background.
The cluster of stars were affixed above the sentiment.  The extra stars were adhered to the left of the sentiment.
The stars around the sentiment were a fun finishing accent as they coordinate perfectly with the patterned paper!
Here are the die set used on my card, available in the store:

Friday, January 22, 2021

Welcome Circus Train

Happy Friday!  It's Jeanne today with a fun slimline baby card.  The Circus Train and Circus Train Animals are a marvelous way to welcome a little one.  This train would also make a wonderful invitation to a child's birthday party. And the 8 1/2 x 3 1/2 format of a slimline card is the perfect format for the train!

I wanted this card to be bright, yet somewhat soft in color since it's a baby card.

I looked through my paper and found some perfect patterns in the tones I had in mind.  I keep two reference notebooks of paper samples and this helps enormously in picking out patters and colors.  I have two posts on my blog (here and here) about how I organize them.

I cut the pieces for the train and animals from various colors of the cardstock.  I made sure to choose the seal and elephant for my animals since the paper has gray in it.

This is a card where everything needs to be aligned.  I have some tips on how I did this.
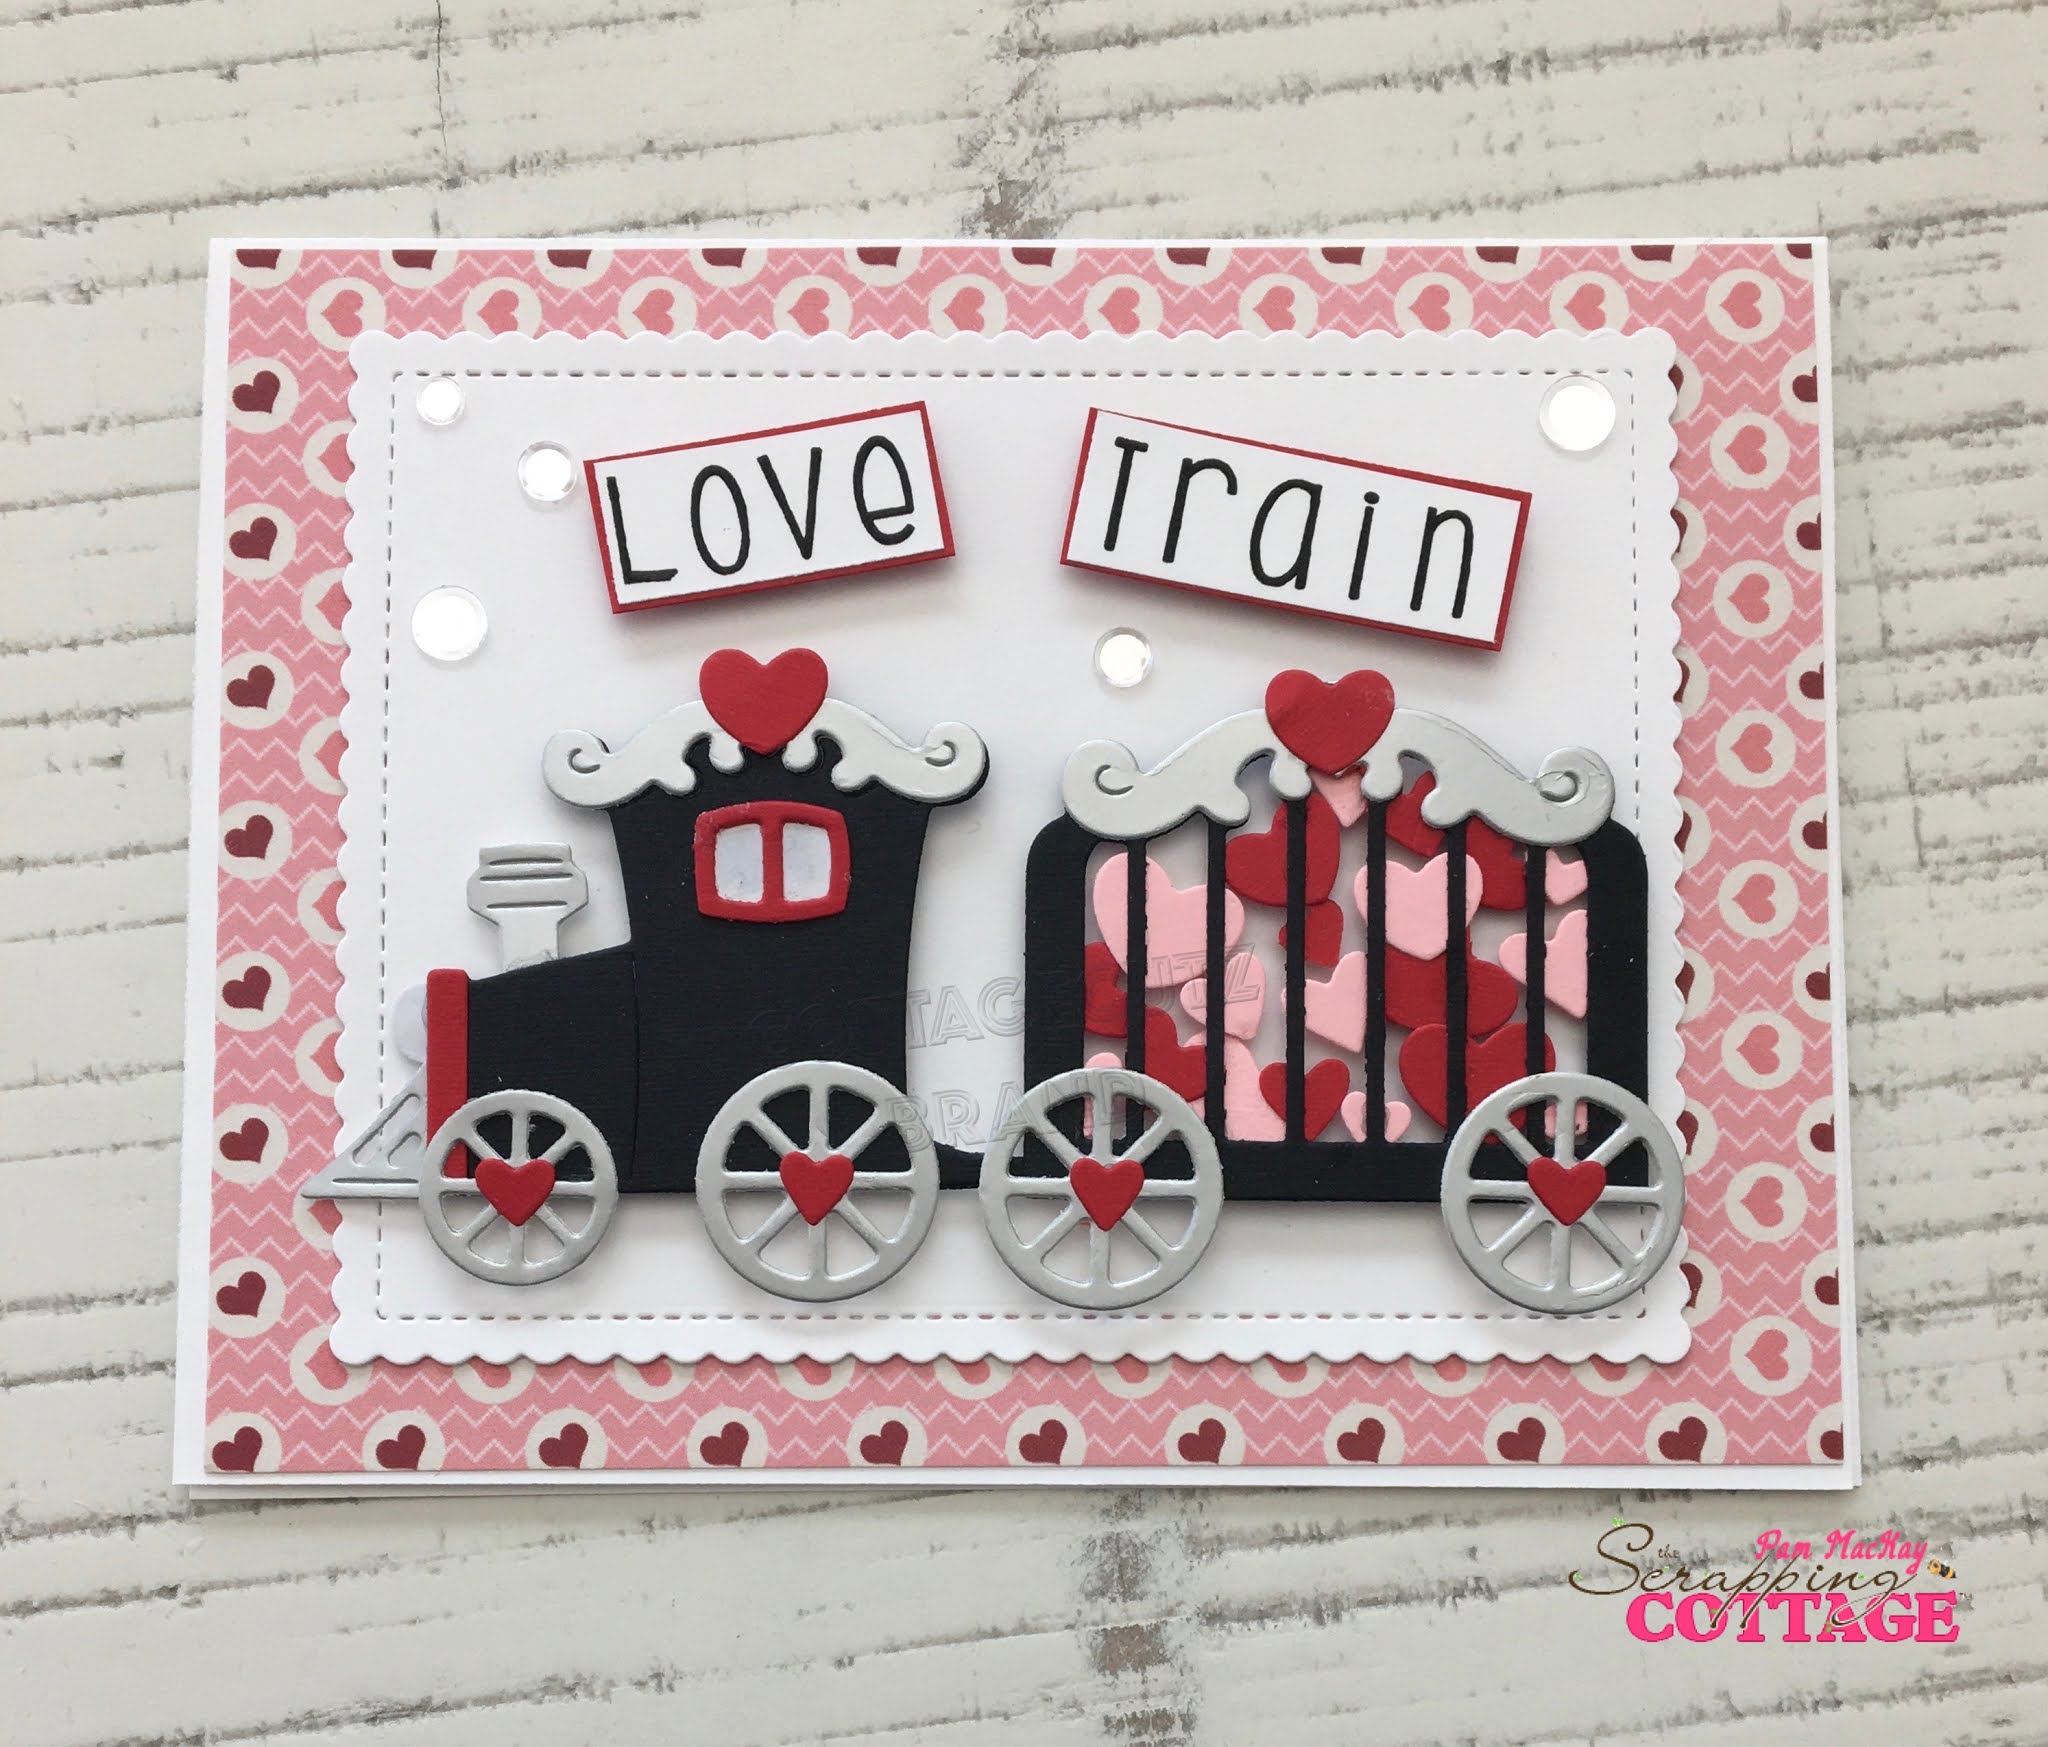
To get the wheels straight when assembling the engine and train cars I made sure to align the top of the horizontal spoke with the bottom of the car and the vertical spoke with the inside edge of the cage.  This works for all wheels but the small one in front.  That will be added once the engine is on the card.

I also glued the animals to the cage before putting them on the card so I could better align their faces with the bars.  They are very slightly off center but I wanted the eyes to show!

 
Next I cut my panels and adhered them together.

I aligned all the train pieces on the card and placed a light pencil mark over the center of the curlicue on each piece so I would know exactly where to glue them.  Then I glued down the engine, the connecting piece and the bottom of the middle train car.

I had not yet adhered the ball to the seal's nose as I wanted it to be "balancing".  It needed to be just touching the nose not glued to it.  Once the train car was in place I used tweezers to insert and glue down the ball.  Then I adhered the top and the rest of the train.


To align the front wheel I used a ruler to get it even with the other wheels.


My final step was to create my sentiment and some fun banners for the front.  I simply cut strips, fishtailed the ends and used a few enamel dots.

I hope you have enjoyed my card.  Please be sure to visit the online store where the new Circus dies are on sale for a limited time!

 Dies used:


Thanks for visiting today.  I hope you have a fun and creative weekend!