Hello CottageCutz fans and happy Tuesday. It’s Wendy brining you the blog today and it’s Only 4 days left until the big day now so this will probably be my last Christmas post.
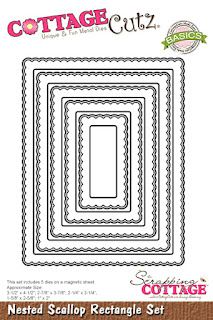
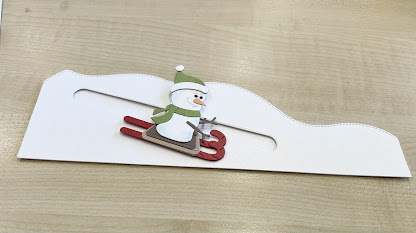
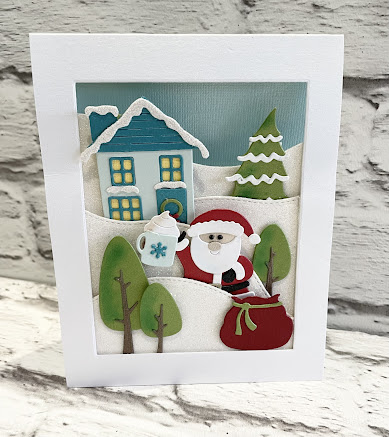
So today I have taken a card measuring 5.5” x 4.5”. From this I have cut the largest nesting rectangle in the middle of the card. On the back of the card as you can see I have applied blue card.
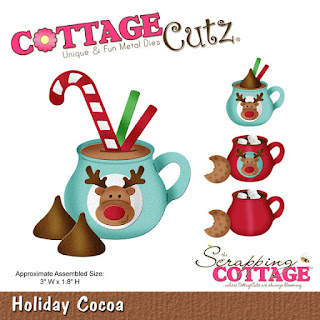
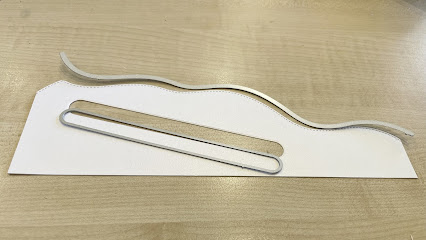
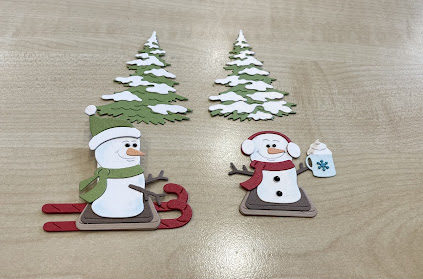
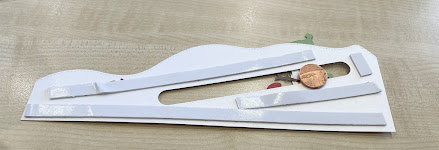
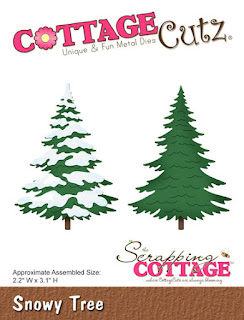
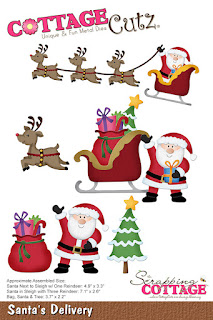
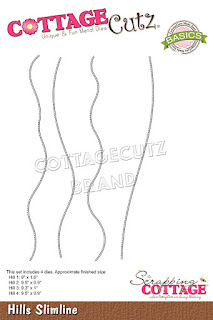
Next I have varying layers of white glitter card. I have made them look like hills by using the ‘Hills Slimline’ die. Each layer of the card has someone unique to add some variation. I can’t help myself but use the ‘Campin Out Trees’ die. Santa’s is also here with his mug of hot cocoa. He’a had a long night ahead of so he’s earned it LOL.
I have also used the beautiful house ‘From the Winter Houses 2’. They remind me of being in San Francisco. Finally Santa has his bag and there’s is another tree at the top of the card.
I really hope you like the card and are all set for the big day. I have several things on my list but they will get done. I will be back with a full tutorial on Friday (Christmas Eve), but in the meantime have s lovely week.
Hugs Wendy
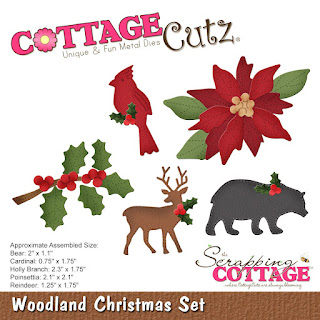
Dies I have used:


Also don’t forget to visit out YouTube channel with some fabulous videos