Hello Scrapping Cottage Friends
It is Pam creating on the blog with you today!
I have a good number of friends and family who just love coffee! So I am making a little coffee gift card for a few birthday presents. I am using several of the Sentiments with Shadows and the Coffee Time Stamp set. I found this darling card design by Dawn Griffth so I decided to give it a try. I posted her video tutorial link below.
Design Steps:
1. There are two cards involved in create this gift card. The larger kraft card stock card is 4 1/4 x 11 folded in half and then the bottom flap folded in half again as shown above. The smaller kraft card stock card is 3 1/2 x 9 folded in half
2. We are first going to decorate the inside of the larger card. Cut 2 pieces 4 x 2 1/2 one in cream and one in Coffee DP. Then cut 2 pieces of black 4 1/8 x 2 5/8. Glue the cream and the Coffee DP to the black layers. Also cut a piece of black 4 1/8 x 5 3/8. Using the
Happy Birthday w/Shadow cut the shadow in black and the words in kraft
3. With the card open and vertical glue the coffee piece to the bottom, the cream piece with Happy Birthday glued to the center in the middle and the large black piece to the top (all shown above). Set the big card aside
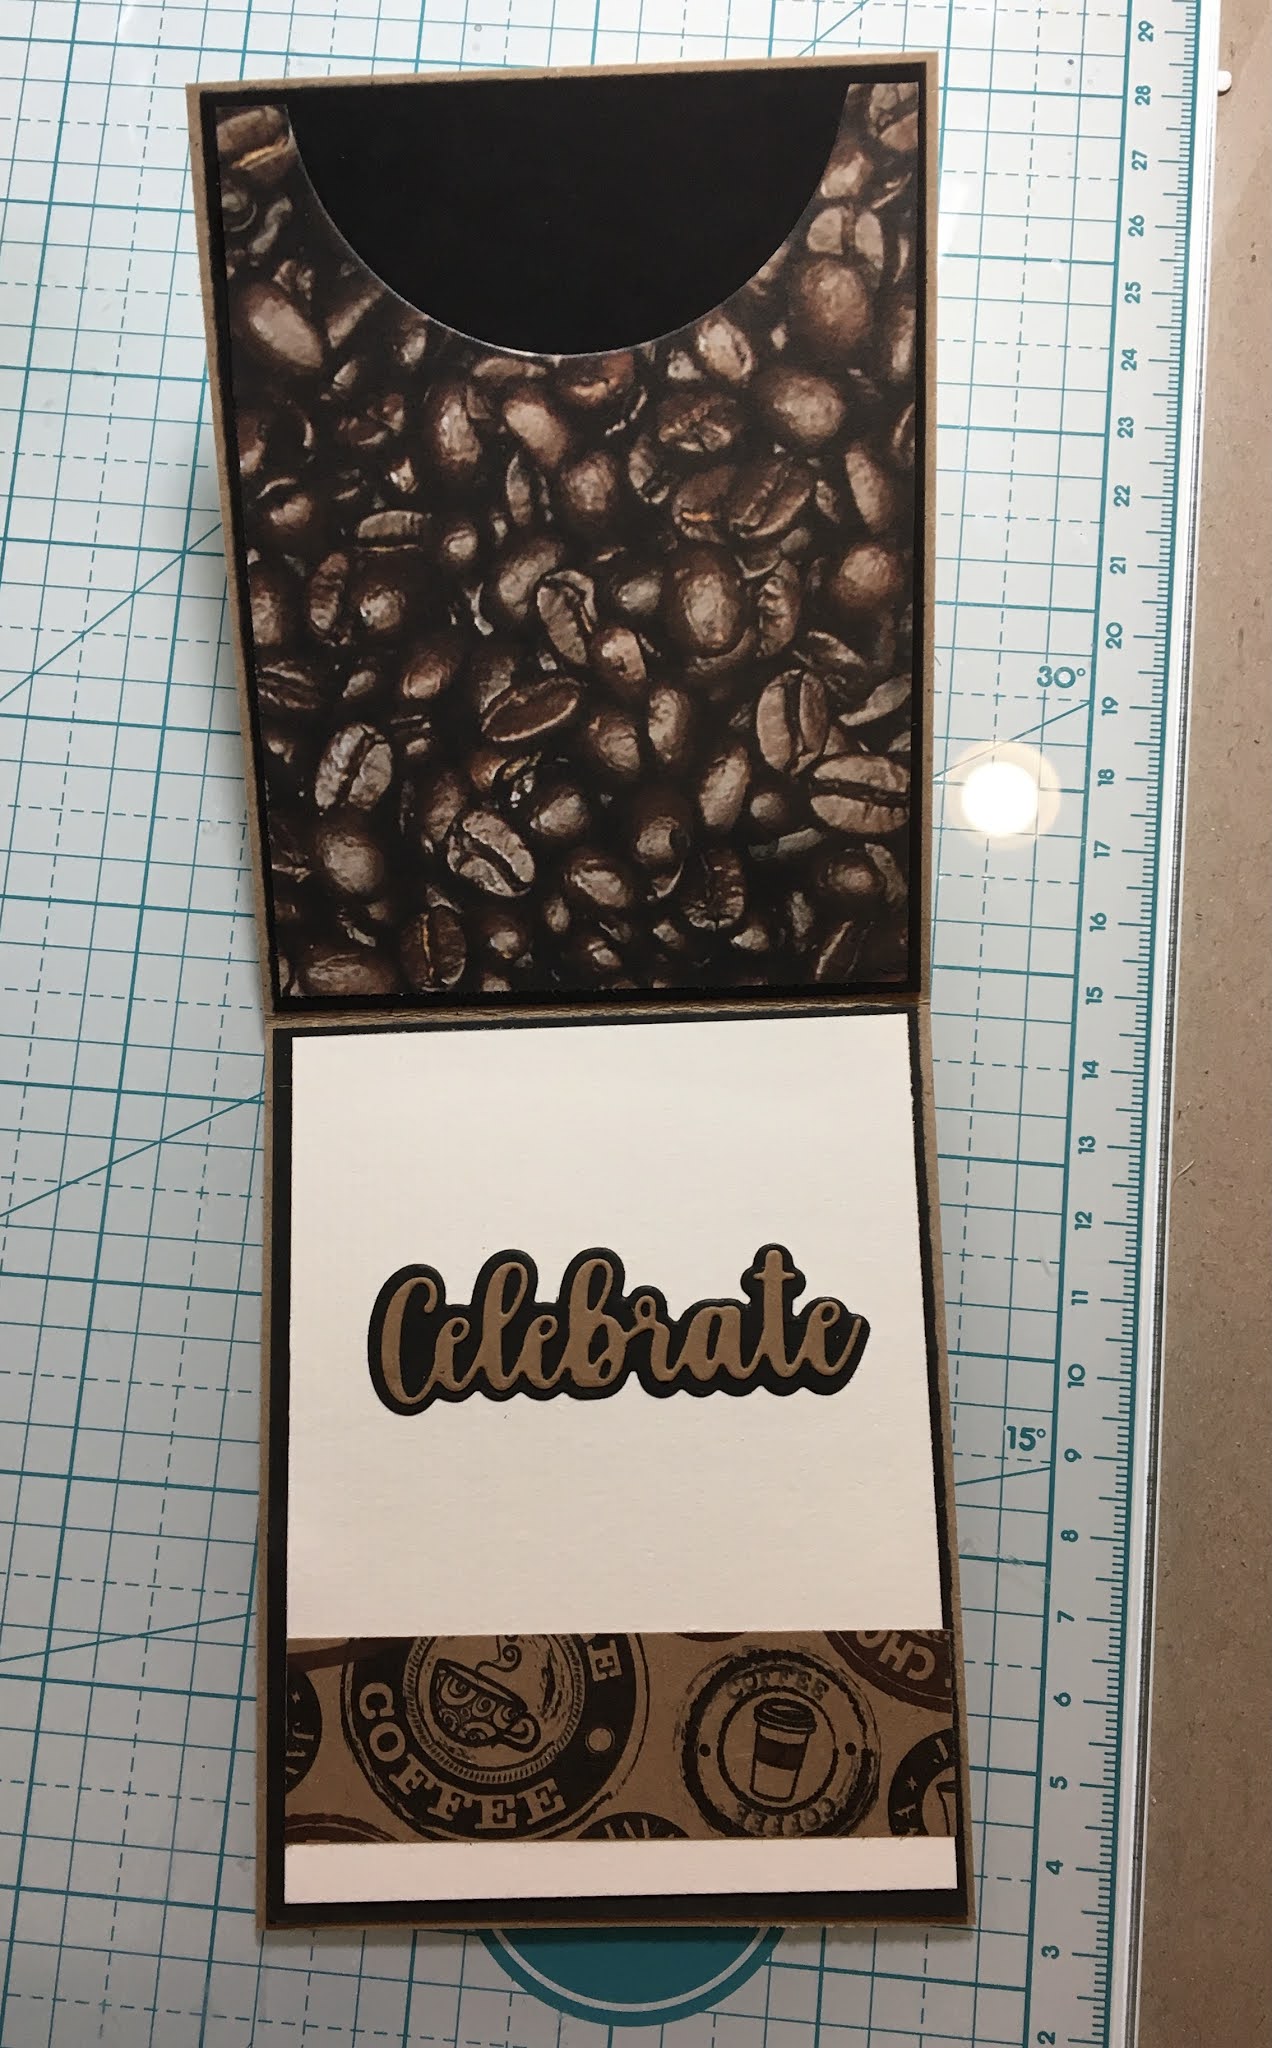
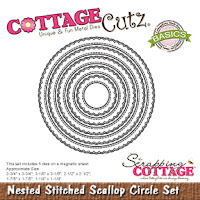
4. Open up the smaller card and working on the inside of it. Cut two pieces of black card stock 3 3/8 x 4 3/8, cut a cream piece 3 1/4 x 4 1/4 and a coffee bean DP 3 1/4 x 4 1/4 (I used a 4th from the largest Pierced Circle die to create the cut out in the coffee bean DP). That is going to be my opening for the gift card. Using the
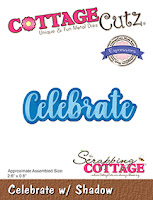
Celebrate w/Shadow die cut out the words in kraft and the shadown in black. Also cut a piece of strip of coffee DP 1 x 3 1/4
5. Glue down both pieces of black card stock to the inside of the small card one to the top and one on the bottom. Put glue just the edges of the coffee bean DP and glue it to the top flap on the inside of the smaller card. This is the holder for the gift card. On the bottom glue down the cream card stock on top of the black and add the sentiment and the decorative strip

6. Cut a piece of black card stock 3 1/2 x 1 1/8, cut a piece of cream card stock 3 1/4 x 1. Stamp your sentiment on the bottom right of the cream card stock. Using the Smile w/Shadow die cut out the shadow in black and the words in kraft. Glue them together and then glue to cream strip as shown. Using the 2nd from the smallest Scalloped Stitched Circle die cut out a black circle, using the 3rd from the smallest Pierced Circle die cut out a piece of kraft card stock and last using the 2nd from the smallest Pierced Circle die cut out a piece of the Coffee DP as shown above. Glue the circles together. Close the smaller card and glue the Smile strip in the middle of the card.

7. With the small card closed open the larger card vertical and open put glue on the back of the smaller card to the top of the larger card onto the black card stock. Next fold the larger card up tucking it under the smaller cards front flap. Glue down your little coffee medallion making sure you only glue down the bottom half of the medallion so the smaller cards front flap can tuck into it. Below is a picture of the card completely opened
8. To add a little decoration I used the
Coffee Time Stamp set and
coordinating dies to add the 2 coffee cups and coffee pot. I used my copics to color the stamped images. Glue the images as shown above and your gift card is complete
I found Dawn's wonderful video tutorial that really helped me along since I am a very visual learner. Click HERE for her video.
CottageCutz and Lil' Bluebird Products
Thanks so much for stopping by today and I hope you give this gift card a try. It is really not a hard card to make and it turns out so cute!
Blessings and Take Care


.jpg)