Showing posts with label Campin out bear ons log. Show all posts

Tuesday, January 30, 2024

Warm & Cozy Bears Card

Hey crafty friends,
Melinda here and it's another Terrific Tuesday! Today I am sharing a fun and super cute card featuring some more of the fun dies in the Cottage Cutz collections. Take a look.
My card is a standard A2 side fold card. I started with a white base. To that, I added a black mat and a cute blue polka dot patterned paper.

Here is a closer look at the cute little bears. I colored them with my markers. I also colored the logs, cocoa cups, fire and sign 

I used some clear gloss on my fire die cut pieces. As it dries, it dries clear and gives the die cut some glossy dimension. I did also add some to the inside of the bears' cups. You can't really see it in the photo above but it adds a cute touch.

Here is a closer look at my directional sign. I cut the pieces out in white and then used my markers to color the pieces in. I did print out the letters. I added a small pink heart and added some stickles glitter glue to it for the top of my sign.

Here is a closer look at the warm & cozy title. I also colored the purple and blue mini hearts. The darker pink (small and large one) and the lighter pink hearts were cut from that colored paper.

Here is one last look at my card. As I assembled the card, you can see I used the scallop stitched rectangle mat. To that I added a cute mat from some patterned paper. You can't really see it, but the paper has a heart print and it says.. Love One Another on it. I love this. Makes me think of me and my hubby as we are having a cold snap here in Florida. I have it set by my coffee and cocoa bar.


Dies Used For This Project

Rectangle scallop die (currently out of stock)


Well, that about covers it for today. Be sure to keep coming back to see what the other talented designers are creating! So much inspiration. Until the next time, have a wonderfully crafty day!
Melinda

Tuesday, January 04, 2022

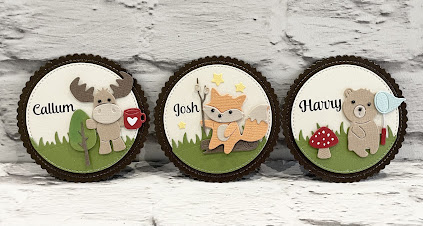
Birthday Badges


Happy Tuesday Cottagecutz fans. I hope you had a wonderful new year. I can’t believe how quickly Christmas went. What I do know is that come June I’ll be working on Christmas for next year.
Anyway it’s Wendy bringing you the blog today and I thought I’d use the Black Friday release to make some birthday badges. I think it’s really cute for youngsters to have a name badge at a birthday party. So this is how I made them

Firstly I cut out 3 of the ‘Nested Stiyched Scalloped Circles’ in a bronze brown colour. I have also cut out 3 of the ‘Stitched Rounded Rectangles’ as we’ll need these shortly


I use 38m broach bars to make my badges and secure wit a hot gun. I then use the small rectangle as cut above to extra secure the broach bar in place


Next I printed some names on this beautiful cream pearlescent card and cut out with the ‘Stitched Circle Set’


I wanted to add a little background to the badges so I cut out some green circles in the same size


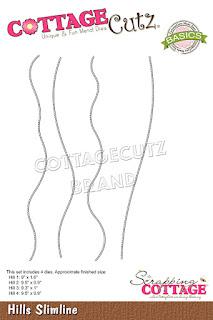
Next I used the ‘Grass Slimelime’ to cut some hills from the circles


I then attached the grass to the bottom of the badges and they are a perfect fit


Next I added the names to the brown badges 


To finish off, I used some of the designs from the ‘Black Friday’ release, which I will list below and you have your badges


I really hope you like the badges as much as I did making them. 
Have a wonderful week and I will see you on Friday with another project

Dies I used:


Don’t forget to check out our YouTube channel for new fancy designs


Tuesday, December 28, 2021

Z Fold Campin Out


Good morning CottageCutz fans, I hope you are enjoying the festive break. If I see another turkey I think I’m going to explode. It’s Wendy bringing you the blog today and it’s a pyjamas and movie kind of day so I’m making most of taking it easy.

Today I’m bringing you a Z-Fold card. I’ve never made one f these before but there area. However, there are ton of tutorials on You Tube so check them out.

To begin with I assembled the Z-Fold card base and used the ‘Grass Slimline’ to cover the base. I then used the Farm Fence Slimline above which i thought look really cool.

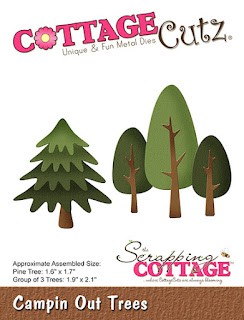
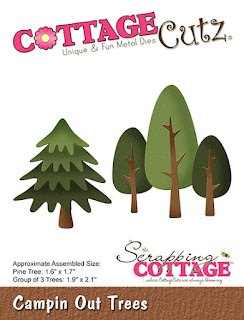
Next I cut out some of the trees from the ‘Campin Out Tress’ die and dotted them around the card. I used some chalk to make them look more realistic.

I then used the ‘Clouds Slimline die for the top of the card 

To finish I added the Moose and Reindeer by the fire with their mugs of hot chocolate. Also the mushrooms. I’ll list all the dies below

I really hope you like today card. I had fun making it. 

Enjoy the rest of the week and i will be back with a full tutorial on Friday
Hugs
Wendy


Dies used:


Friday, December 03, 2021

Dimensional Camping Card


Happy Friday CottageCutz fans. I hope you’ve had a great week and are looking forward to the weekend. We are 22 days away from the big day so my Christmas crafting is crucial now. 

However, it’s the last day of the sale on the website and of course this release is so amazing that I couldn’t help but make one last card for you. This is a dimensional card so it made up of many different layers so lets get down to how I made the card


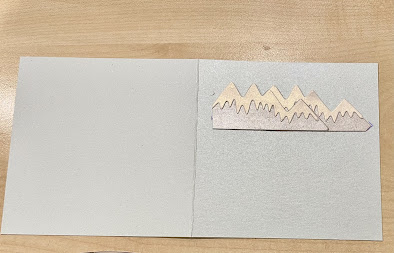
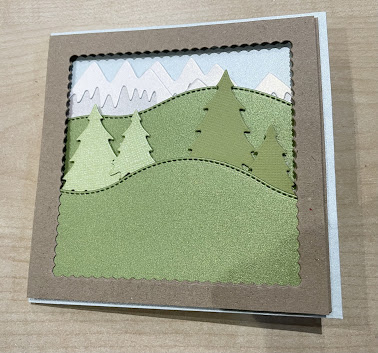
To begin with, I cut a piece of blue card measuring 5” x 5” when folded and then 4 pieces of kraft card measuring 4.5’ x 4.5”. I actually used only 3 of the pieces of kraft card but you could use many layers. To cut the centre of the Kraft card I used the largest ‘Nested Stitched Scalloped Square Set’. 

One thing to remember, each Kraft layer is attached to the card with 2mm foam pads


Next I cut out 2 of the mountains from the ‘Campin Out Mountains and Trees’ and layered onto my card. I layered it so that the kraft card would cover it up


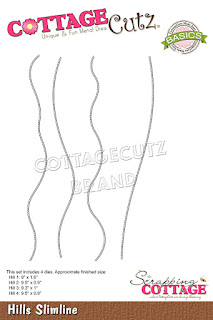
Next I used the ‘Hills Slimlime’ to create some greenery and then covered up with the first of my kraft
card pieces


For the next layer, again I used the ‘Hills Slimline to create more greenery and took the trees from the ‘Campin out Mountains and Trees’. I’m going t use some chalk later to give the trees some dimension but again I layered up with another piece of the kraft card


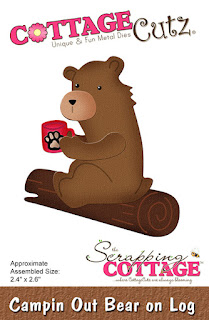
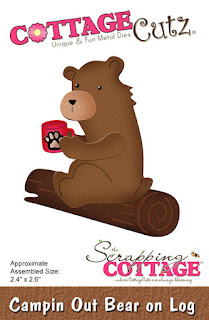
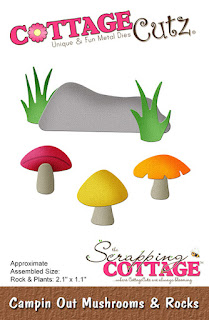
My final layer was a different colour green for the grass again using the ‘Hills Slimline’ and I attached this to the card before adding the remaining embellishments. For my embellishments I used the Moose and Reindeer from the ‘Campin Out Moose and Reindeer Set’, the Mushrooms from the ‘Campin Out Mushrooms and Rocks’ set, the Campin Out Fire and & Sign Set’ but I only used the mushrooms. Then finally the mug from ‘Campin Out Bear on Log’ die.

To finish, I added some chalk on the trees to give them dimension, some stitching round the side of the card and some white gel dots on the mushrooms


I really hope you like this card and it given you some inspiration for this release. It is a super cute release and when you see how many dies you get for the price it’s amazing

I wish you all an amazing weekend with lots of crafting and I will be back on Tuesday with a super Christmas card

Reminder: Our YouTube Channel is active once again with complete tutorials from our designers for more inspiration. Check it out HERE

Wendy

Dies I used: