Showing posts with label Bunny express engine. Show all posts

Friday, March 01, 2024

Hippity Hoppity Easter Express

Happy Friday friends!

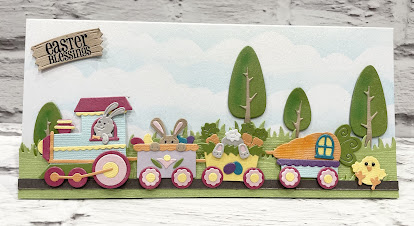
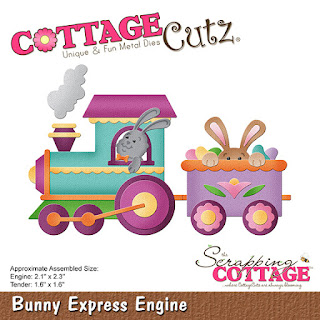
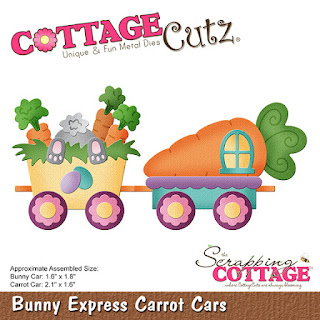
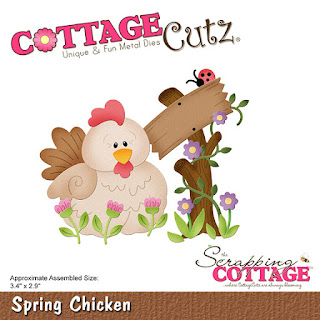
It's Kris sharing with you today. It's the first day of March, which means there's  30 more days til Easter!  I have a few more Easter cards to make and today's turned out super cute, in my humble opinion. ☺  This slimline features the Bunny Express Engine and Bunny Express Carrot Cars along with the Spring Sentiments from the Spring 2022 release.  


Design Steps:

My card base is 4" x 9" (folded).  My next layer (SU! Berry Burst) is cut at 3-3/4" x 8-3/4" (I actually cut it 1/16" shy of those figures, but if you don't like working in 16th inches, you can easily round up to 3/4")

Next, I die cut a piece of blue/white gingham paper (Divinity Designs Polka Dots & Gingham)  using the largest of the Nested Stitched Rectangles Slimline set.  And for my main focal panel, I die cut a piece of white cardstock using the largest of the Scalloped Stitched Rectangles Slimline set.  I then sponged some clouds with Tumbled Glass Distress Oxide ink. 

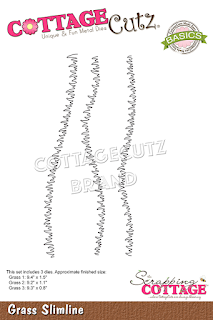
I cut a piece of (SU! Granny Apple Green) at 1-1/2" x 7-15/16" and I die cut the top with a die from the Grass Slimline set. 

I die cut a piece of iridescent cardstock using the Picket Fence Slimline die and then trimmed it as shown in the photo below to look like train tracks. 


I layered all those pieces onto my card base.

Next, I die cut all of my Easter elements from white cardstock and colored with Copic markers and then I assembled them.  I popped the train onto the track with foam dots and I glued the sentiment to the top.  


I love the font and how the ending letters include bunny ears! 


Thanks so much for looking today!  I hope you are inspired to create something CUTE with your favorite CottageCutz dies ☺

~Kristine


Head over to Cottage Cutz and do a little shopping today!

Get Social With Cottage Cutz

Saturday, April 02, 2022

Easter Pop-Up Card

Hello CottageCutz friends! Thanks for taking the time to stop and visit with us today. It's Mary Marsh here bringing you the Saturday edition of the Blog.

It's release time!!! The Australian Friends release is in the online store.  You can pick up the bundle at 50% off the list price or 30% off each individual die. These cute little animals are so perfect for all your cardmaking styles and occasions. The DT will begin showing samples in the next week. 

For your viewing pleasure today, I am featuring a pop-up card using the Bunny Express Engine die. So, let's get started on some details of how I created my card.  

Design Steps: 

I started my card by cutting the bunny engine. I used the packaging as an assist to help with the colors. I use colored cardstock on my card creations, but you can also cut in white then color with your favorite coloring medium. 
Then I looked through my designer papers for a fun pattern that would work for a whimsical Easter card. I found this dotted paper that I thought was cute and decided to go with it. The coordinating light purple cardstock would work well on the card inside to display the engine when it pops-up. 
Freesia Card Base: 4 1/4" x 5 1/2"
Misty Moonlight Layering Panel: 4 1/8" x 5 3/8"
Designer Paper Layer: 3 7/8" x 5 1/8"

Next, I worked on my pop-up panel mechanism. I started with cardstock that measures 3 1/2" x 4 1/4". I scored it at 3/4", 1 1/2", 2 1/4" and 3". I used my bone folder on the score lines. 
Then I added some red line tape to the end of the score lines- it's the 1/2" part at the end of the cardstock. 
I removed the top layer to expose the tape and then closed the cardstock to form the mechanism for the pop-up. It should look like a cube of sorts. 
Before I attach the pop-up mechanism, I worked on the inside of the card. I stamped a sentiment on white cardstock and added a small panel of designer paper to the bottom. 
White cardstock: 4" x 5 1/4"
Designer Paper: 1/2" x 4"
Misty Moonlight layer: 5/8" x 4"
Now I can attach the pop-up mechanism. I added red line tape to the section that I wanted to face down on the card. It's the part where the seam is, and I didn't want that to show. 
I then attached the mechanism to the inside of the card. It should sit just below the score line, so it doesn't interfere with the card when it opens. I added more red line tape to the back of the mechanism that will attached to the card base. 
Removed the tape and closed the card to secure the back of the mechanism to the card base. 
I moved back to the card front to attach the designer paper. I added the Happy Easter sentiment from the Spring Sentiments die. It's cut in the misty moonlight cardstock. I cut an oval from the freesia cardstock and attached to the card front, with dimensional adhesive. 
I finished off the inside of the card by adding my train images to the pop-up mechanism. I decided to add some clouds as the background for the train. I stenciled with distress inks. 
And, that's my sample for this week. See you next Saturday.

Reminder: Our YouTube Channel has a new video from Jen Hartsgrove. There is a giveaway for being a subscriber, liking the video and leaving a comment. Click here.


dies I used to create card:


Wednesday, March 16, 2022


Hey there Krafty Friends, Jen from Katahdin Krafts, here with my first CottageCutz YouTube video over on the CottageCutz Channel.  Today, I am sharing my "Hippity Hoppity Easter Train" slimline Card using several dies from the Spring Release.  

You can find all of the card details in my video and also enter for a chance to win the "Bunny Express Engine" die!  


Tuesday, January 25, 2022

All aboard the Easter Express


Good morning Cottagecutz fans. It’s Wendy brining you the blog today. I hope your week is going well so far. We still have the new spring dies on offer at 60% off the entire bundle and you can find them here

The card I’ve made for today was such fun to make. The dies are absolutely stunning and I just had to use them. 

To begin with I took a slimline card and used the ‘clouds slimline’ die as a template to create the sky on the card. You cut out a small line of clouds and then use a distress ink over the stencil with a soft brush or whatever you feel comfortable with. Start part way down the card and then layer up from there. I think I used 3 layers of clouds in total.

Next I took the ‘Grass slimline dies and cut 2 pieces. The first piece I glued down but the second piece I attached to the card with 1mm 3D foam pads for some dimension,

I then cut a very fine sliver of brown card so that the trains look like they are on a track. I just glued this straight to the card.

So to create the train I cut out the ‘Bunny Express Engine’ and the Bunny Express Carrot Cars’ I tried to stick to the colours on the die packet ad the are beautifully coloured. Once assembled, I stuck them to the card with 1mm foam pads. The dies are really intuitive so its really easy to pick out the parts you need to cut

I used the little chick die from ‘Miss Spring Bunny’ as he is super cute and he sits at the back of the train. I also used the trees from the Campin out release and dotted these around the card after the train was assembled.

I loved the sign I used on a card last week that said ‘Easter Blessing’ so I used it again on this card.

I really hope that you like the card and take the plunge to make a super sweet card this Easter

Hugs
Wendy


Dies I used:


The CottageCutz YouTube channel is in full swing with new designs added periodically!