Showing posts with label Birthday Cupcake w/ Roses. Show all posts

Tuesday, June 21, 2022

Cupcake Slimline Birthday Card

Hello Scrapping Cottage friends!  
Melinda here with you on this Sweet Summer TuesDIE!  Today I am sharing another cheerful and fun birthday card. It features some more of the delightful cupcakes from the New Sweet Treats Release! Here is my slimline card.
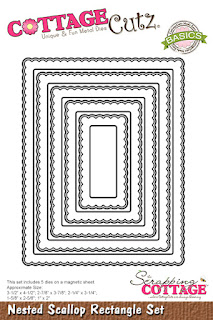
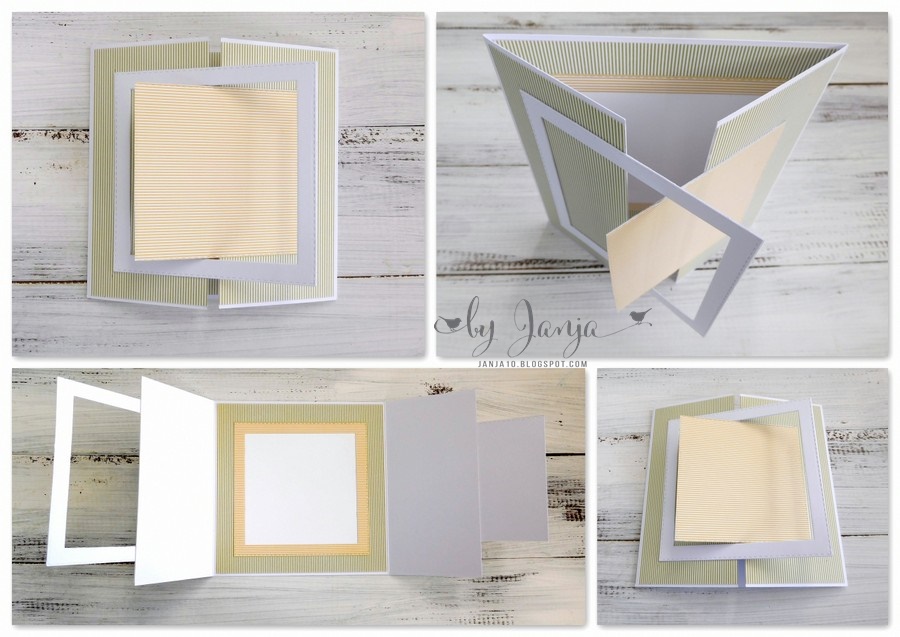
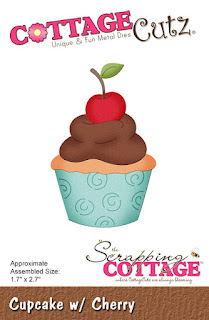
I started by creating my base with some white cardstock. I then cut out a piece of yellow cardstock for the base mat. I used the cute scallop stitched slimline die for the next layer. To that I added a mat of some sweet yellow gingham patterned paper. Then the fun really began as I cut out my cupcakes and started coloring them in.

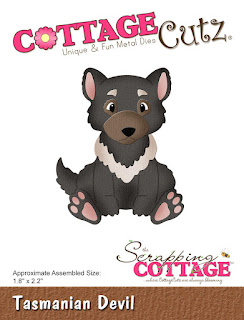
Here is the sweet little puppy dog die I used. I colored her in with some light brown marker. I gave her a pink nose and then added a couple of bows to her ears. The bows are part of her pieces in her die.

I nestled my sweet puppy by a couple of cupcakes. I decorated them with some stickles for a little extra pizazz. kind of hard to tell in the photo but there is some extra sparkle.

I added the happy birthday shadow sentiment and one more luscious cupcake. I then scattered some dew drops for one final decorative touch. Oh I did use some stickles to "glue" them to the base. This actually gives them a little sparkle underneath. The sparkle kind of shines through them when the light hits them. Subtle but a nice extra touch.


Here is the new sweet treats release.

Sweet Treats Release


The Dies I used to create this project:


Make sure you head over to the CottageCutz YouTube channel and check out all of the amazing projects on there. Our video team is doing a wonderful job of filling the channel with all sorts of creative content! You don't want to miss it!

Well that about covers it for today! Until the next time, have a wonderfully craft-die day!
Melinda Beltran


Thursday, April 28, 2022

Happy Birthday Tasmanian Devil Card

Happy Thursday Scrapping Cottage friends!  
Melinda here with you on this Thankful Thursday! Today I am sharing a project featuring that sweet little Tasmanian Devil die from the Fantastic new Australian Friends Die Release!!! Here is what I created.

A fun happy birthday card with that sweet Tasmanian Devil.


I started by cutting out the little Tasmanian out of lain white cardstock. I love coloring in the pieces with my markers and colored pencils.

I added the cute cupcake from the cute Birthday Cupcake With Roses.

I also added a cute little Party Hat from the Party Hats die cut.


I also used the fun Happy Birthday W/Shadow die set. 

I layered all of those fun dies onto the stitched scallop rectangle. I then put that onto a standard A4 top folding white cardstock base. I used some fun patterned paper that matched the colors well! This is perfect because I need to build up my birthday card stash.

Here is the fantastic new collection 
FROM DOWN UNDER!
Hurry for a limited time...
New CottageCutz 


PLUS FOR A LIMITED TIME....


The Dies I used to create this project:


I used the Scallop Stitched Rectangle set, however that is currently sold out. This is a great alternative through.


Have you checked out the CottageCutz YouTube channel yet? 
It is filling up with beautiful projects and great how-tos!  
Head over and check out the latest video! 

Well that about covers it for today! Until the next time, have a wonderfully crafty die day!
Melinda Beltran

Tuesday, August 20, 2019

Party Pony - interlocking gatefold card

Hi, Janja is here with you.
I have another birthday card for you today. I found the idea for this card in an animated fantasy movie - My Little Pony.


- CottageCutz dies: Party Pony, Birthday Cupcake w/Roses, Happy, Birthday
- white card base: 5.90" x 5.90" (15 x 15 cm), folded
- patterned paper: 5.6 x 5.6" (14,2 x 14,2 cm)
- colored cardstock
- colored ink pads
- white gel pen
- double-sided adhesive tape, glue

Cut a pony out of colored cardstock 5 times.


Sponge a sheet of white cardstock with colored pads and cut out the Happy Birthday sentiment.


Prepare the card base.


Cut the frame using square dies. Once from white cardstock and once from patterned paper. Outer size is 4.25 "x 4.25" (11,5 x 11,5 cm).
We will also use both interior squares.


Trim patterned paper twice. Cut out the cupcake.


Attach the patterned paper and both frames to the card base as shown.


Now all we have to do is paste the ponies, the sentiment and the cupcake.


To close the card easier, I later cut off with a corner puncher lower left corner of the center square.


Have a nice day. 
Janja