Showing posts with label Baseball Batters Silhouettes. Show all posts

Tuesday, August 23, 2022

Baseball Bag and Card Set w Video

Happy TuesDIE Cottage Cutz Friends!
Melinda here with you on on another sweet TuesDIE. Today I am sharing a fun card and box set, featuring dies from the Baseball and Golf release.

Here’s a look at the set. It features an A2 top folding card and an easy to make, treat bag. I made the bag from one sheet of 8.5 x 11 cardstock. Below is a quick tutorial on how I made the little box.

You start with one piece of 8.5 x 11 cardstock. A little heavier weight cardstock is ideal. 
You want to score your cardstock at the 2.5" and 6" along the 8.5" side.
Score at 4.5 and 6.5 along the 11" side.
Then along the 11" side you want to score from the top of the paper to the first score line at 2.25" Then you want to score from the bottom of the paper up to the first score line at 2.25".  Flip your paper and do it on the other end of the 11" side as well. This is just for a cutting guide to be able to cut off all 4 corners.

Here is what the bag looks like when cut. You will then want to create a pleat on the sides as you gather them up so that the two large flaps (front and back) will touch. For my closure, I just punched a couple of holes through both and strung some ribbon through them.


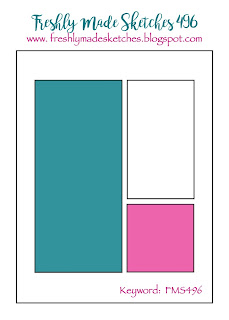
I added a piece of patterned paper to the front and back of the bag. The size of the mats are 3.25 wide x 4.25 tall. I used the baseball die, the Baseball phrase die and the mit to decorate the bag. It hangs as a tag for the front of the bag.

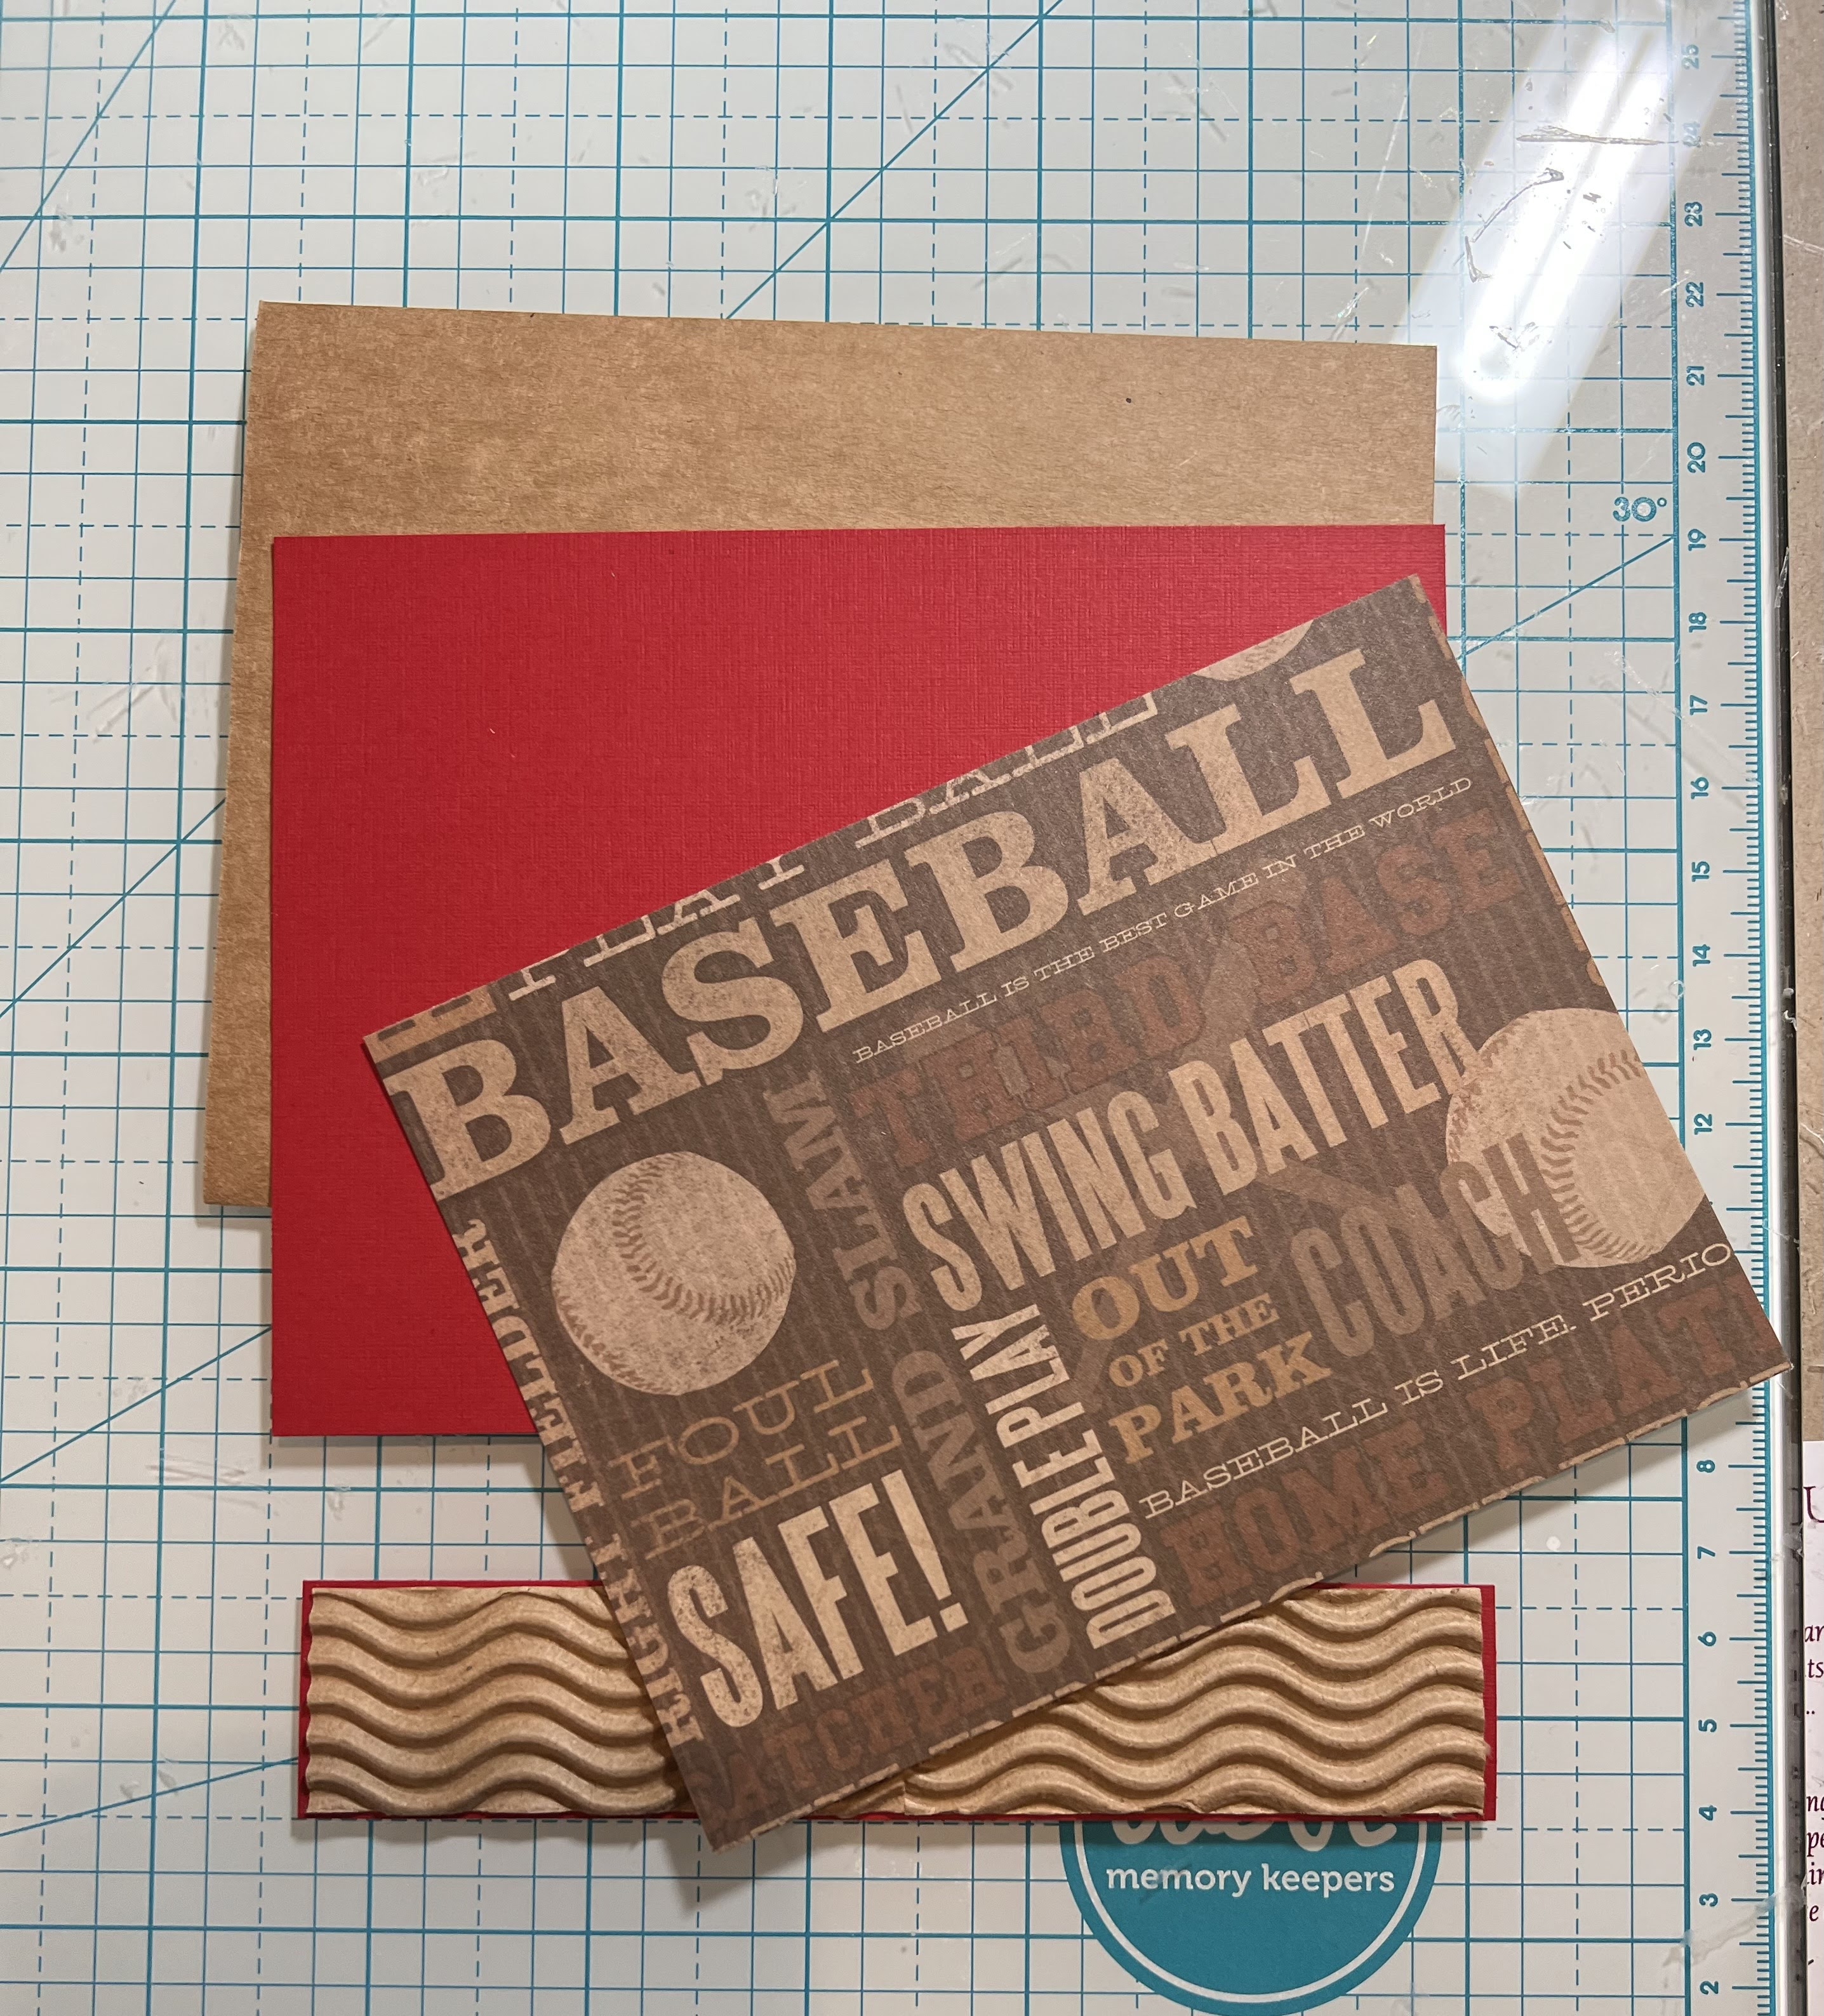
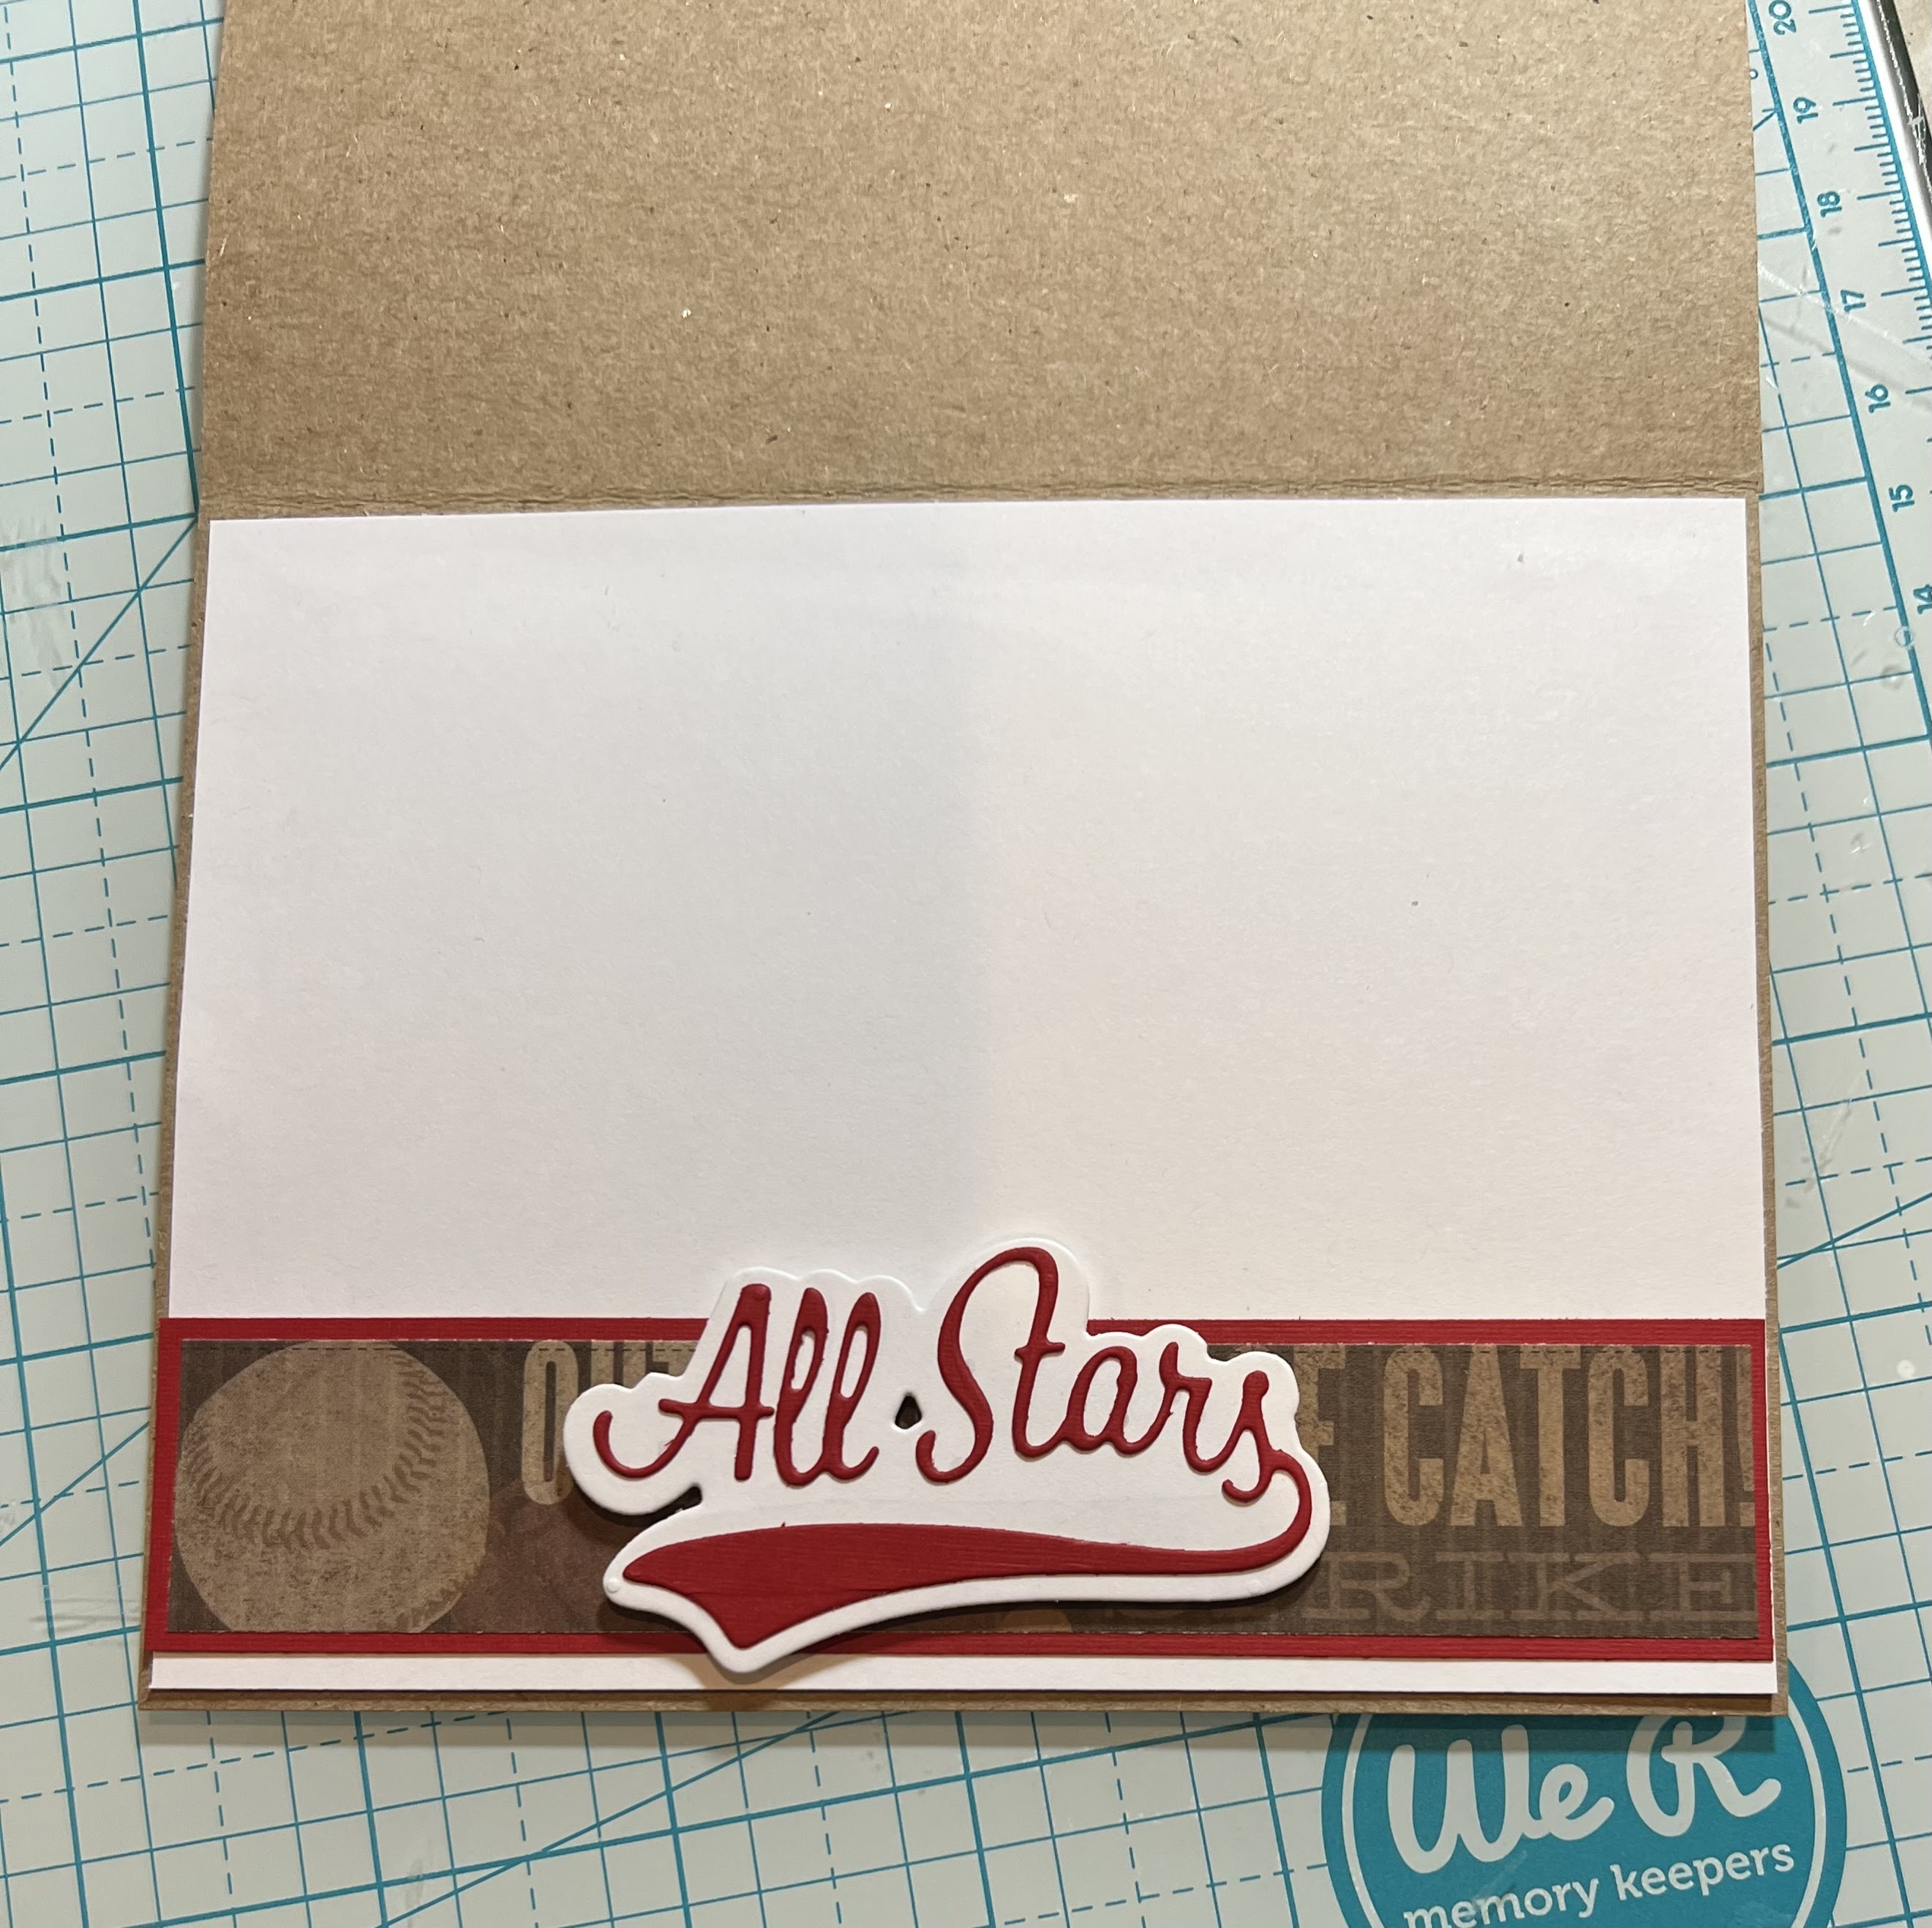
Here's a photo of the card. I used the All Star emblem, the baseball player silhouette and the ball, mit and bat along with the MVP phrase. I mounted the mit, ball and bat as well as the silhouette batter onto some red cardstock and onto some square wacky stitched mats.

Here's a photo showing how I colored my Baseball phrase die with my markers. I cut all of my dies in white cardstock and then use my markers and inks to color them in. 

Here is one last look at my set. I think it turned out great and can't wait to gift it to one of my favorite all stars!


Head over to my YouTube Channel For a Quick Project Share and helpful tutorial for this cute set!

Be sure to check out my project share video on last week's set too!

The Dies I Used For This Project


Here's the entire release. Head over to the shop and check them all out!


Also, don't forget to head over to the CottageCutz YouTube channel and check out all of the amazing projects on there. Our video team is doing a wonderful job of filling the channel with all sorts of creative content! You don't want to miss it!


Well that about covers it for today! Until the next time, have a wonderfully craft-die day!
Melinda Beltran

Monday, August 22, 2022

Triple Twisted Easel

Happy Monday ~ Guest Designer Kris here with a fun Triple Twisted Easel card using the new  BASEBALL & GOLF RELEASE  which is perfect for all the sports fans!  PLUS... the individual dies from this release are currently 30% off! 


Design Steps:

I cut my card base out of Misty Moonlight cardstock - 6" x 9" and scored along the 6" side at 3" to make a horizontal slimline card base.

On the TOP half ... (see photo below):
I cut down to the score line from 3" and again at 6" to make 3 equal parts.

I scored the 2 end squares diagonally from the top outter corner down to the inside corner. 
 
I scored the middle square in half horizontally at 1-1/2"


I cut a piece of Seaside Spray (light blue) at 8-3/4" x 2-3/4" and attached to the inside lower portion.

From base card color, I cut (3) 3" squares.
From the lighter blue, I cut (3) 2-3/4" squares 
From patterned paper, I cut (3) 2-5/8" squares 


Next, I attached the 3 sets of squares from smallest to largest.  

I added glue just to the lower scored sections as shown in the photo below:


...and attached my 3 squares, centering them onto the card front.


DIE CUTTING:   I die cut all my pieces from the Baseball Cap, Baseball Glove, Bat and Ball, All Star Emblem, Baseball Phrases, Baseball Phrase w/ Shadow, Baseball Batter & Silhouette, and then for the light blue circle behind the emblem, I used the 5th (from smallest) of the Pierced Circles set. (see photo below for color/piecing reference).

GLUING:  I glued the All Star Emblem to the light blue circle die cut.  I glued the glove directly to the left square.  I glued the #1 to the cap, and I cut each of the batter silhouettes in half and glued them to the lower portion of inside card, aligning them with bottom edge (as shown).  

POPPING UP:  Everything else I popped onto the card using foam dots.  The phrases serve as the easels to prop up the squares, so they "need" to be popped up.  


The top squares lay flat to fit inside a slimline envelope!  


Don't have a slimline envelope?  Here's how I made one out of double-sided 12" paper:  (the paper I used was an older SU! one - Best Suited? or something like that.  I used the one that is red with blue diamonds on it, perfect for a baseball themed card!)

I cut a piece of patterned paper to 8-1/2" x 12".
   
With the 8-1/2" across the top of my score board, I scored at 2" and 6"

I turned my paper so 12" is across the top of my score board, and scored at 1/2" and 10"

Next, I cut out the corner pieces (as shown below) and mitered the middle flaps (cut at an angle) and the 4 side flaps I angled ever-so-slightly.  


*Optional:  You may choose to round the corners of the largest flap.  I used my envelope punch board.


Next, I used double sided tape to attach the narrower side over the wider side, and then the bottom flap up over the sides.  


For the TOP... you may wish to add a piece of Score Tape and don't peel the backing off until you've written on your card and are ready to send it off.  (I ran out of Score Tape, but that's what I normally use.)

Here's the card going into the envelope...


and ready to seal ☺


I hope you enjoyed my card today!  Have a craft-astic week :) 

~Kristine

Products I Used:


Friday, August 19, 2022

Batter up!


Hi everyone! Linh here and I have a fun baseball card for you sports fans! The latest Baseball & Golf collection is amazing! If you struggle with making cards for the men and sports lovers in your life, this is the perfect collection for you!


Card Sketch

For this particular card, I followed a fun card sketch. it's nice a simple and perfect for using some of your pattern paper scraps!  These papers are Lawn Fawn's Gotta Have Gingham and Plaid papers.  I thought they'd be perfect for this baseball themed card.

The Retro Alphabet set from CottageCutz seemed like a perfect fit for this masculine card! 


Thursday, August 11, 2022

New Release - Play Ball!

 Hello Scrapping Cottage Friends,

We have a NEW RELEASE which is perfect for all those sports fans in the family! It is called Baseball & Golf! It has 16 fantastic dies which will make your card making and scrapbooking pages look great! The release has special pricing right now so go and check it out HERE!

I live in Arizona home of the Diamond Backs!  We have tons of baseball.  We host a number of times for spring training so the state has a lot of opportunities to see some fantastic games.

The easel card for today is using 3 of the new dies. They are All Stars with a ShadowBaseball, and Baseball Batter Silhouettes.


Design Steps:

1.  Use the Baseball die, the Baseball Batter Silhouettes, and the All Star with Shadow and cut out of black, white, and red.  
2.  Cut the following: Kraft 5 1/2 x 4 1/4, red card stock 5 3/8 x 4 1/8, Baseball DP 4 x 5 1/4,  a strip of red 1 x 4 1/8 and a piece of corrugated Kraft 7/8 x 4
3.  Glue the red to the kraft base, glue the Baseball DP to the red and next glue the red strip just slightly below center and then add the corrugated kraft strip to the red strip
3.  Put pop dots on the upper and lower part of the baseball and adhere to the card as shown.  Then put pop dots on the player and ball and add him just on top of the baseball

4.  Put glue on the lower half of the front flap and attach the front panel with the baseball

5.  For the inside Cut a piece of white card stock 4 x 5 1/4, red 5 1/4 x 1, and Baseball DP 5 x 3/4 and Assemble the All Star with Shadow
6.  Glue the white card stock to the inside, glue the red strip 1/8 of an inch from the bottom, glue down the Baseball DP to the red strip and then pop up the All Star (This will become the stopper for the easel pop up as seen below.  I added a couple of tickets that I stamped and cut out for additional interest.  The card is complete

CottageCutz Products


Here is the new release so please check it out in our store today!!


We have more inspiration on our YouTube Channel check it out HERE
Thanks so much for stopping by!  And I will see you next Thursday.

Blessings and Take Care