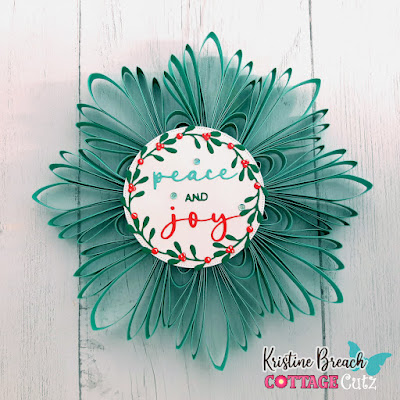
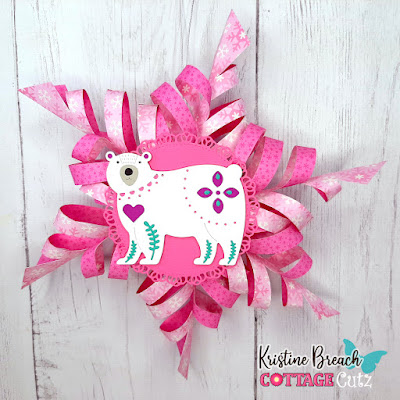
Kris here to share 2 different styles of paper snowflake ornaments that feature the Folk Art Bear and the Peace & Joy Wreath! I figured since today's the last day to create a Christmas in July project I would jump on that bandwagon ☺
Don't forget... our CHRISTMAS SALE is still going on -- you can SAVE 65% on ALL CottageCutz Christmas designs!!
They are both easy to make, however the 2nd took a bit longer and needed more explanation, so I did a quick 5 min. video on part of that one.
DESIGN STEPS for the PINK SNOWFLAKE
1. Cut 6 pieces of 4" x 4" paper (patterned or solid... not too heavy) and fold them all in half on the diagonal.
2. Measure 1 cm (or about 1/2") on the 2 sides perpendicular to the fold and draw a light pencil line to connect as shown below.
3. Make 6 equal cuts up to the drawn line. Then erase your pencil line.
3. Open up your square, and starting at the top, bring the top 2 flaps together in front, overlapping them and glue to adhere. (You could use small staples instead to make it go quicker.)
(See next 2 photos)
4. SKIP the next set of flaps and glue the 3rd set and 5th sets.
5. Flip it over and glue the remaining flaps together. You should have something that looks like this...
6. Make 5 more!
7. Alternate the colors (if you used 2 patterns or shades of double sided papers) then staple 3 of them at the base as shown below.
8. Repeat with the other 3 pieces, then staple the 2 halves together to make a whole snowflake!
9. Die cut a Nested Stitched Doily in pink and the Folk Art Bear in white, magenta, teal, and the muzzle in grey. Assemble and pop her onto the doily with foam tape.
10. Glue doily onto front of ornament.
DESIGN STEPS for the TEAL SNOWFLAKE ORNAMENT:
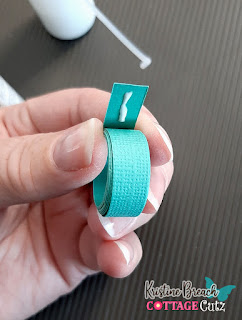
1. Cut (2) strips that are 1 cm x 30 cm and glue them end to end.
2. Wrap around a cylinder that is about the size of your mini glue bottle, or the plastic lid of the Stampin' Mist etc. adding glue every so often so it holds in place and especially at the end of your roll.
The rest of the steps to this snowflake ornament are in the video below. If it doesn't play for you, you can see it on YouTube here - https://youtu.be/vOY3Ptw3q6c
3. Cut 3 strips that are:
11 cm x 1 cm
9 cm x 1 cm
7 cm x 1 cm
(you'll need to make 8 total)


These are fabulous Kristine- I am definitely trying them
ReplyDelete