Hello! This is Sukie and today I have a beach themed card to share. I used the Surf Shack and Day at the Beach die sets. Both of the die sets are from the latest Beach & Tropical die release.
Pages
Monday, August 31, 2020
Enjoy...It's Your Special Day!
Sunday, August 30, 2020
Monkey Hugs
Hi!
It's Anja here. For today's post I made a card using a monkey die.
For this card I used:
- Cottage Cutz dies (Pirate Monkey, Treasure Chest Island, Under The Sea),
- Distress Inks,
- craft card base (15x15 cm),
- white card stock for die cuts and background (14x14 cm),
- black pigment ink,
- sentiment stamp,
- acrylic block,
- white pen,
- brush,
- paper glue.
First I cut and colored the monkey.
Next I cut and colored the stones and the palm trees.
And last I stamped the sentiment on the card.

Saturday, August 29, 2020
Good Vibes
 |
| so saffron, poppy parade, pool party |
Friday, August 28, 2020
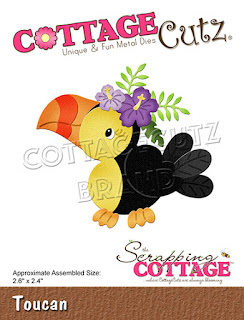
Toucan Birthday Party
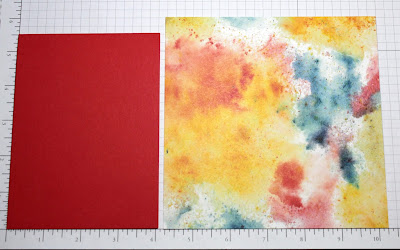
I had this sentiment had thought it so perfect for a toucan birthday card. The first thing I did was pick out a paper for the background. I wanted it bright with yellow and orange since those colors are in the birds' beaks. There were multiple options but I liked this one for its casual feel. From there the colors were chosen and the rest was easy.
I cut the pieces from various colors of cardstock using two oranges (beaks, feet, flowers) and two yellows (bird, cake, flowers). I cut the cake stand from silver and then used paper snips to cut off the base to make a cake plate. I assembled the birds but did not attach the eyes or feet. I wanted the eyes to be looking towards the cake and the feet on the branch, so these will need to be the added last.
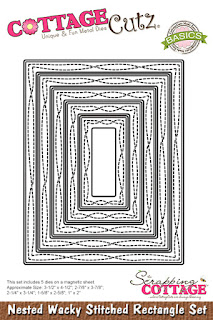
Since all of this will be adhered to an A2 card base, I cut a panel from my patterned paper 4 1/4 x 5 1/2 inches. I used white cardstock to cut a rectangle using the largest of the Nested Wacky Stitched Rectangles.
I stamped the sentiment in the lower left corner of the white rectangle, centered it on the panel and added the branch and cake. I placed the birds on the card without gluing down to finalize placement of the branch.
I glued the body of the lower toucan first leaving the head unattached so I could slip in the upper toucan and adjust its placement. When that was done I adhered the lower toucan's head using a fine tipped glue. Then I added the eyes and feet.
The lower right of the card looked a bit bare so I added a few flowers. Normally I like white space on cards but this one is so festive It seemed to need MORE! So I added....
a few sequins for bling! After all, what's a party without sparkle?
And now a little extra tip:
When cutting the beak, feet, body and flowers I had colors for parts that I did not use. It took just a few minutes to assemble a few more beaks and flowers. Now I have them ready to use on other cards. Not exactly the same as this card, but definitely usable. I store these in the die package so they are ready to go!
Dies:
Thanks for visiting today. Be sure to stop by the online store where the new release is on sale for a limited time.
I hope you have a fun and creative weekend!
Thursday, August 27, 2020
Sand Castles
Hello Scrapping Cottage Friends
It is Pam sharing some creative tips today!
I have another fun beach themed card for you. Who doesn't love the beach right! The only part of the beach that bugs me is sand everywhere!! Even in places you never dreamed of. But the sound of the ocean, the cool water, and the warm breezes really out number the sand complaint! Anyway I am using the Sandcastle die today and I hope you enjoy this card as much as I enjoyed making it!

4. Glue the sand to the bottom of the Sky DP
5. Cut a piece of white textured card stock 4 x 5 1/4. Then glue the beach rectangle to the center of the white textured card stock. Stamp the sentiment in black as shown


