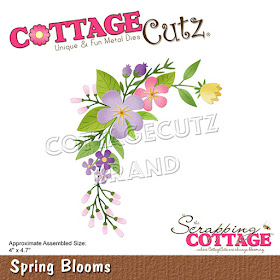
Although this card may look like it took a while to create, I'm going to share a few tips and tricks that made it go quite quickly.
I decided to use a limited color palette - a dark pink/purple, a dark teal blue and a green. I die cut all the pieces from white cardstock and divided them into three cups - one for each color.
I have a separate sponge dauber for each color and I began sponging the color on. For me, this is much faster than cutting the flowers from different colors of cardstock (although that is a great way to use up scraps!)
You can see that by doing this I get various shades of the pink and blue and can combine them too. I also used the blue with the green to give me both light and dark green stems. (I did cut a few leaves from vellum and two centers from gold foil.)
The next step was to assemble all the flowers. I used my silicone mat and this went quickly as nothing stuck to the surface. (Tip - you can use a silicone baking sheet for this as well. You won't want to use it for baking afterwards but big box stores will sell these in packs of three or four.)
Instead of trying to place the flowers on the stems, I left the tiny buds randomly on my sheet and used a fine tipped glue to put a tiny dot on the end of each bud. Then I moved the stem to each one and picked it up. Because of the mat, the bud sticks to the stem and not the surface. In this manner I assembled the flowers very quickly.
Next I worked on the card base. I cut a panel 4.25 x 5.5 inches and cut two circles using the second and third largest of the Stitched Circle dies. The larger one is cut from green foil cardstock.
Without gluing them together, I put them on top of each other and laid out some of the flowers to give me an idea of where I wanted my sentiment. Then I transferred the white circle and sentiment to my stamping platform and stamped the sentiment in black.
After centering the stamped sentiment circle on the foil circle I glued them both to the front panel higher than center leaving enough space for a small floral spray in the lower right corner. I placed all the pieces where I wanted them, took a photo with my phone so I could remember details and carefully removed the top layer. Then I started gluing them down using the phone photo as reference.
To complete the card, I used small colored rhinestones for the flower centers. I hope you enjoyed today's card and maybe learned a tip or two on how to make the creative process a bit easier!
Dies used:
Thanks for stopping by! Don't forget to stop by the online store where the dies are on sale for a limited time. I hope you have a fun and creative weekend!


Gorgeous card love the added shine so pretty!
ReplyDeleteThis is really a beautiful card Jeanne- love the color combo
ReplyDeleteBeautiful card Jeanne.
ReplyDeleteBeautiful card, those flowers are so gorgeous! I love how versatile these flowers are!
ReplyDelete