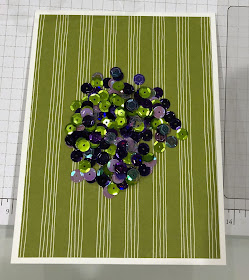
I started with an A2 sized top fold card base. I cut a panel from patterned paper the same size as the front (5 1/2 x 4 1/4 inches) and a slightly smaller panel from a coordinating paper for the back of the shaker.
Next I die cut all my pieces for the foliage and critters from a variety of green and neutral card stocks.
You may notice that there are a few pieces missing from this photo - that's because as I was puting this together I decided to add a few extra elements.
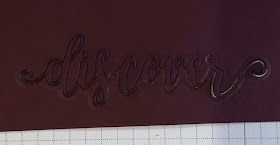
I cut the word discovery from a dark purple card stock that had been backed with adhesive paper. I like doing this with fine elements. I wait until I'm ready to stick it down before I try to remove it from the rest of the card stock since it also removes it from the adhesive backing.
I used the third largest oval and cut an opening from my from the front panel about 1/2 inch from each side and the bottom. Then I adhered an acetate panel to the back with "snail" tape.
On the front side I glued down all of my elements.
When I finished I put a double layer of foam tape on the back. Keep the tape very close to the shaker. It does not have to touch on all sides of the opening as long as the sequins (or beads or whatever) can't escape through any holes. I used anti-static powder to the inside of the tape so my sequins would not stick to it.
Then I placed the card front on top.
I hope you enjoyed this card today. It was a lot of fun to make.
Dies used:
Thanks for stopping by today! I hope you have a fun and creative weekend!


Love shaker cards and this is such a creative one- the woodsy appeal is really striking Jeanne - great work
ReplyDeleteOh my goodness what a darling shaker card love the little scene you created!!
ReplyDeleteSuper cute shaker card! Your papers are really pretty, and your card would be appropriate for either a guy or a gal!
ReplyDeleteThis shaker card is wonderful!
ReplyDelete