Pages

Wednesday, February 28, 2018

One Die Used Five Ways - Spring Tree of Life

Hello! I hope today finds you happy and in a creative spirit.

In today's video, I've demonstrated five different cards using the same new spring 2018 die, Spring Tree of Life. I really love CottageCutz's single pass dies and when I saw this one in the new release, I couldn't wait to use it.

Why do I love this style so much? Let me count the ways. First, they are super quick to cut. Just one pass through your machine and they're ready to use on your project. Second, they have such amazing detail! The art is always exquisite. Third, you can use them in so many ways and get so many different presentations out of them. How many? A lot. The video today shows five but I'm sure you can think of even more. The photo below shows my favorite of the set. I flocked the die cut for a soft and unique look. The others are different styles and size and include a few other spring dies as well.


Click on the thumbnail below or on this link to access the video.


I hope you get some great ideas to inspire you in your creative journey. Have a fantastic day!

Janet
SugarShine Designs

Dies Used In Today's Video:


Tuesday, February 27, 2018

Some Bunny Loves You

Hi Everyone, Sherry here. I really hope that you enjoy the video today. All of the dies that I used for this project are listed and linked below, so that you can easily locate them. Remember to practice you CPR - Craft Pray Repeat. Thanks for visiting me today and happy crafting.
God Bless,
Sherry

Some Bunny Loves You Video
https://www.youtube.com/watch?v=x0lSs7ovlg4


Monday, February 26, 2018

Some Bunny Loves You

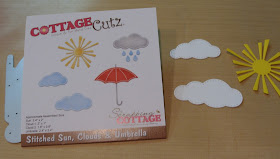
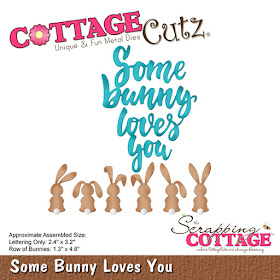
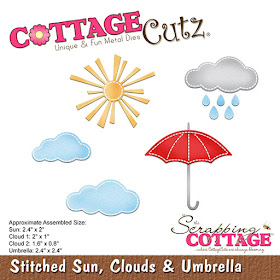
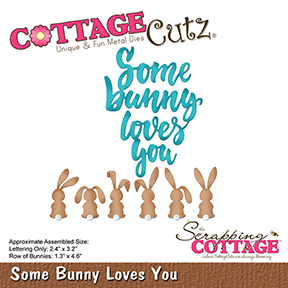
Hi, Lois here with my Monday card.  CottageCutz has a whole series of spring/Easter dies and stitched dies.  I chose a die from each set for my card today.   Be sure to check out their store because both releases are currently 25% off.  And who doesn't love a bargain.  The two dies I used for my card are Some Bunny Loves You and Stitched Sun, Clouds and Umbrella.  This card went together pretty easily.


I started by cutting my cardstock:

Purple - 8 1/2" x 5 1/2"
White - 4" x 5 1/4"


Using Ranger Distress inks (Bundled Sage and Tumbled Glass) I created my background, stamping the sprigs of grass with Memento Cottage Ivy.


I then cut my images . . .


. . . and built my little scene, coloring the bunny rabbits with some pale gray markers and popping up their cotton tails with small foam dots.


Here again is my completed card.


CottageCutz dies used on my card are:

http://www.scrappingcottage.com/cottagecutzsomebunnylovesyou.aspx

http://www.scrappingcottage.com/cottagecutzstitchedsuncloudsandumbrella.aspx


Sunday, February 25, 2018

Little Bunnies

Hi!

This is Anja here. I have a simple card for you today, made with the new cute Some Bunny Loves You die. It gives you so much options to craft. Not just Easter cards.


For this card I used:
 - Cottage Cutz die (Some Bunny Loves You),
- Distress Oxides (Antique Linen, Cracked Pistachio, Peacock Feathers, Frayed Burlap),
- Distress Inks (Walnut Stain),
- white card base (10,5 x 15 cm),
- white card stock for background (10 x 14,5 cm),
- white card stock for die cuts,
- brown foam,
- white felt,
- gold acrylic paint,
- water spritzer,
- heat gun,
- paper glue.

First I colored the background. I used Distress Oxides. I also colored a smaller piece of paper from which I cut the sentiment.


Then I cut the bunnies and the sentiment again from brown foam. I used foam to give my card some dimension.


Then I cut the bunnies again, this time from white card stock. I  colored them with Distress Oxide and Ink. I cut their tails from white felt.


I glued the sentiment on foam and colored it around the edges. I did the same with the bunnies.


I decided to give some more interest to the background. First I spritzed a bit of water over it and dried it with the heat gun.


Then I tapped a few drops of gold acrylic paint over it. I tapped over the drops with a cloth and got the marks, similar to the ones I made with water.


And then I just glued the background on the card base and then added the sentiment and all the cute bunnies. And my card was finished.


 This is all from me for this week. See you again next Sunday.
Anja Z.

Cottage Cutz products I used:


Saturday, February 24, 2018

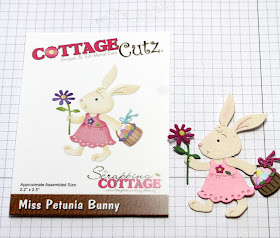
Miss Petunia Bunny (New Die)


Hello Scrapping Cottage friends! Thanks for taking the time to stop and visit today. It's Mary Marsh here bringing you the Saturday edition of the Blog. Have you noticed the days are getting longer? We are getting closer to Spring and Easter.

We have a new release of dies. There is a In-Stitches release with 12 new dies and a Spring release with 21 new designs. And, some other good news is that for a limited time, you can get the new dies at 25% off. Just in time to create your Easter or Springs cards.

Today, I am using the new Miss Petunia Bunny die to create an Easter card.  She is just the cutest little thing. So let's get started with some details on how I created my card.

Step 1: This week I started my card with a sketch I found online. I thought it would work perfectly to showcase Miss Petunia as well as layers to my card. Since I like to use patterned paper, the addition of layers to my cards always works for me.
Step 2: I looked through my patterned papers and found this Spring Mix. I liked the bright colors so I matched it up with some corresponding cardstock.
Berry Burst Card Base: 4 1/4" x 5 1/2"
Patterned Paper Layer: 4 1/8" x 5 3/8"
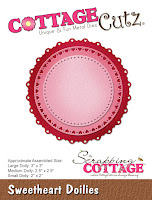
Berry Burst Doily Circle: I used the largest of these dies
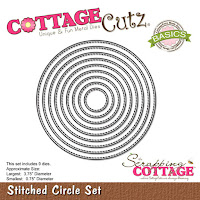
White Stitched Circle: I used the 4th largest of these dies
Berry Burst rectangle Layer: 1" x 5 3/8"

Step 3: I cut Miss Petunia Bunny using different colored cardstocks. The eggs in her basket I cut in white cardstock and then colored with distress inks - spun sugar, seedless preserves, tumbled glass, squeezed lemonade. Used a little pink chalk to add some color to her floppy ears. Attached the body pieces using Ranger Multi Matte Medium.
Step 4:  For the image panel I used a cloud template and sponged with tumbled glass distress ink. For the grass, I used mowed lawn distress ink and a dauber and sponged around the bottom of the circle.
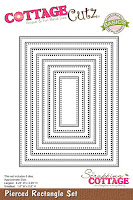
I realized I forgot to cut the larger rectangle panel. I used the 3rd largest pierced rectangle panel and cut in white cardstock. Decided to stamp a sentiment in the upper right corner with berry burst ink. I masked off the part of the sentiment I didn't want to use before i inked my stamp. For placement I used the Stamp-a-ma-jig.
Step 5: Now that the card elements are ready, I can start assembly. Added all the elements of the sketch to the patterned paper panel. I eliminated the scalloped trim on the long rectangle panel. I thought my diamond background paper was a bit to busy to add scallops.
I used dimensional adhesive to attach Miss Petunia Bunny to the image panel. I always like the look of the image lifted a bit from the background. It adds depth. 
 To finish off my card I scattered a few berry burst sequins. I hope I have given you an idea for using the Miss Petunia Bunny die. She is on sale for 25% off and there is plenty of time to get her for Easter cards.
 
See you next Saturday. Enjoy your weekend!
 
Dies I used to create card:
 
http://www.scrappingcottage.com/cottagecutzmisspetuniabunny.aspx

http://www.scrappingcottage.com/search.aspx?find=sweetheart+doilies

http://www.scrappingcottage.com/cottagecutzstitchedcirclesetbasics.aspx

http://www.scrappingcottage.com/cottagecutzpiercedrectanglesetbasics.aspx