Pages

Thursday, June 29, 2017

Beautiful Sea!

Good Morning!

It is Pam sharing with you today! I hope you are having a fantastic summer.  I live in the Hilton Head area so we have a good number of tourist coming to visit.  And the biggest draw is the beautiful Atlantic Ocean!  So I thought I would do an ocean themed card inspired by our beautiful sea!


Here are the design steps:

1.  Use inks on watercolor paper direct to paper then use water and a stipple brush to move the ink around on the paper
2.  Distress the edges of the paper and use distress ink on the edges
3.  Use a stencil and translucent embossing paste to create the bubbles
4.  Glue Prills to the bottom of the card to create the sand
 5.  Use Kraft card stock and cut out the Cottage Cutz Sand Dollar and Sea Horse
 6.  Ink the Sand Dollar and Sea Horse then splatter with a dark brown ink

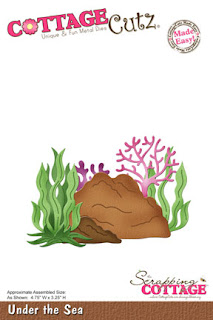
7.  Cut seaweed using the Under the Sea die and ink the seaweed.  Attach a piece of cheese cloth that has been lightly inked to the center of the card. Then attach all of the dies.  Last splatter the entire card with dark brown ink


I hope you take a walk outside and let nature inspire you!

Blessings
Pam


Tuesday, June 27, 2017

Mountain lodge

Hi, Janja here!

If you are an avid hiker, then the season to visit hills and mountains is here.
So today one card for lovers of hiking and mountaineering.


Supplies:
- CottageCutz dies: Mountain Lodge, Rustic Sign & Trees, Moose & Trees, Birch Trees & Deer
- white card base: 6 x 6" (15,2 x 15,2 cm), folded
- patterned paper: 5.5 x 5.5" (14 x 14 cm)
- white and colored cardstock
- Distress ink pads: Peeled Paint, Aged Mahogany, Vintage Photo, Hickory Smoke
- Distress oxide pads: Peeled Paint, Vintage Photo

Trim white cardstock for the card base and patterned paper for background. With scissors cut out green paper below.


From colored cardstock cut out all pieces with dies that we need for the mountain lodge. Also cut out the largest element of lodge from fun foam. Distress all pieces with Distress ink pads and assemble them into a whole.


Also prepare some spruces, birch trees and deer cutouts.


When we have everything cut out, start by assembling the card.
First paste green paper on blue background. Directly on the background fasten spruces and birch trees.
Fix the mountain lodge and remaining two spruces with adhesive foam tape.
Finally, we add a deer.


I hope you've enjoyed this project. 
Thank you for coming over and have a lovely day.


Monday, June 26, 2017

Birthday Balloons

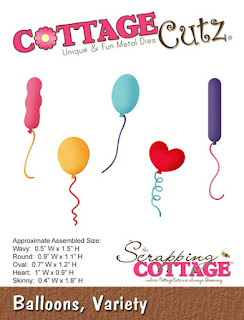
Hi, Lois here with my Monday card.  We all need birthday cards, and I have a relatively simple one for you today -- using two different CottageCutz sets, Happy Birthday Phrase and Balloons, Variety.


To start my card, I cut a piece of heavyweight cardstock 10" x 6 1/2", scoring it at 5".  I also cut two pieces of purple cardstock, 4 3/4" x 6 1/4" and 3" x 4 1/4"; as well as two pieces of patterned paper, one 4 1/2" x 6" and the other 2 7/8" x 4 1/8".


I then cut the images in various colors from the two dies . . .


. . . and sponged some distress ink on them to give them a bit of dimension.  I added a highlight on each balloon with a white gel pen.


Then I constructed my card base . . . 


 . . . and added the various die cuts.


Easy peasy!

CottageCutz dies used on my card:


http://www.scrappingcottage.com/cottagecutzhappybirthdayphrase4x4pre-order.aspx


http://www.scrappingcottage.com/cottagecutzballoonsvariety.aspx


Sunday, June 25, 2017

Make Great Memories

It's Anja here. I had a few days off this week and went to a music festival. I met some awesome new friends and made great memories. And today's simple card is inspired by my latest experience.


I used:
- Cottage Cutz dies (Phrase Memories, Phrase Smile, Mr. Snuggles, Film Strip, Pierced Circle Set),
- Distress Inks (Black Soot, Pumice Stone, Barn Door),
- white card base (15x10,5 cm),
- grey, black, red and white card stock for the die cuts,
- black&white patterned paper (14,4x9,9 cm),
- black and white pen,
- alphabet stamps,
- Versafine ink pad (Onyx Black),
- paper glue.

First I die cut all the pieces. I used colored paper this time and just shaded it around the edges.


I assembled the card and glued together all the pieces.


Then I added the rest of the sentiment inside the card, using alphabet stamps.


And this is my finished card.