Sunday, July 16, 2017

Mini Summer Cards

Hi!

It's Anja here. A lot of my friends and family members (including me) have birthdays during summer and I love making them summer themed birthday cards. Today I have two simple mini cards for you, that are easy and quick to make. 


For these two cards I used:
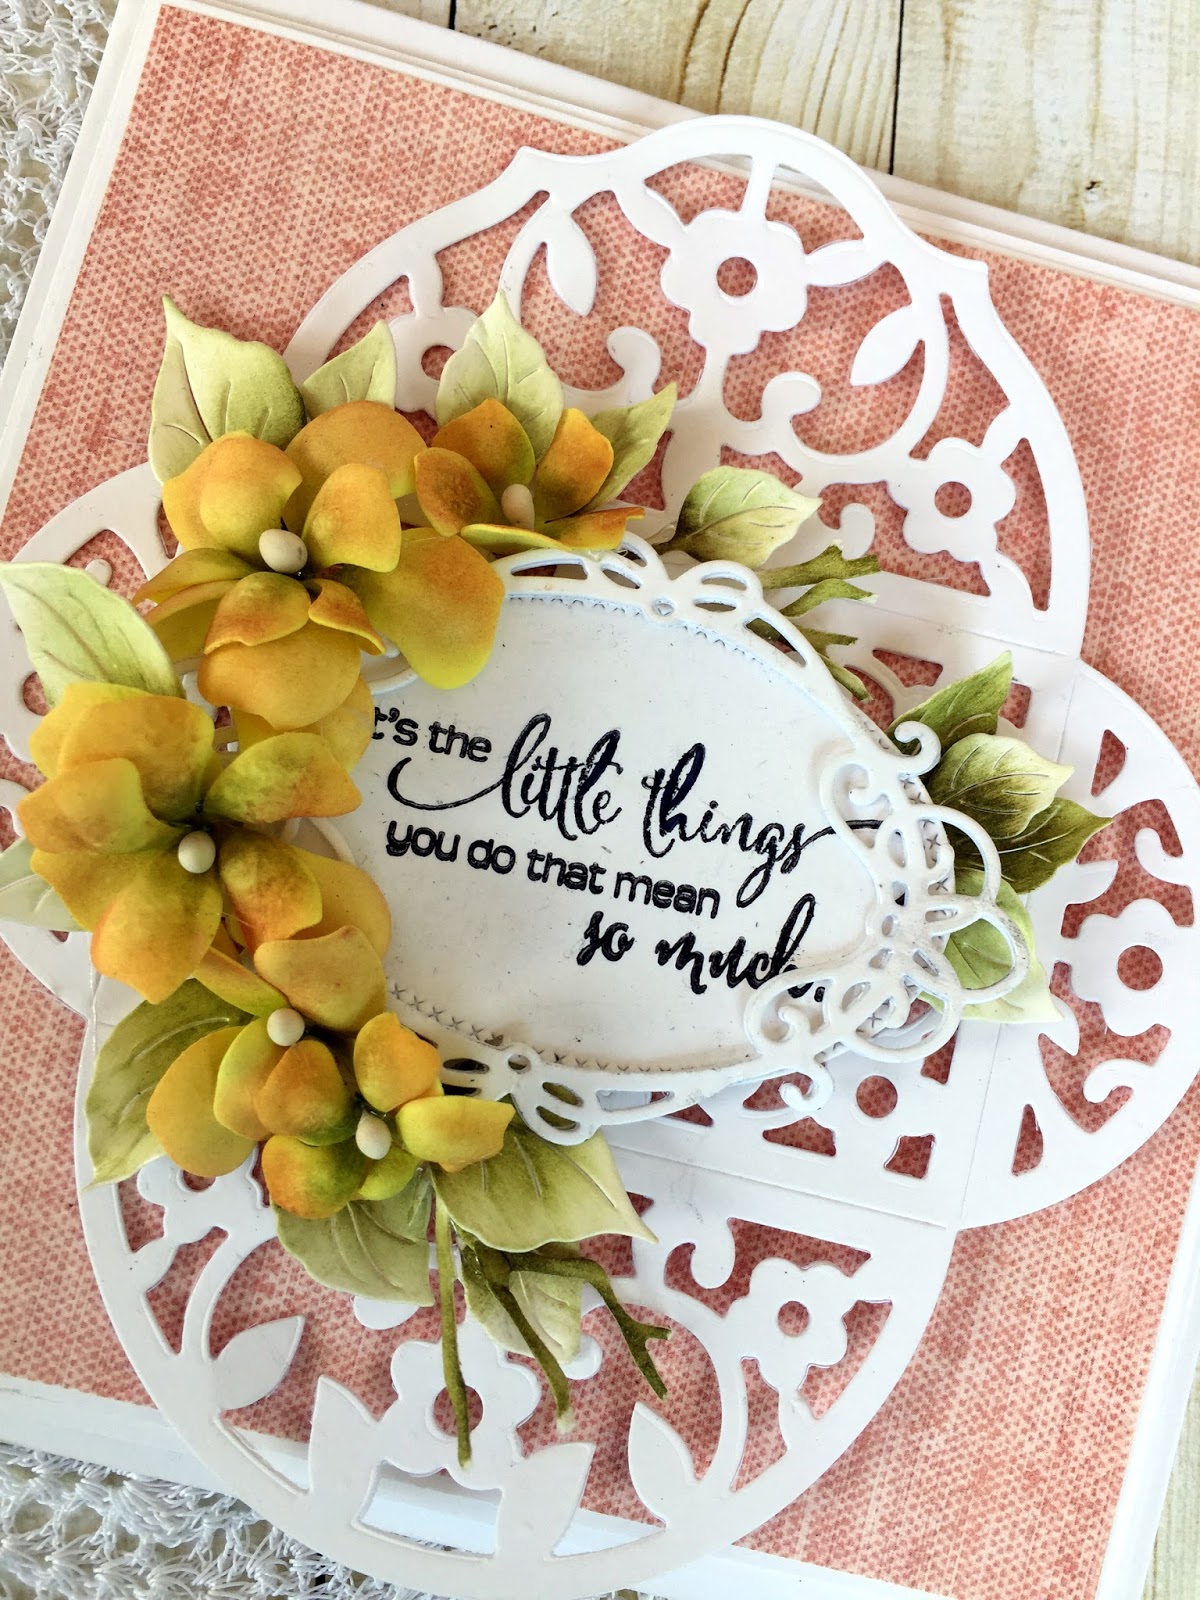
- Cottage Cutz dies (Pelican, Sailboat, Life Preserver, Anchor, Lighthouse w/ Clouds, Pierced Circle Set),
- Distress Inks (Vintage Photo, Walnut Stain, Faded Jeans, Pumice Stone, Wild Honey),
- two small craft card bases (4x4 inches),
- two matching envelopes,
- two white squares (10x10 cm),
- patterned paper (two 10x10 cm squares and two 9,6x9,6 cm squares),
- white and craft card stock for die cuts,
- paper glue.

This time I used smaller card bases. I cut smaller squares from white and patterned paper for the background. I shaded it with Vintage Photo Distress ink. 


Then I die cut the second and the third biggest circle from the Pierced Circles set. Circles cut from blue paper are the same size as circles cut from craft paper. 


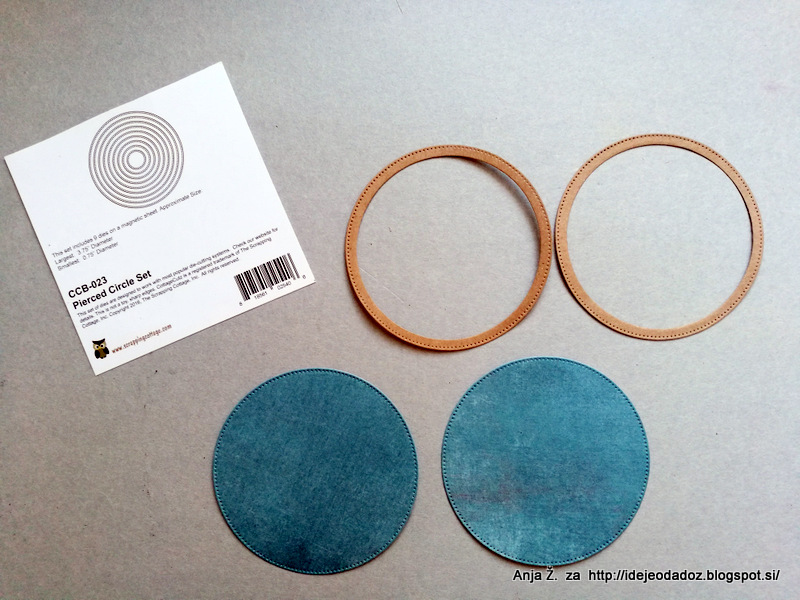
I die cut all the other parts from white and craft paper. For darker part I used craft paper. I colored everything with Distress inks.


For the inside I cut two squares from patterned paper and two circles from white card stock. 


I decided to decorate the envelopes. I die cut and colored an anchor and life preserver. 


And finally I just glued all the pieces together. 


Have a wonderful Sunday.
Anja Ž. 


Saturday, July 15, 2017

~ Honeymoon Car ~ (New die)

Hello Scrapping Cottage friends! Thanks for taking the time to stop and visit today. It's Mary Marsh here bringing you the Saturday edition of the Blog.

Today, I am sharing a sneak peak of some new dies that will be released over the weekend in the online store. There are 20 new wedding dies and 17 fun new nesting shapes. Today I am showing the new Honeymoon Car die and I placed it inside a Wacky Stitched Circle Die. I also used the Love Phrase word die.

So let's get started with some details on how I created my card.

Step 1:  I started my card this week by choosing my card colors. Since this is a wedding card, I wanted the colors to be bright and fun. I decided on blushing bride, mint green, and rose red as the main card colors.
Rose Red card Base: 4 1/2" x 5 1/2"
Blushing Bride Layering panel: 4 1/8" x 5 3/8"
Blushing Bride Designer Paper Panel: 3 7/8" x 5 1/8"
Step 2: I cut my wacky stitched circle in a shimmery vanilla cardstock. The Honeymoon Car is cut in the mint green along with the other card colors. The detail on the CottageCutz dies is always amazing and this new car is no exception. Plus, I love the stitching on this new die and we have other shapes coming with the same stitching.
Step 3: I started assembly of the card. At this point I wanted to stamp my sentiment. I am only going to use the words forever and always from my stamp. So I taped off the other words and used my stamp-a-ma-jig for placement. I didn't tape all the way to the top of the stamp. When I inked my stamp, I had the top part of stamp off the ink pad.
I placed my love word temporarily on my card just to see where I was going to place the sentiment. That way I don't have any interference from other cardstock and I get a good image.


Step 4: I adhered my honeymoon car image to the wacky stitched circle panel. Used dimensional adhesive to lift it off the circle panel. It always adds depth to your design. I love the balloons and tin cans that are part of this die. Just the way the bride and groom car gets decorated for their departure. So cute! Love this new die.
Step 5: Finished my card assembly. I used double sided tape for all the layers, multi medium matte for my Love word phrase.

That's my card for this week. The new dies are in the online store and for a limited time they are 25% off. Click here to go shopping.


Dies I used to create card:
http://www.scrappingcottage.com/cottagecutzhoneymooncar.aspx

http://www.scrappingcottage.com/cottagecutznestedwackystitchedcircleset.aspx

http://www.scrappingcottage.com/cottagecutzexpressionspluslovephrase.aspx


Friday, July 14, 2017

Lace card with Foam Flowers


Hello to all !!!

This is Anita here!!!! I have not been around for some time and miss all the action here!!! I have been travelling and also due to some family emergencies, life has not been very normal to me . But now everything is coming back to place so here I am with another creation of mine. This time I tried working with foam flowers . And you can see the results.


This is my first attempt with Foamiran and its very easy to use with Dies from Cottage Cutz.
To make this card......

1. Cut a pattern paper to size 5.5 inches x 5.5 inches.
2. Mat it on white card stock that is slightly bigger than the pattern paper.
3. Adhere the card panel on a card base 6 x 6 inches.
4. Cut out the flowers from the flower die using a foam sheet.
5. Add colours using the Archival ink/pan pastel/distress inks/crayons.
6. Switch on the heat tool and apply heat on the flower die cut just for 3-4 seconds. You will see the flower curl up. Mold a little on a foam pad.
7. Cut out leaves from the Leafy foliage die and colour with Forest Moss Distress ink.
8. Cut out three oval die  cuts from Cross- stitched Oval die and lay on top of each other with glue. Stamp the sentiment on top.
9. Cut two die cuts from Victorian Frame die and adhere together. Adhere this on the oval.
10. Cut one Lace envelope die cut and adhere on the card front. Add the oval and the flowers and leaves as shown.

CottageCutz dies used.


Do stop by at the CottageCutz store to get a huge range of beautiful die and stamps.

Thursday, July 13, 2017

Sweet New Baby!

Good Morning!

Hello Scrapping Cottage friends! It is Pam sharing one of our recently released baby dies.  And I am pairing it with a new release Expressions Word die.  The baby dies make such sweet cards it is hard for me to give them away!


Design Steps:


1.  Use an A2 white card base.  Cut two pieces of designer paper 5 x 3 3/4 and stagger them then glue  to the front as shown
 2.  Using orange, white, grey and blue DP cut out the Cottage Cutz Stork with Baby

3.  Use copic markers to add highlights and color baby's face.  Glue all the pieces together
 4.  Cut the Cottage Cutz Tea Time Doily out of white card stock and cut DP with the Cottage Cutz Cross Stitched Circle die then glue together
 5.  Put dimensional squares on the back of the stork and pop it to the center of the circle

6.  On white card stock using Cottage Cutz Expressions Plus Sweet die, cut out the word sweet three times and glue them together
7.  Glue the word sweet to the card and stamp new baby in blue ink mat then glue under sweet

Cottage Cutz Products


I hope you give this card a try.  It was simple and fun plus you could make a girl or a boy baby card just by changing up the papers!

Blessings and Thanks for Stopping By!

Pam