Monday, July 25, 2016

Home Sweet Home

Hello everyone,

It's Donna with another card from the new release from June's "home sweet home" collection. This release is really nice, it's all about the home. I am using the Build-A-House Set 2, The first die in the set is to build your house and the second one is accessories for the outside of your house.   The words are from  "Home Sweet Home Phrase set." which includes three words , so if you wanted to use the "home's" or "sweet" separately you can.

My card is an A2 card (4 1/4 x 5 1/2).


I have die cut all the pieces that I need to build my house.  The pieces that I cut out and I don't use, I like to keep them because I can use them later if I want to use the die.


I sponged all the pieces I needed to, to give the dies some dimension.


I cut out the clouds from the Clouds and Sun die cut set to use the largest cloud to make clouds in the background of my card.  I saved the pieces that I did not use to use at another time.


Here is how I used the largest die to make the clouds.


Dies used:


Saturday, July 23, 2016

BIRDBATH AND MORE

Hello dear friends !!!!

Happy Saturday to you !!! Are you all geared up to enjoy the weekend !!! I hope you have some plans for crafting also. I have set aside a few hours for making cards !!! I would like you all to have a look at all the CottageCutz dies , especially the new releases. They are simply fabulous.

Today, I am sharing a very simple yet elegant card with you. I have always been fascinated with bird baths and so when I saw this die , I was so happy.

So here is my card.


 I combined two die cuts CottageCutz die Victorian bird bath and Bird Bath together. This gave me more birds on my birdbath. I have distressed the die cut a little with Distress ink Worn Lipstick.

This is another close which shows how I have used the CottageCutz Blossom Branch. I have cut the leaves from the branch and distressed them with Peeled Paint distress ink and arranged with the flowers.


The backdrop is the Swirl embossing folder on white card stock cut to the size 4 inches by 5 inches.
Then I used CottageCutz  Wide Rectangle Stitched Frame and on top of that I attached the CottageCutz Stitched Oval frame set as shown in the picture.


For the filigree background, cut four CottageCutz Fancy Floral #2 die in white card stock, and arrange at the four corners of the frame.
Place the whole thing on a pattern paper measuring 5 inches by 7 inches. Adhere on green card stock folded to form the complete card that measures 7.5 inches by 5.5 inches. Add a die cut from stash for sentiment. Add a bow on the left side.


The finished card.


The CottageCutz challenge 4 is going on at the blog. So do share your entries to win awesome prizes.


Friday, July 22, 2016

I chair-ish your friendship

Hi, Vladka here!

On today's card I used dies from Home sweet home release and create a card which can be send to a friend. Nice way to tell anyone you like his/her company or to invite a friend to come around. 


Basics:

White card base: 4 1/4 x 6 inches (cut 4 1/4 x 12 inches, fold in half)
Additional piece of white cardstock and some white cardstock to cut out the die cuts 

Other Supplies:

CottageCutz Dies: Listed Below
Distress Ink: Fired Brick,  Aged Mahogany, Gathered Twigs, Ground Espresso, Victorian Velvet
Distress Markers: Fired Brick, Broken China, Wild Honey, Gathered Twigs, Hickory Smoke
Other: Scissors, Paper trimmer, Sizzix machine, Scor-buddy, Water, Sheet of Acetate, White watercolor in tube


1. First cut all die cuts out of the white cradstock: Bookcase, Lamp and Rug and a Chair. Color the Bookcase and the Rug with brown distress ink and use blending tool for that. Distress the edges with darker brown distress ink. Now, color the Lamp and the Chair with red distress ink and distress the edges with darker one. For finishing touch, add with a sponge also some white watercolor on the edges.


2. For coloring the books, plant, cat and all other small pieces use distress markers or any other markers:


3. Now it is time to do some smooshing on additional piece of paper. Add some Victorian Velvet Distress Ink on acrylic block and spritzed some water on it. Then take a piece of plastic acetate and gentle pressed it against the block to pick up some of the ink. Now, press the plastic on the paper to transfer the ink. This will give you a splotchy look. Do the same with Hickory Smoke distress ink on the bottom of the paper. This will look like the floor.


4. After paper is dry (you can use also heat gun to speed the process) is time to glue everything together. Just put all the pieces together as shown on the photo. Use 3D foam adhesive squares to glue the Chair and upper part of the Lamp.


I hope you like this easy and cheerful card. Enjoy the summer and have fun creating. And don't forget, fourth CottageCutz challenge is waiting for you. This time theme is GREENERY. You can linked your project here. And please, use only Scrapping Cottage dies.

Thursday, July 21, 2016

It's a Girl!


Hello everyone,

It's Donna here to share a cute waterfall mini album made with one sheet of 12 x 12 paper.  I saw a tutorial on youtube, so I thought I would give it a try.  Here is the link to the tutorial.


Here is how I put it together:

  1. The mini album measures 3" x 4".
  2. I used one sheet of black 12 x 12 -  65 lbs card stock to construct the mini 
  3. I scored the 12 x 12 paper at 4" and 8" turned my paper and scored at 3", 6", 9 (please refer to the tutorial to learn how to put the album together)
  4. My design paper is cut at 2 3/4 3 x 3/4 - 8 pieces 
  5. I cut the "It's a Girl", giraffe and lion die with my big shot to decorate the book.
The first two pages when you open the book, the little giraffe is a CottageCutz die

The next page, the lion is from the CottageCutz die 

First waterfall

 Both waterfall's

Back of the waterfall mini

I hope you are inspired!  Please stop by and join the challenge, this months theme is greenery. 

Dies used:


Wednesday, July 20, 2016

Under The Sea Hinged Card Technique


Hello Scrapping Cottage friends! Thanks for taking the time to stop and visit today. It's Mary Marsh here bringing you the Wednesday edition of the Blog.

Today for your viewing pleasure, I am featuring some dies from the June 2015 release. It seemed appropriate to show a beach themed card today since that's where I am as you are reading this. I am with my hubby and sons and their families near Charleston, SC-on the Isle of Palms.

I created an underwater scene and then I realized my card was going to be a bit larger than the usual A2 size that I make. I have some 12 x 12 paper, but I didn't have any in the navy blue shade I wanted to use. So I did a hinge technique for this card. It worked out well and I show you how in the instructions below.

navy card base: 5 3/4" x 4 3/4"
mint green layer: 5 5/8" x 4 5/8"
mint green patterned paper layer: 5 1/2" x 4 1/2"
CottageCutz dies used: under the sea, happy fish 2 and clown fish

I found this mint green pattern paper in my stash and I thought it had the look of sea water so I decided to use that. You could also sponge or brayer water in to create an underwater scene.

Next I cut all the die elements I wanted to use. For the sea greenery, I sponged some of the cardstock to get a variation in shades. I did the same with the coral. I used a rose shade of cardstock and sponged one to get the shade variant.

For my fish I die cut them from a multi media paper and colored them with an aqua brush and navy reinker and the rose ink pad. So the fish and the coral are the same color but I like how I was able to get a darker shade by water coloring.


For the water bubbles I used the happy fish 2 die and cut from acetate and used the round circles from that. I cut it 2x to get all the bubbles I needed.

Now for the 
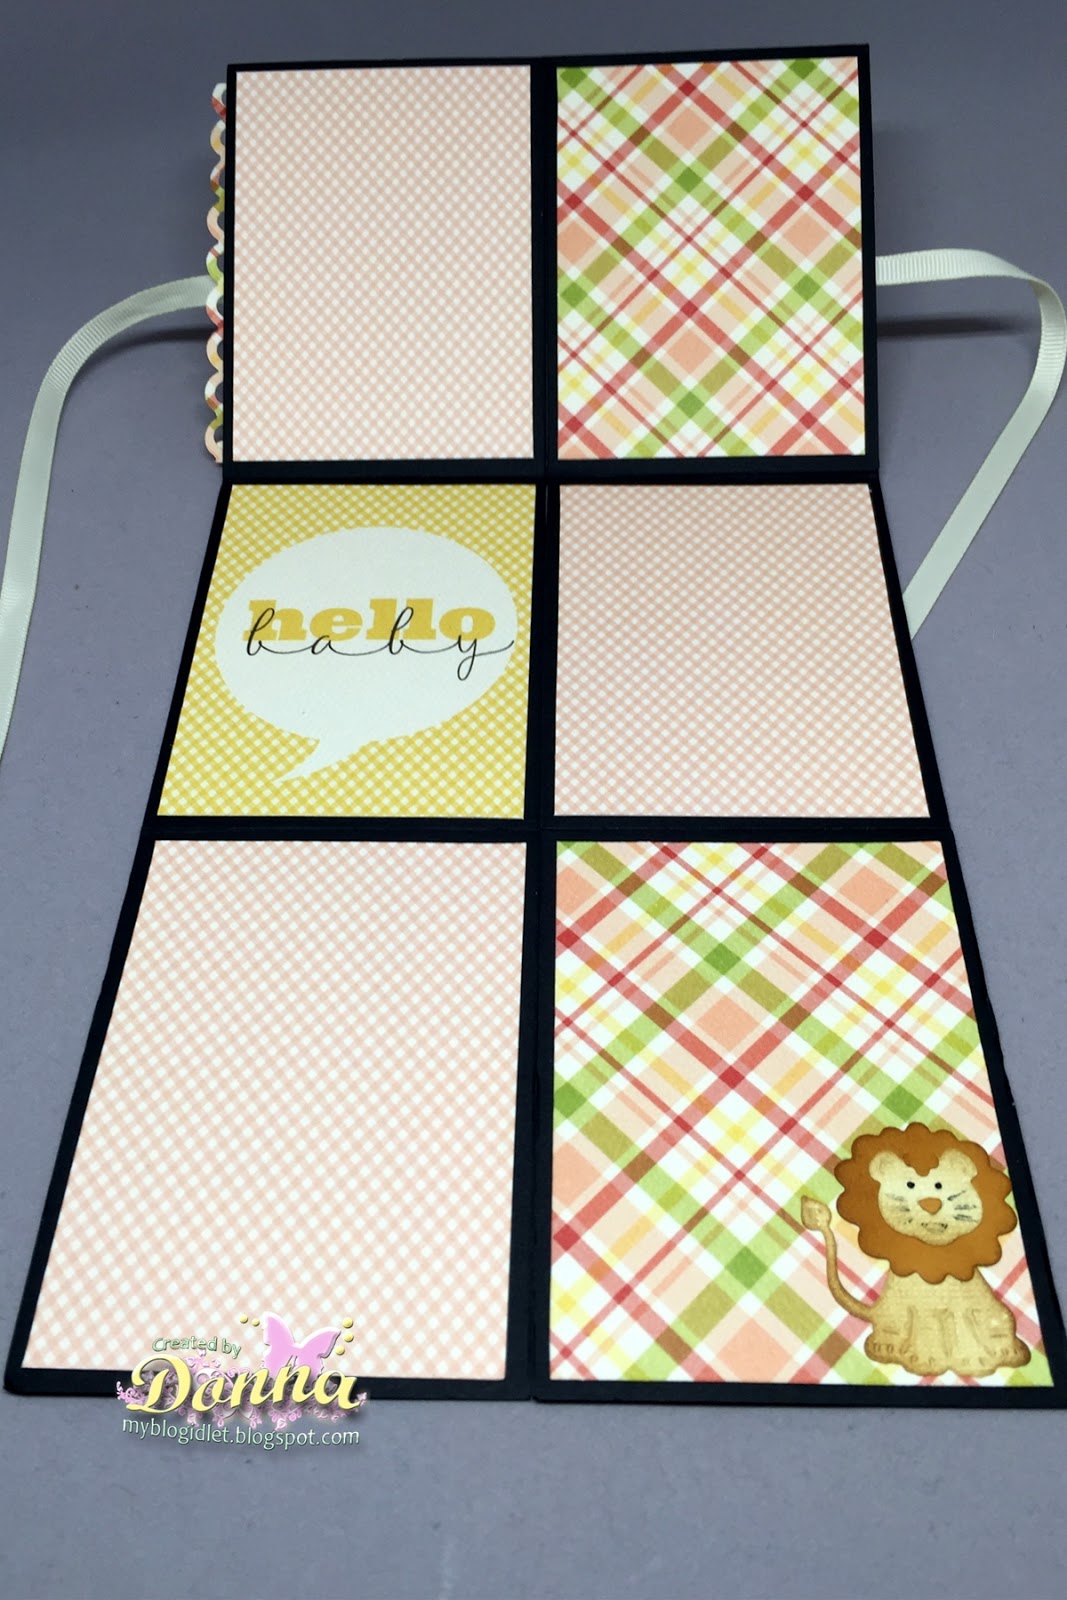
hinge technique. I cut 2 pieces of navy cardstock 5 3/4" x 4 3/4". I also cut another 2" x 5 5/8" piece of navy and folded that in half. Using Scor-Tape for added strength, I taped this smaller piece on the first navy panel. Then I repeated the process with the 2nd navy panel. Voila! Now I have a custom made base size and didn't have to go and buy any 12 x 12 paper to make it.

Here are some photos of how I did this technique. I used beige cardstock and dark brown for the hinge part so you could see in the photos what I am doing. You can add patterned paper to the inside to cover the hinge or use an embellishment.


Well, my friends that's my sample for this week. Don't forget that we are having our 3rd challenge and the theme this month is greenery. This sample works as does this card I showed you last week. Just in case you need a little inspiration.

Hope you are enjoying your summer! So until next time........inky hugs.