Showing posts with label Holiday Bell. Show all posts

Saturday, September 03, 2016

HANGING CHRISTMAS BELLS

Hello to all !!!! Anita here !

The Christmas magic is in the air. It is very much evident from the loads of cards all around us with Christmas theme. CottageCutz has released fabulous dies for this season and one can create simple to heavy layered cards with these. You can check them out here and here. I am sure you will fall in love with theme.

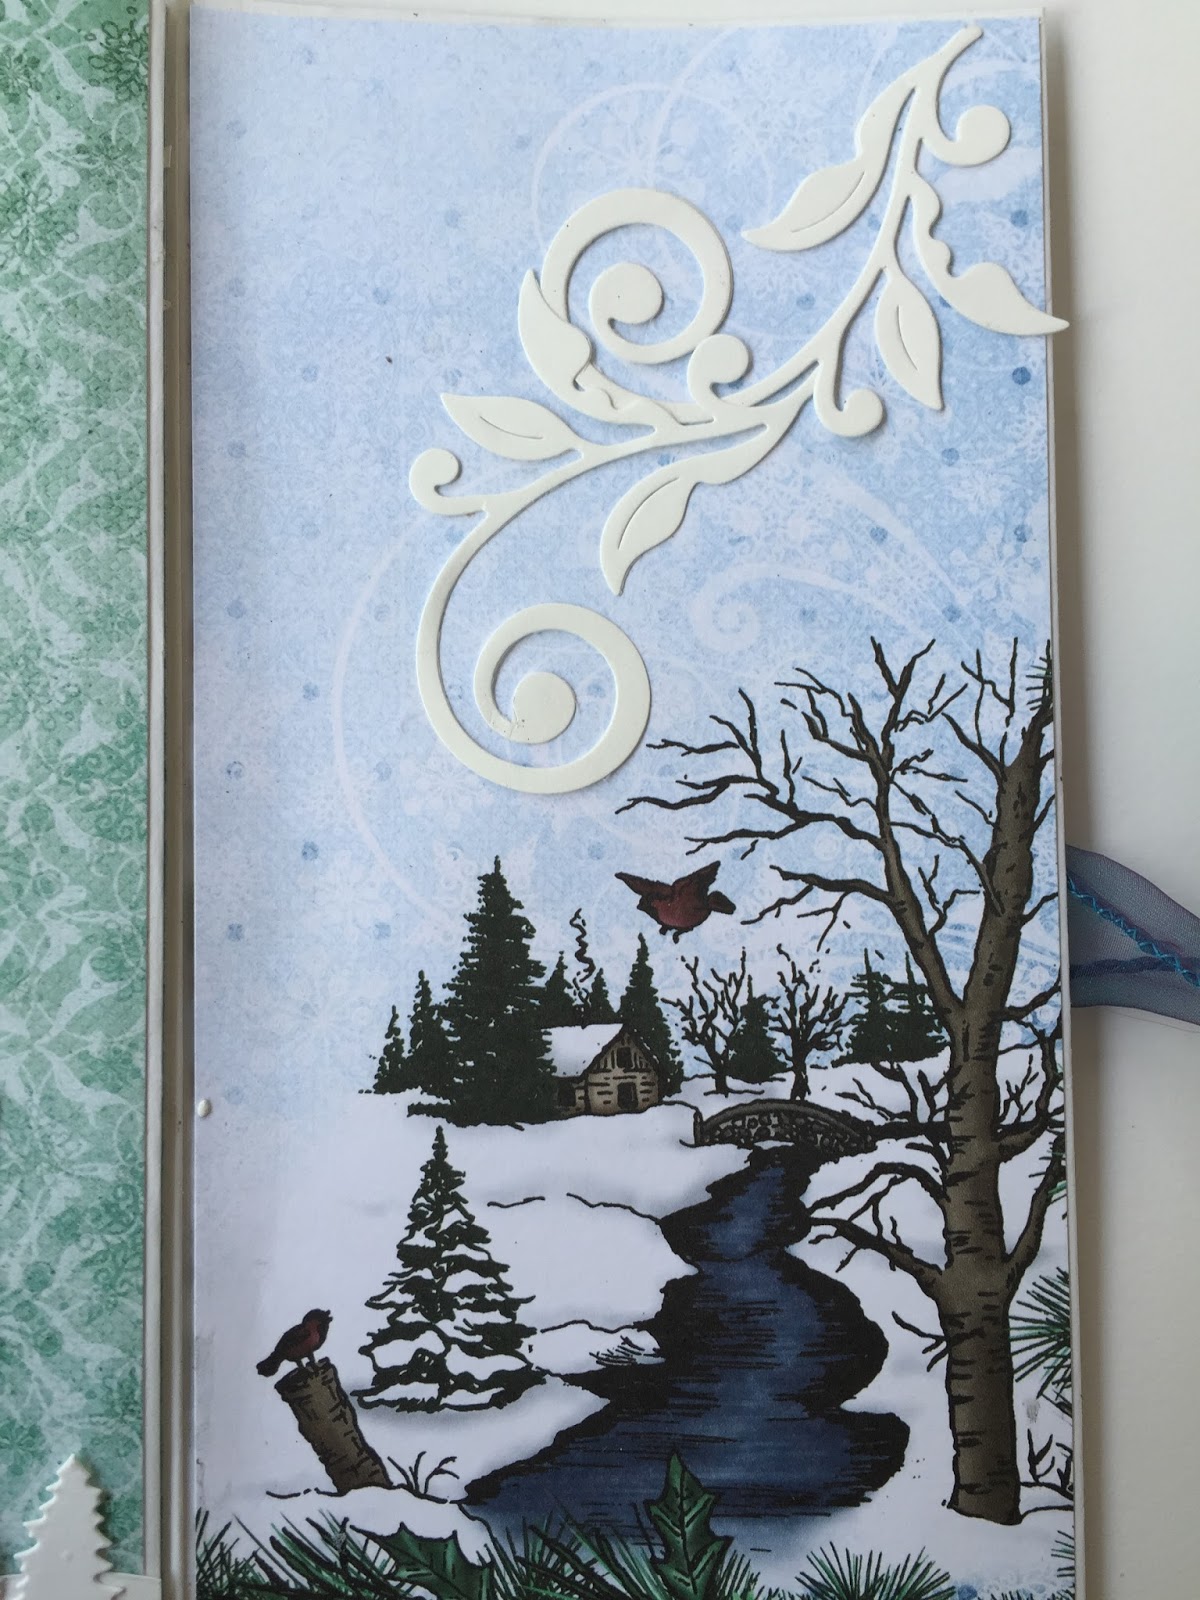
I have a Christmas card with hanging bells.


  Here are the steps for creating this card


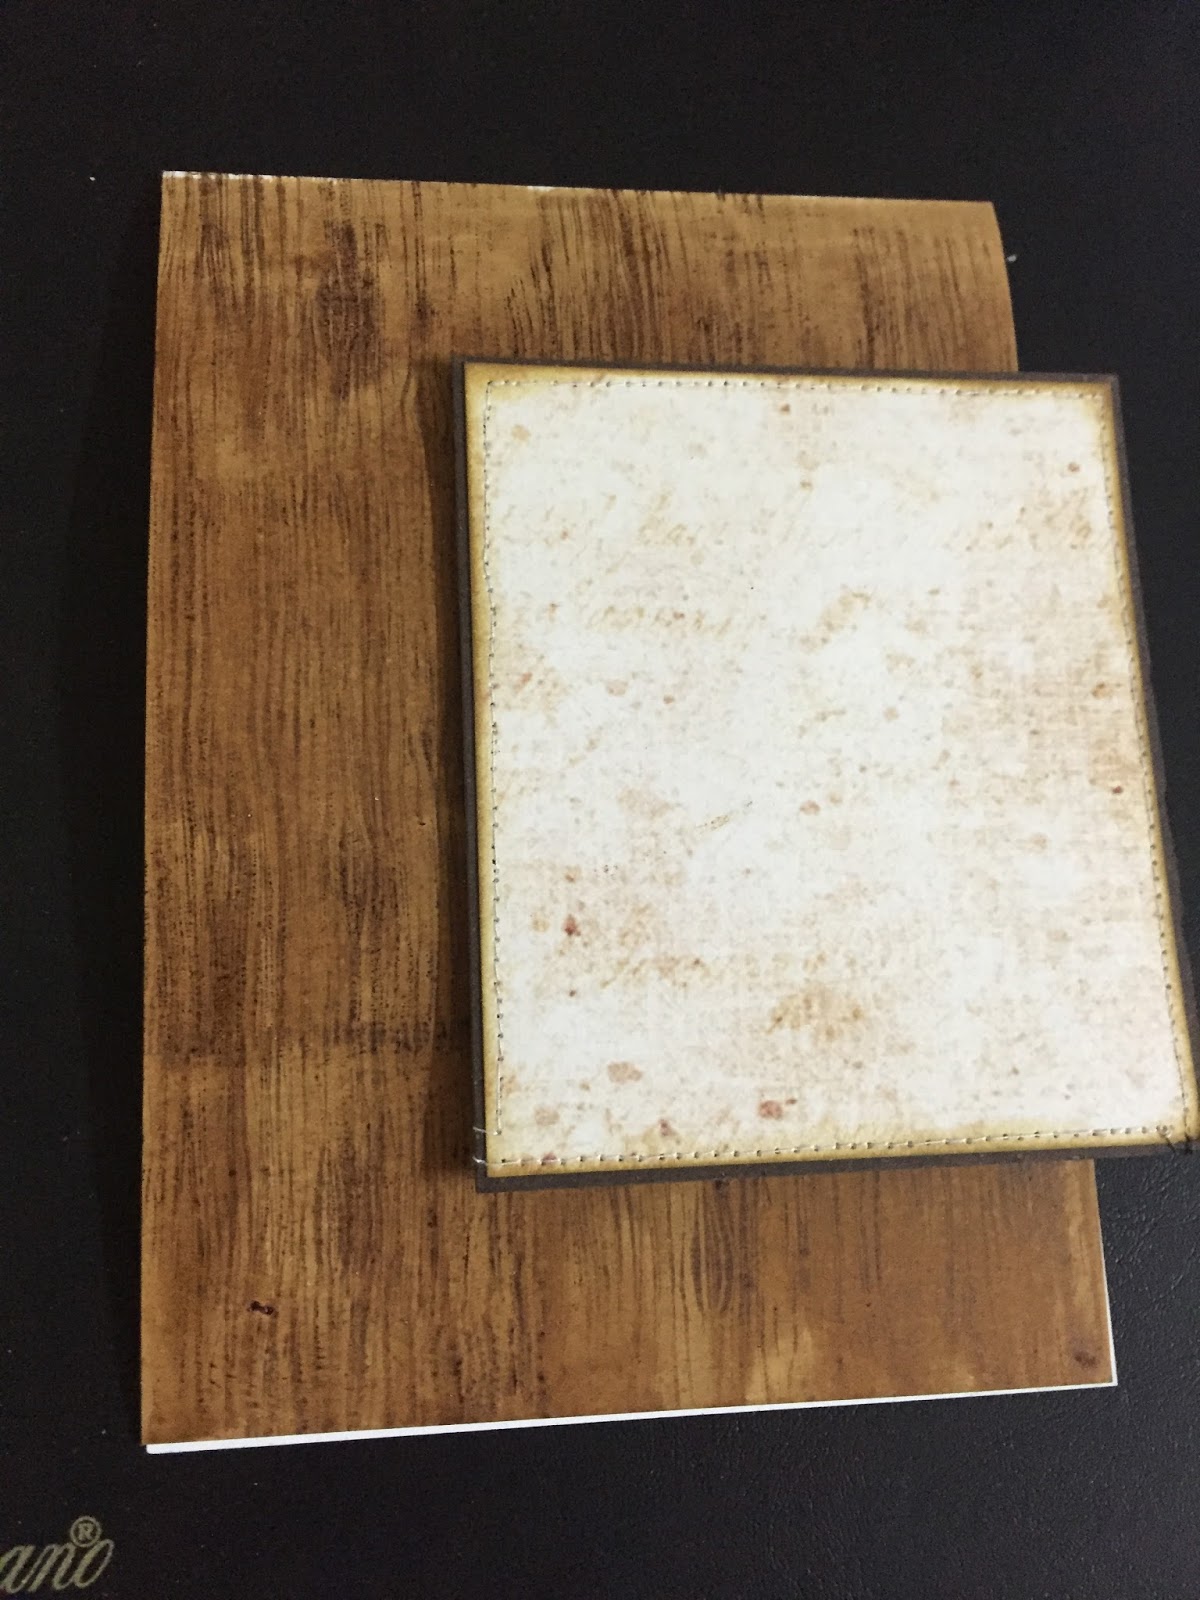
Apply Distress ink Brushed Corduroy on a card stock measuring 7inches x 5 inches


Stamp on this with Walnut Stain distress ink


Add a second mat layer mounted on brown card stock 4.5inches x 4.5 inches.Stitch around the edges.


 Colour all the die cuts with Zig brush pens. You can use any colouring medium.


 Adhere the die cuts in layers like this. Tear the edge on the left side and distress with Mowed Lawn.


Adhere on a card ctock 7.5inches x 5.5 inches. Add sentiment on the left edge.

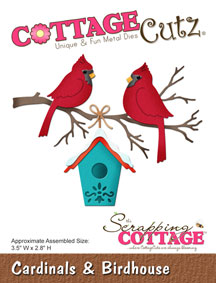
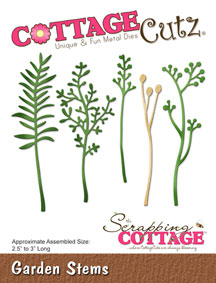
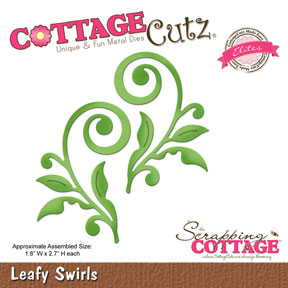
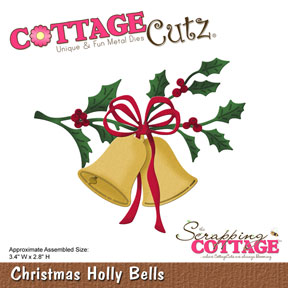
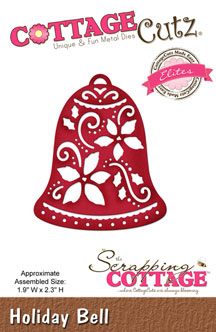
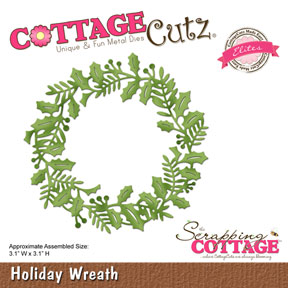
CottageCutz dies used.


Do share with us what you create. Happy Crafting to all.


Saturday, August 20, 2016

TRI FOLD CHRISTMAS CARD

Hello everyone !!!

How are you all doing ?? Are you having fun with all the gorgeous Christmas inspiration?? It's indeed so exciting that the Great day is just 3 and 1/2 months away but the air is filled with spirit of joy. Card making is in full swing everywhere and new designs are making a show everyday. On this ocassion, CottageCutz has come up with amazing Christmas theme dies and many more are still on the way. The new one released just a few days ago are the cutest and most beautiful ones.

Today I'm sharing a Tri fold long Christmas card with you and the twist is that , it is made of envelopes. Yes!!! We can effectively use envelopes to create card bases. This saves a lot of time especially when we have to make a lot of cards.
I am sharing here the pictures as to how I have prepared my card base. The close ups of the various parts of the card will explain you , how I have built up my card.

Here is my card.


  The finished card measures 8.75inches x 4.5 inches.
 You need  three long envelopes 8.75 inches x 4.5 inches that open side ways on the elongated side.
Place the envelopes side by side like this with two envelopes on either side flap side up.


Join the envelopes together. Adhere the flap of the envelope on the left side with envelope in the middle and repeat with the other side.

Cut out pattern papers a little smaller than the envelope to cover the card front, inside and back. Here I have used pattern papers and  stamp from Heartfelt Creations .


Add ribbon and now adhere the pattern paper.


Decorate the card with CottageCutz dies. Add an embossed pattern paper and cover with CottageCutz Wide rectangle stitched frame. Cut die cuts from Holiday bell and layer upon a scrap of paper. Add glitter. Adhere to the card. Add die cut  from the Merry Christmas ribbon.


On the first panel add die cuts from CottageCutz Garden stamp and Winter Cabin Border.


Add die cut from CottageCutz leafy swirls and Best Wishes die cut.


 The finished inside panel


Dies used are listed below.


A fabulous challenge# 5 is going on at the blog and we would be really happy to see your entries. 


Friday, August 12, 2016

Holiday Bell and Holly Leaves

Hi, Vladka here!

Woho, time for Christmas cards already. New CottageCutz dies arrived and you have to check it, they are great. To warm up, I create this simple card:


Basics:

White card base: 4 1/4 x 6 inches (cut 4 1/4 x 12 inches, fold in half)
Additional piece of white cardstock and some white and red cardstock to cut out the die cuts 

Other Supplies:

CottageCutz Dies: Listed Below
Distress Ink:  Aged Mahogany, Peeled Paint, Forest Moss

Other: Scissors, Paper trimmer, Sizzix machine, Scor-buddy, blending tool

Cut the Holiday Bell and Berries out of red cardstock and Holly and Merry Christmas Ribbon out of white cardstock.


Color the Holly leaves with differnet green ink and use blending tool for that. Distress the edges with darker green distress ink. Curl the edges of all the leaves.


Distress also the edges of Holiday Bell and Berries with Aged Mahogany distress ink.


Cut off the ribbon part of the Merry Christmas Ribbon die cut and use just Merry Christmas part:


Now glue Bell and Holly leaves together as shown on the photo:


To finish the card, flick some droplets of gold shimmer spray and let it dry. Card is now finished.


I hope you like this card. Have fun creating. And don't forget, fifth CottageCutz challenge is waiting for you. This time theme is BIRTHDAY CARD. You can linked your project here. And please, use only Scrapping Cottage dies.