Showing posts with label Garden Stems. Show all posts

Thursday, May 25, 2017

Prayers

Good Morning Scrapping Cottage Fans!

It is Pam sharing with you today. And I really excited to show you our new release Expressions Plus Dies!  Here is my Design Teammate to show you how wonderful these dies are!!
We gave you a small sample in the video of the 35 dies so I am including a picture of all the new release dies!
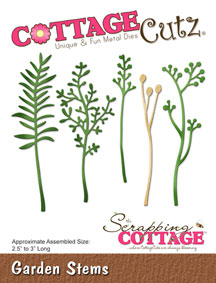
Now onto my design for today!  I am featuring one of the new word dies prayers mixed with the flower and stems dies!  This card is going to someone who is need of some support and cheer.


Here are my design steps:

1.  Using Wildflowers 1Wildflowers 2Wildflowers 5 and Garden Stems cut all of them out in white card stock
2.  Using dabbers ink the flowers and leaves with green, red and orange
3.  Cut out a 5 x 3 3/4 piece of white card stock and embossed with a musical notes embossing folder
4.  Use white card stock as your A2 base.  Cut out a piece of green card stock 5 1/4 x 4 and glue to the A2 white base.  Glue the note embossed white card stock to the green

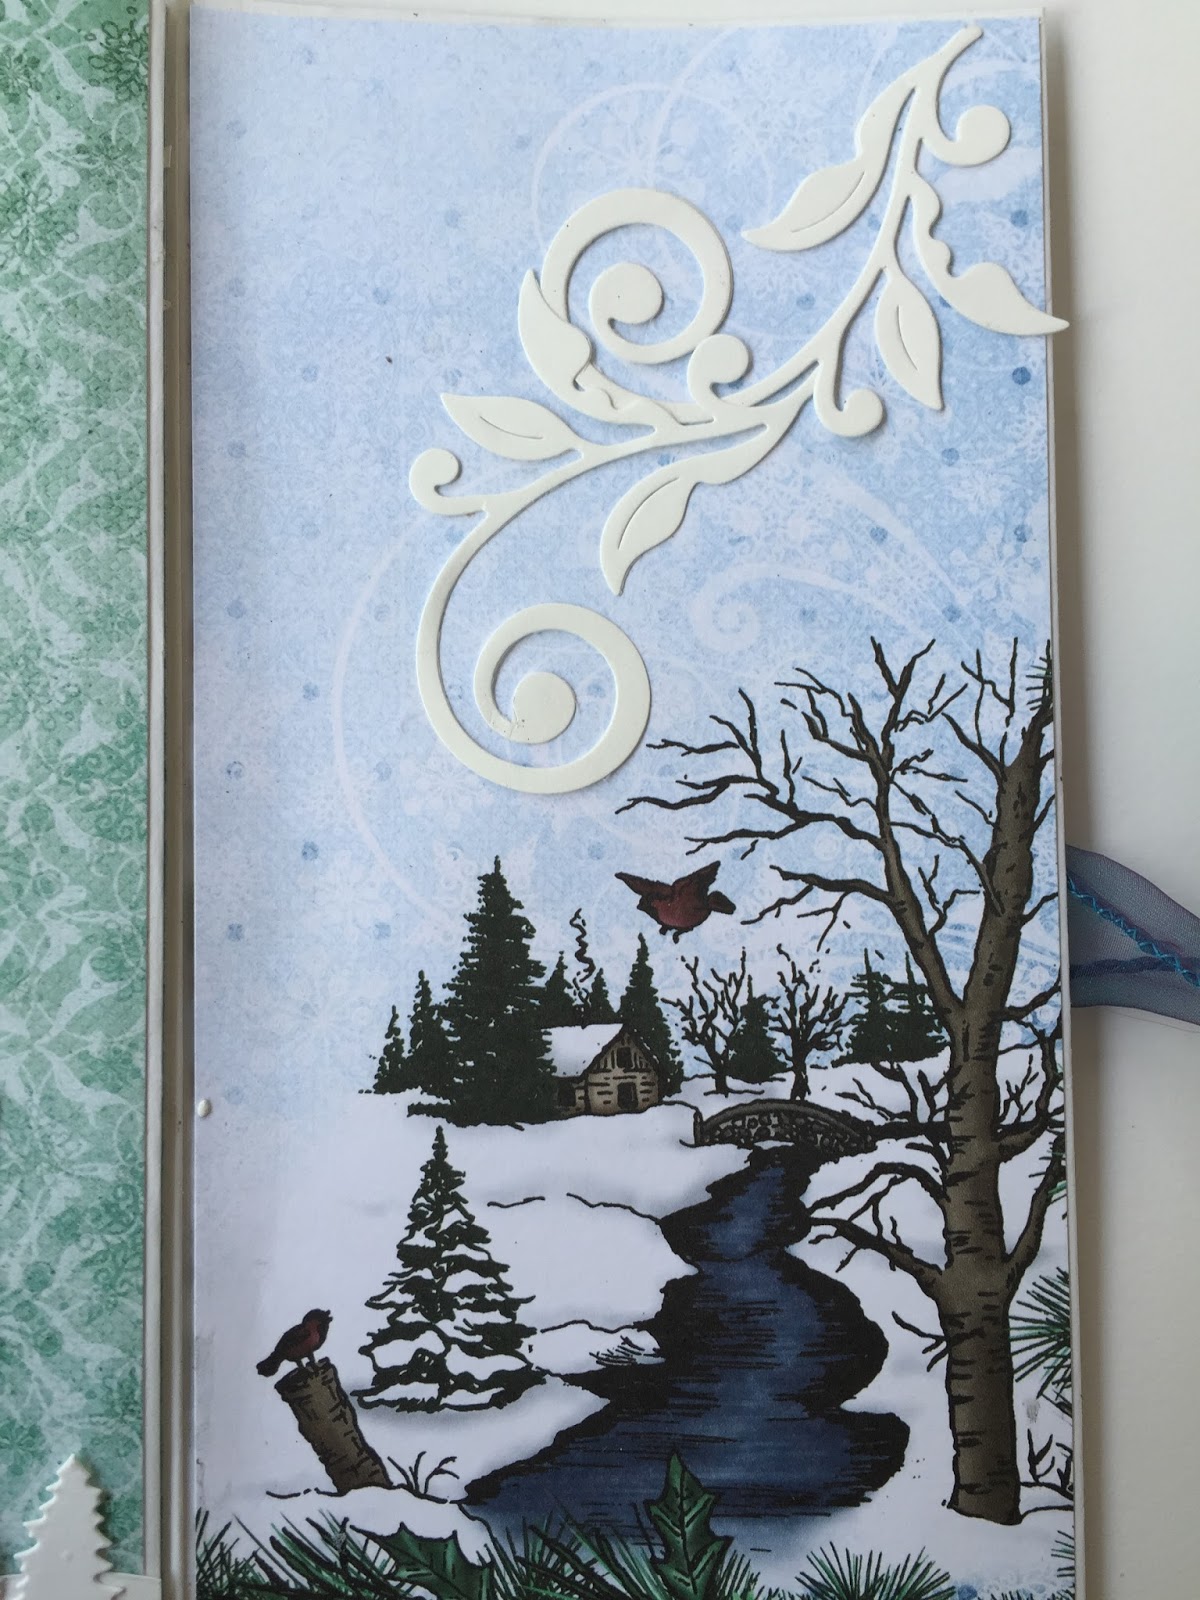
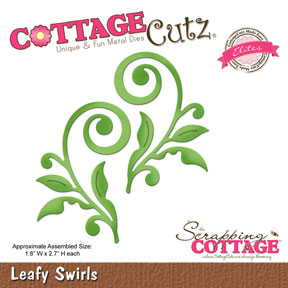
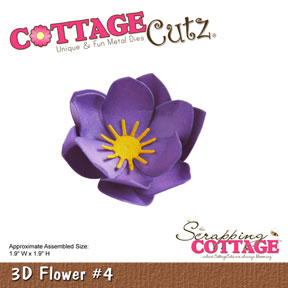
5.  Glue all of the flowers down as shown
6. Cut out a 2 x 4 inch piece of vellum and gently tear the edges.  Attach to card front as shown the on white card stock cut out the word prayers.  Glue prayers to the vellum and add the pearls

This card is beautiful and easy!  It will bring cheer to someone who needs to have their spirits lifted!

Here are the Cottage Cutz Products used:


I hope you will check out all of the new Expressions Plus dies that are in our store!

Blessings
Pam


Saturday, August 20, 2016

TRI FOLD CHRISTMAS CARD

Hello everyone !!!

How are you all doing ?? Are you having fun with all the gorgeous Christmas inspiration?? It's indeed so exciting that the Great day is just 3 and 1/2 months away but the air is filled with spirit of joy. Card making is in full swing everywhere and new designs are making a show everyday. On this ocassion, CottageCutz has come up with amazing Christmas theme dies and many more are still on the way. The new one released just a few days ago are the cutest and most beautiful ones.

Today I'm sharing a Tri fold long Christmas card with you and the twist is that , it is made of envelopes. Yes!!! We can effectively use envelopes to create card bases. This saves a lot of time especially when we have to make a lot of cards.
I am sharing here the pictures as to how I have prepared my card base. The close ups of the various parts of the card will explain you , how I have built up my card.

Here is my card.


  The finished card measures 8.75inches x 4.5 inches.
 You need  three long envelopes 8.75 inches x 4.5 inches that open side ways on the elongated side.
Place the envelopes side by side like this with two envelopes on either side flap side up.


Join the envelopes together. Adhere the flap of the envelope on the left side with envelope in the middle and repeat with the other side.

Cut out pattern papers a little smaller than the envelope to cover the card front, inside and back. Here I have used pattern papers and  stamp from Heartfelt Creations .


Add ribbon and now adhere the pattern paper.


Decorate the card with CottageCutz dies. Add an embossed pattern paper and cover with CottageCutz Wide rectangle stitched frame. Cut die cuts from Holiday bell and layer upon a scrap of paper. Add glitter. Adhere to the card. Add die cut  from the Merry Christmas ribbon.


On the first panel add die cuts from CottageCutz Garden stamp and Winter Cabin Border.


Add die cut from CottageCutz leafy swirls and Best Wishes die cut.


 The finished inside panel


Dies used are listed below.


A fabulous challenge# 5 is going on at the blog and we would be really happy to see your entries. 


Saturday, July 09, 2016

A VICTORIAN CARD WITH ANITA KEJRIWAL


Hello everyone!!!

I hope you all are geared up to enjoy your weekend!! I'm Anita here to make it more creative and fun filled for you. How about some card making ??? CottageCutz has some fabulous new releases and a huge range of dies to get you going. Have you got the Home Sweet Home new release. Do check it out to see how beautiful they are.

Today, I am sharing a Victorian style Easel card with you that has lots of layers and dimension.


I have some close ups to describe the details of the card.


The CottageCutz 3D flower# 4 have been coloured with Archival inks Chrome Yellow and Olive Green and then embossed and shaped. On the base of the card, arrange the die cuts from CottageCutz Lace Border, CottageCutz Butterfly and CottageCutz Large Flourish


 To make the side panel from CottageCutz Stitched Rectangle frame, place the smaller frame in the left hand corner instead of placing in the middle. This way you will get a wider frame base. I have used the  Cottagecutz Stitched Oval frameto make the framed lady.


Arrange the flowers and leaves using CottageCutz Garden Stems and CottageCutz Leaves and stems


 The Complete Card


To make the base of the card, cut a white card stock measuring 12 inches x 6 inches. Score at 6 inches on the longer side . Then further score at 9 inches. Fold like an easel.
I have used a shabby green pattern paper as my mat layer. The base mat layer measures 5.75 inches x5.75 inches and the card front mat layer measures 2.75 inches x 5.75 inches.

Add two lace border die cuts from  as shown on the base of the card.


Have you seen the current challenge at the CottageCutz blog??? It's all about Greenery!!! So do share your work to win some awesome prize.