Hello everyone,
It's Saturday today and I'm Anita here with a super fun post for CottageCutz. This May, we have come up with many new dies and it's called This and That. It's a super collection and you will certainly love all the new release dies.
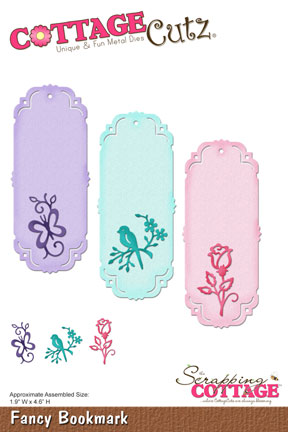
I'm using the CottageCutz Fancy Bookmark die today to create many fun things. This die is so good that you can create not only bookmarks but also tags and labels and even backgrounds for cards. Look at my projects and you will know how.


This die comes with three design cut outs .


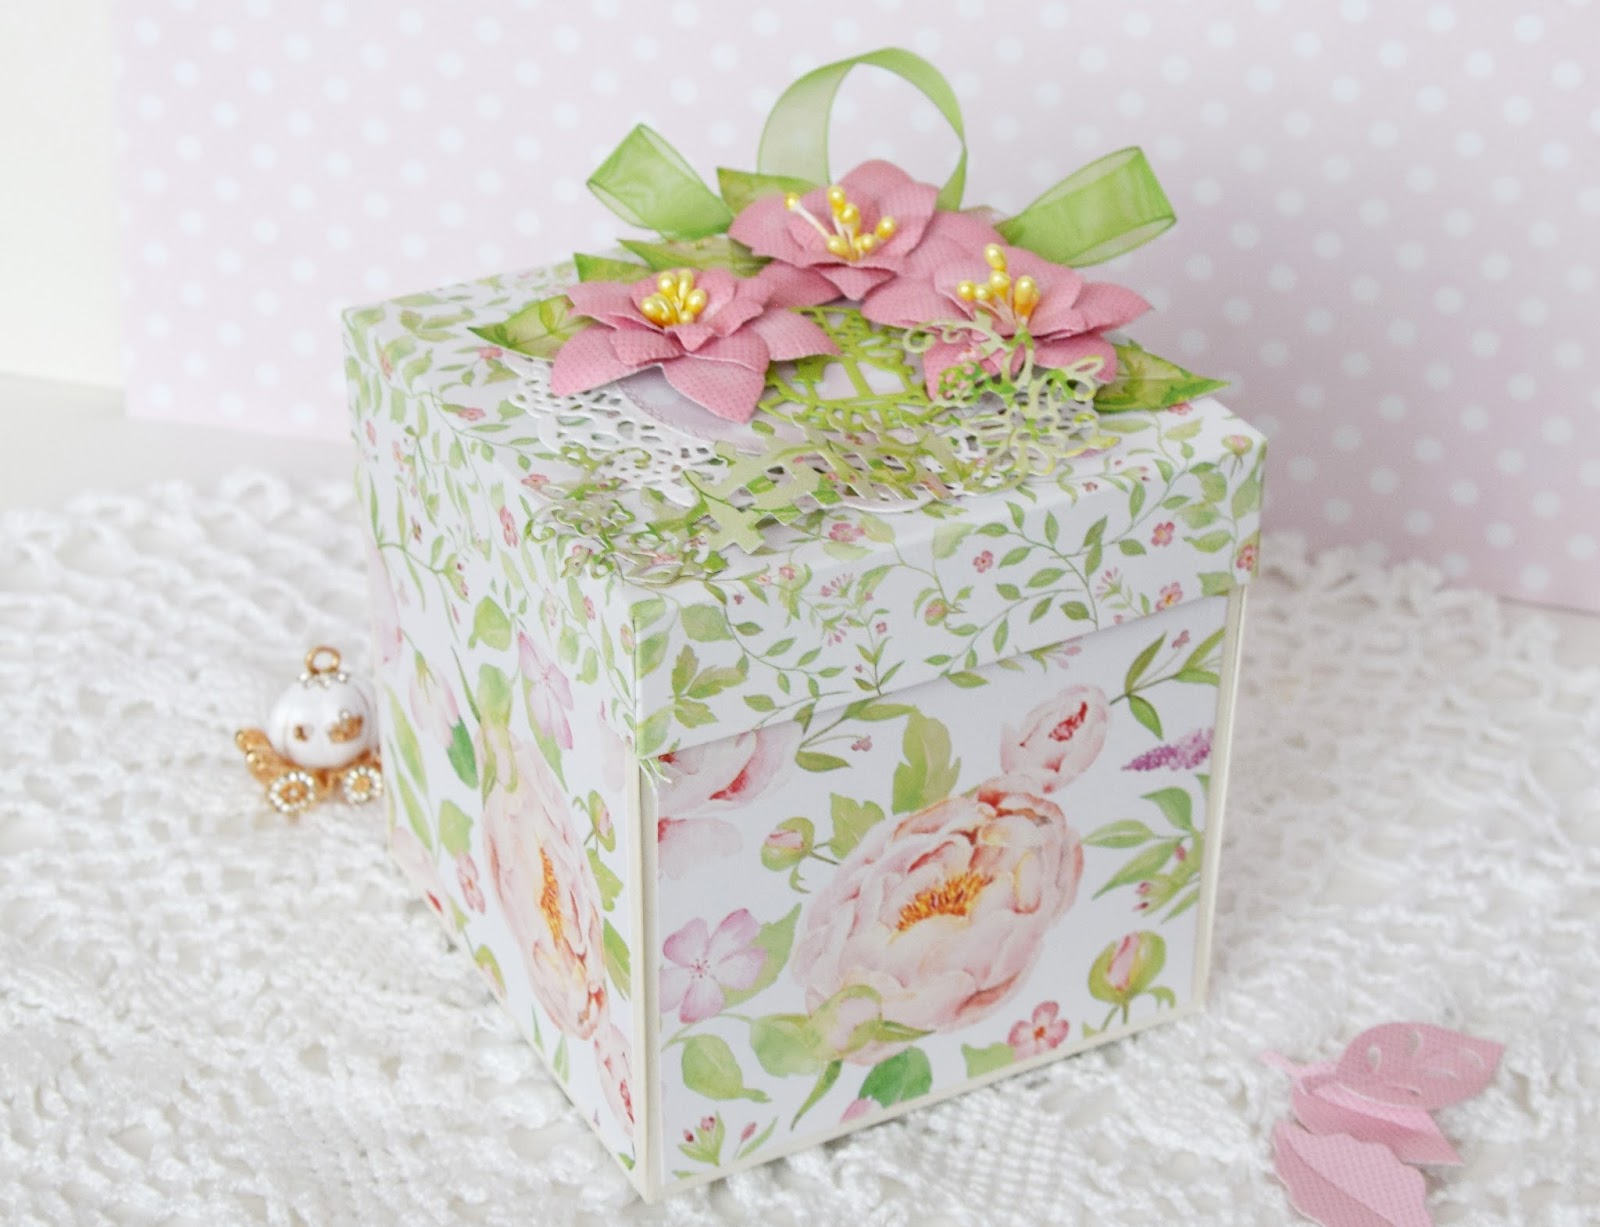
 I have created a simple yet colourful card with this die. Cut out three die cuts from Fancy Bookmark die in similar shades of pattern paper. I have taken orange in my card.
Cut out the top of the tag .
Cut out the card base in white card stock measuring 5.5 inches x 4.25 inches.
Add the cut bookmarks with foam tape as shown.
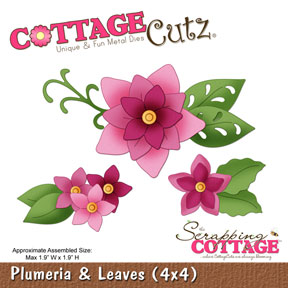
Cut out the Plumeria flowers from the CottageCutz Plumeria Die in different colours as shown. Layer them size wise and adhere to the base of each tag. Add a pearl as centre.
Add a twine on top.
Add a sentiment in black from the CottageCutz Best Wishes Die.
So you see, this one die is so good that it can be used for many projects.
Do leave your comments. I love to read them.


It's Saturday today and I'm Anita here with a super fun post for CottageCutz. This May, we have come up with many new dies and it's called This and That. It's a super collection and you will certainly love all the new release dies.
I'm using the CottageCutz Fancy Bookmark die today to create many fun things. This die is so good that you can create not only bookmarks but also tags and labels and even backgrounds for cards. Look at my projects and you will know how.
Bookmarks or Tags

Distressed Bookmark/Tag

- For the first tag here, have cut out the die cut in white card stock and distressed it well with Candied Apple, Mustard seed and Spiced Marmalade Distress inks. Spray some water and heat set.
- Cut out the Bird design two times in black card stock and adhere to the tag/bookmark as shown. Add ribbon on top.
Rose Bookmark/tag

- Cut out the die cut from Fancy Bookmark die in white card stock and distress with Spun Sugar and bundled sage distress ink.
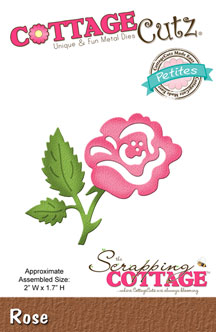
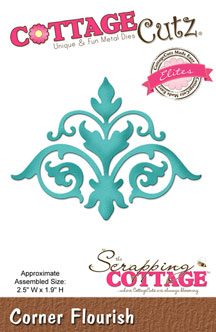
- Cut out three designs from CottageCutz Rose(petites) and the rose design given with the with bookmark die. Shade with distress inks in pink and green. Adhere to the bookmark. Add sequins. Adhere corner die cut from CottageCutz Corner Flourish die on top.
Monochromatic bookmark/tag

- Cut out two die cuts in white card stock from the Fancy Bookmark die.
- Tear one of them in half and distresswith Peeled Paint Distress ink.
- Add to the left side of the bookmark.
- Colour the butterfly with Espresso Distress ink and adhere onto the tag as shown.
Card with CottageCutz Fancy Bookmark die.

Cut out the top of the tag .
Cut out the card base in white card stock measuring 5.5 inches x 4.25 inches.
Add the cut bookmarks with foam tape as shown.
Cut out the Plumeria flowers from the CottageCutz Plumeria Die in different colours as shown. Layer them size wise and adhere to the base of each tag. Add a pearl as centre.
Add a twine on top.
Add a sentiment in black from the CottageCutz Best Wishes Die.
So you see, this one die is so good that it can be used for many projects.
Do leave your comments. I love to read them.