Showing posts with label Cottage Cutz Cross-Stitched Circle Set. Show all posts

Thursday, July 18, 2019

Birthday Mice! New Release

Hello Scrapping Cottage Friends!!

It is Pam creating with you on the blog today!

It is NEW RELEASE TIME!!!  We have an amazing new release for birthdays.  These new dies will make your birthday cards unique and special! Check them out in our store they are now 25% off!

I am using 3 of the dies that features the sweetest little mice!
Designer Steps:

 1.  Using the Mouse w/cakeBirthday Mouse Cupcake and Mouse w/cupcake dies cut them out in white card stock
 2.  Color all of the pieces using your favorite markers or inks.  Assemble the pieces
 3.  Cut a Green Polka Dot DP 4 x 5 1/4 and then cut out 3 circles using the Cross Stitch Circle dies
 4.  Cut a piece of blue flowered DP the same size as the Green Polka Dot DP.  Glue the blue DP behind the green polka dot DP
5.  Add the little mice to each of the circles as shown.  Glue to a white A2 card base then add the sentiment and rhinestones

CottageCutz Products


Make sure to check out this wonderful new release!!  It will make your birthday cards look fantastic!

Blessings
Pam


Thursday, May 11, 2017

Baby Monkey!

Good Morning Scrapping Cottage Friends!

It is Pam creating with you on this beautiful Thursday!  I just thought I would share another use for this cute little new release Baby Monkey die!  I always need cards for enclosing gift cards. So I found this really easy design on Youtube.  I altered some of the measurements so that it would fit into a A2 envelope.   It seems now a days that a gift card is all anyone wants especially my older nieces and nephews.  I must admit it is much easier then trying to please them but it does take some of the fun out of gift searching!


Designer steps:

1. Use a light brown card stock base 4 1/4 x 11 and score at 4 1/2, 5 1/2 and 6 1/2.  Use your bone folder and crease the card as shown.


2. Flip the card over and put a strip of strong tape as shown then press together.  This will form the card holder.

3. Use the second to the largest Pierced Rectangle die which is the same wideth as a gift card and make the cut through the mountain fold.


4. And now it is time to decorate the  card!  Cut a white 4 1/4 x 4 1/4 piece of white card stock and emboss it with cupcakes.  Glue to the front of the card


5. Using the Baby Monkey with Balloons die cut all the pieces of the monkey and balloons.  Use brown, tan, and black for the monkey.  Before you assemble the monkey sponge the edges for more depth
6. Glue all the pieces together adding small black pearls for the eyes

7. Cut the balloons using designer paper and the strings out of black card stock
8. Cut a strip of light brown card stock 11 x 1 inches this will make a band around your card to keep the gift card inside it good and safe.   Just take your band and fit it around your card and make a tiny pencil mark as to where you will place the tape

9. Cut a Cross Stitched Circle out of designer paper and glue the monkey and balloons to the circle.  Then attach the circle to the front of the band set aside

10. On the inside of the card cut a Double Stitched Rectangle and glue to the center of the inside of the card
11. Using designer paper cut another set of balloons, string and the word Celebrate glue all to the inside of the card


Here are the Cottage Cutz Products used:


I hope you enjoyed this project and that it will inspire you to make a card with an enclosed gift card!

Blessings and thanks for stopping by!
Pam


Thursday, April 27, 2017

Koala Baby!

Good Morning Scrapping Cottage Friends!!

It is Pam sharing with you today.  Spring always brings new life!  It is so much fun to see all of the new baby birds all around our neighborhood.  Plus all of the other new born animals such as the fawn, fox and squirrels!  That is what inspired me in doing this sweet card. I am using one of Cottage Cutz new baby die sets called Baby Koala with Blanket.


Here are my design steps to make this adorable little keepsake!
 1. Use the large 
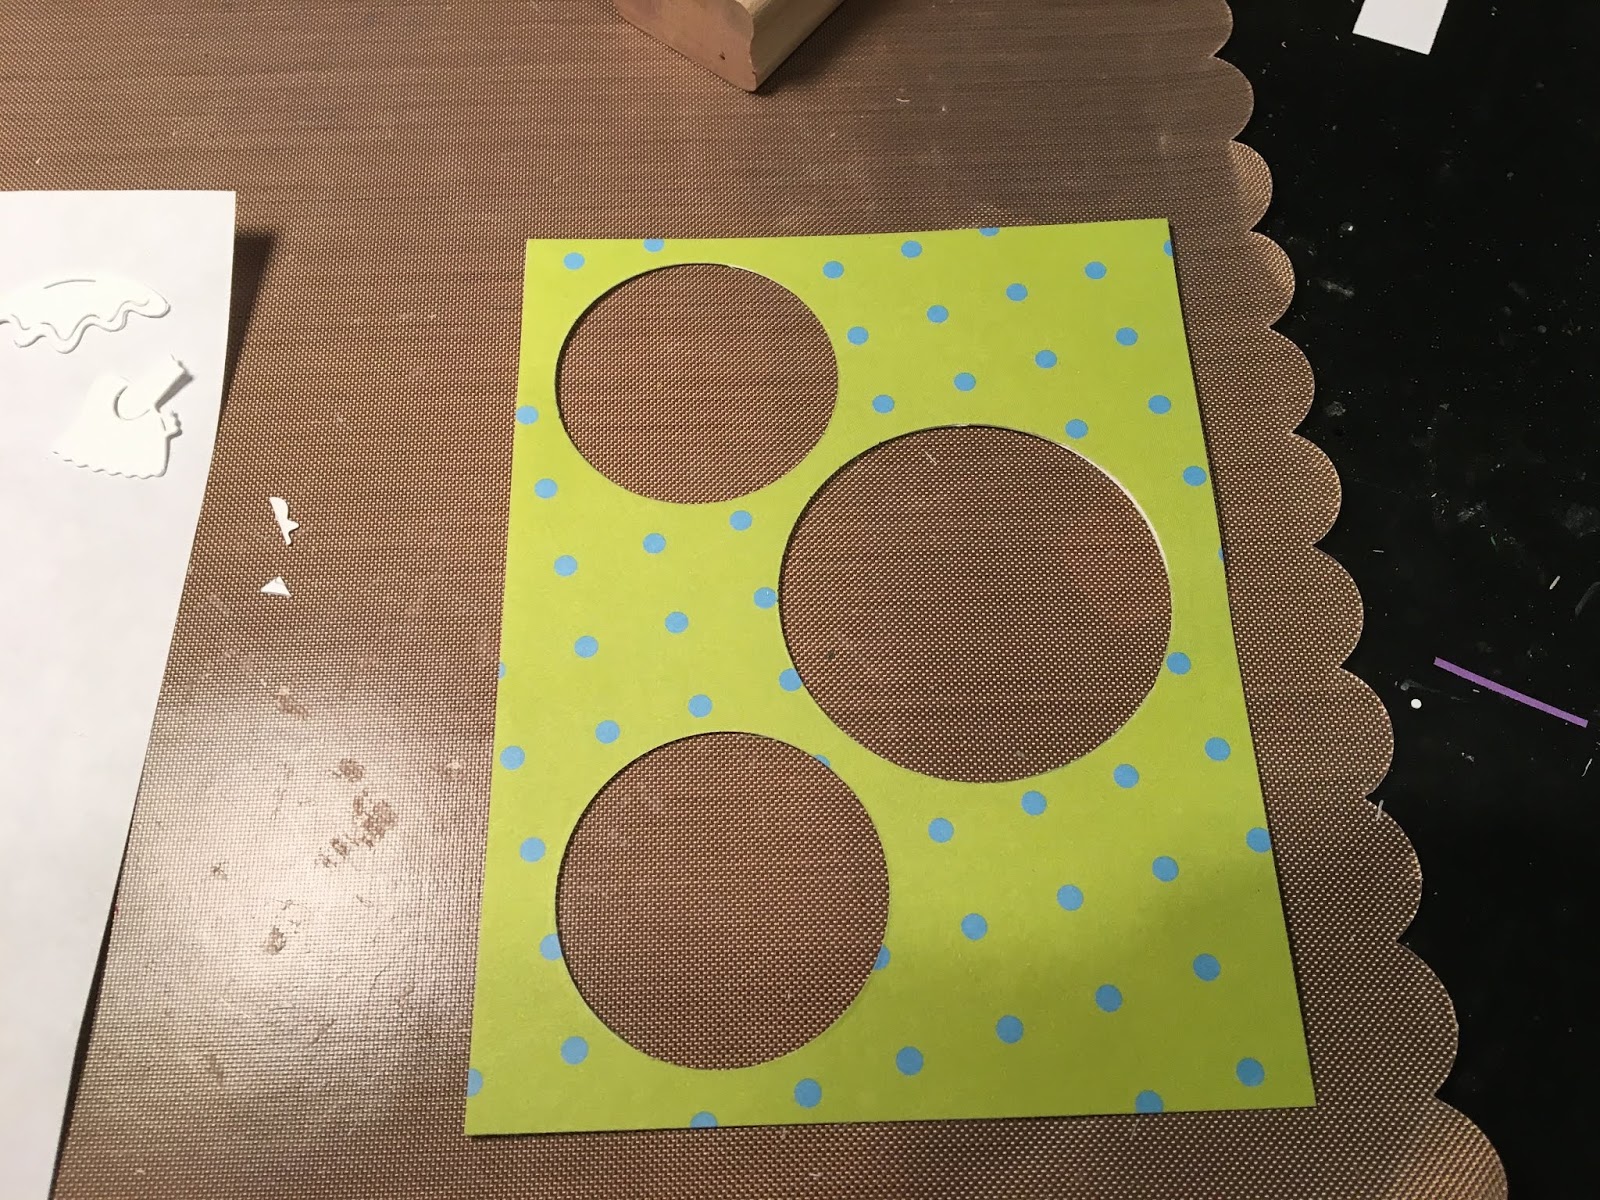
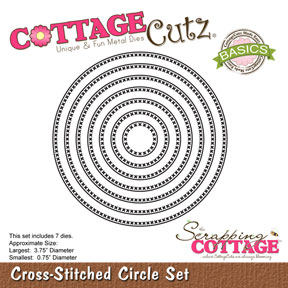
Double-Stitched Rectangle Die to cut out the blue designer paper and then cut a slightly larger piece of piece of pink card stock to mat it. Next cut out pink designer paper using the second largest circle from the Cross-Stitched Circle set.  Using white card stock cut out the doily using Tea Time Doily.
 2.  Glue down the pink mat in the center then adhere the blue designer paper on top
 3. Slightly offset the doily and glue down add the pink designer paper circle to the top as shown
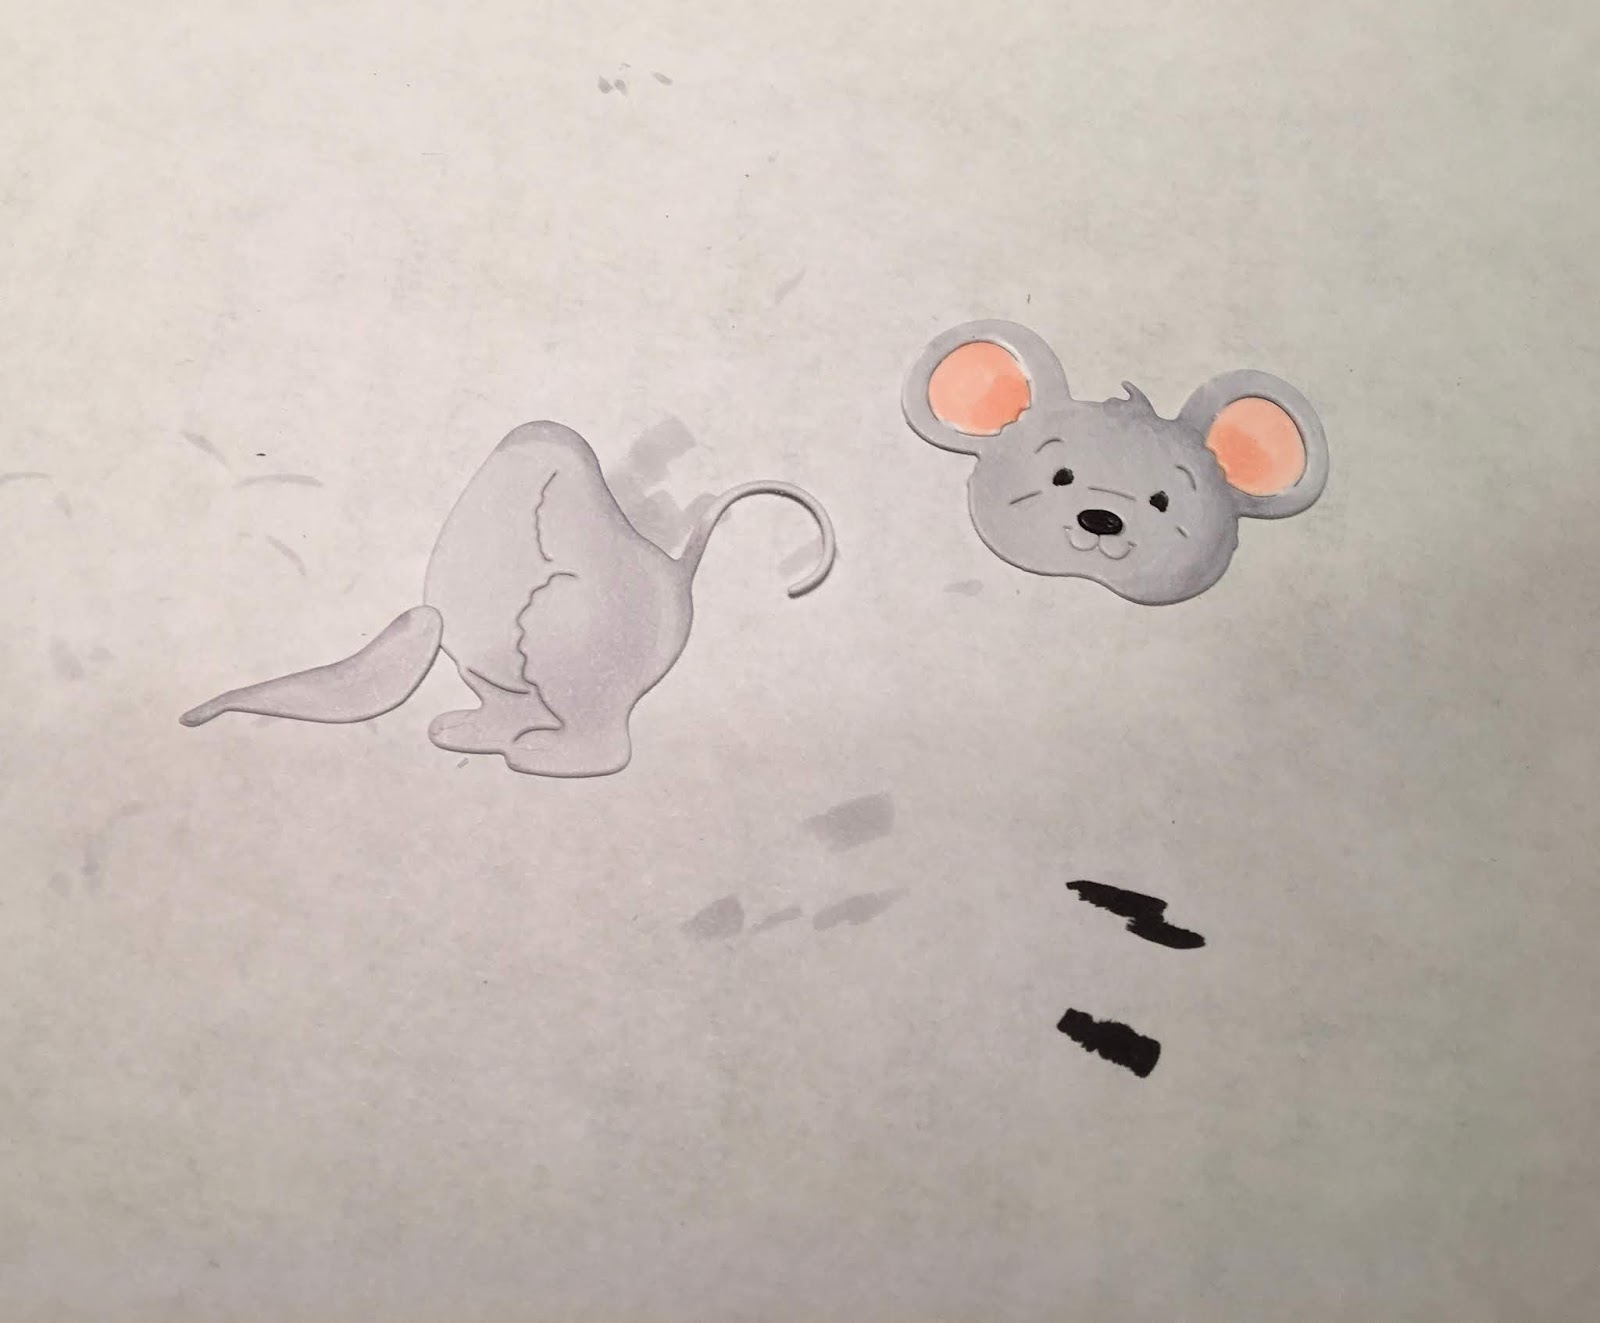
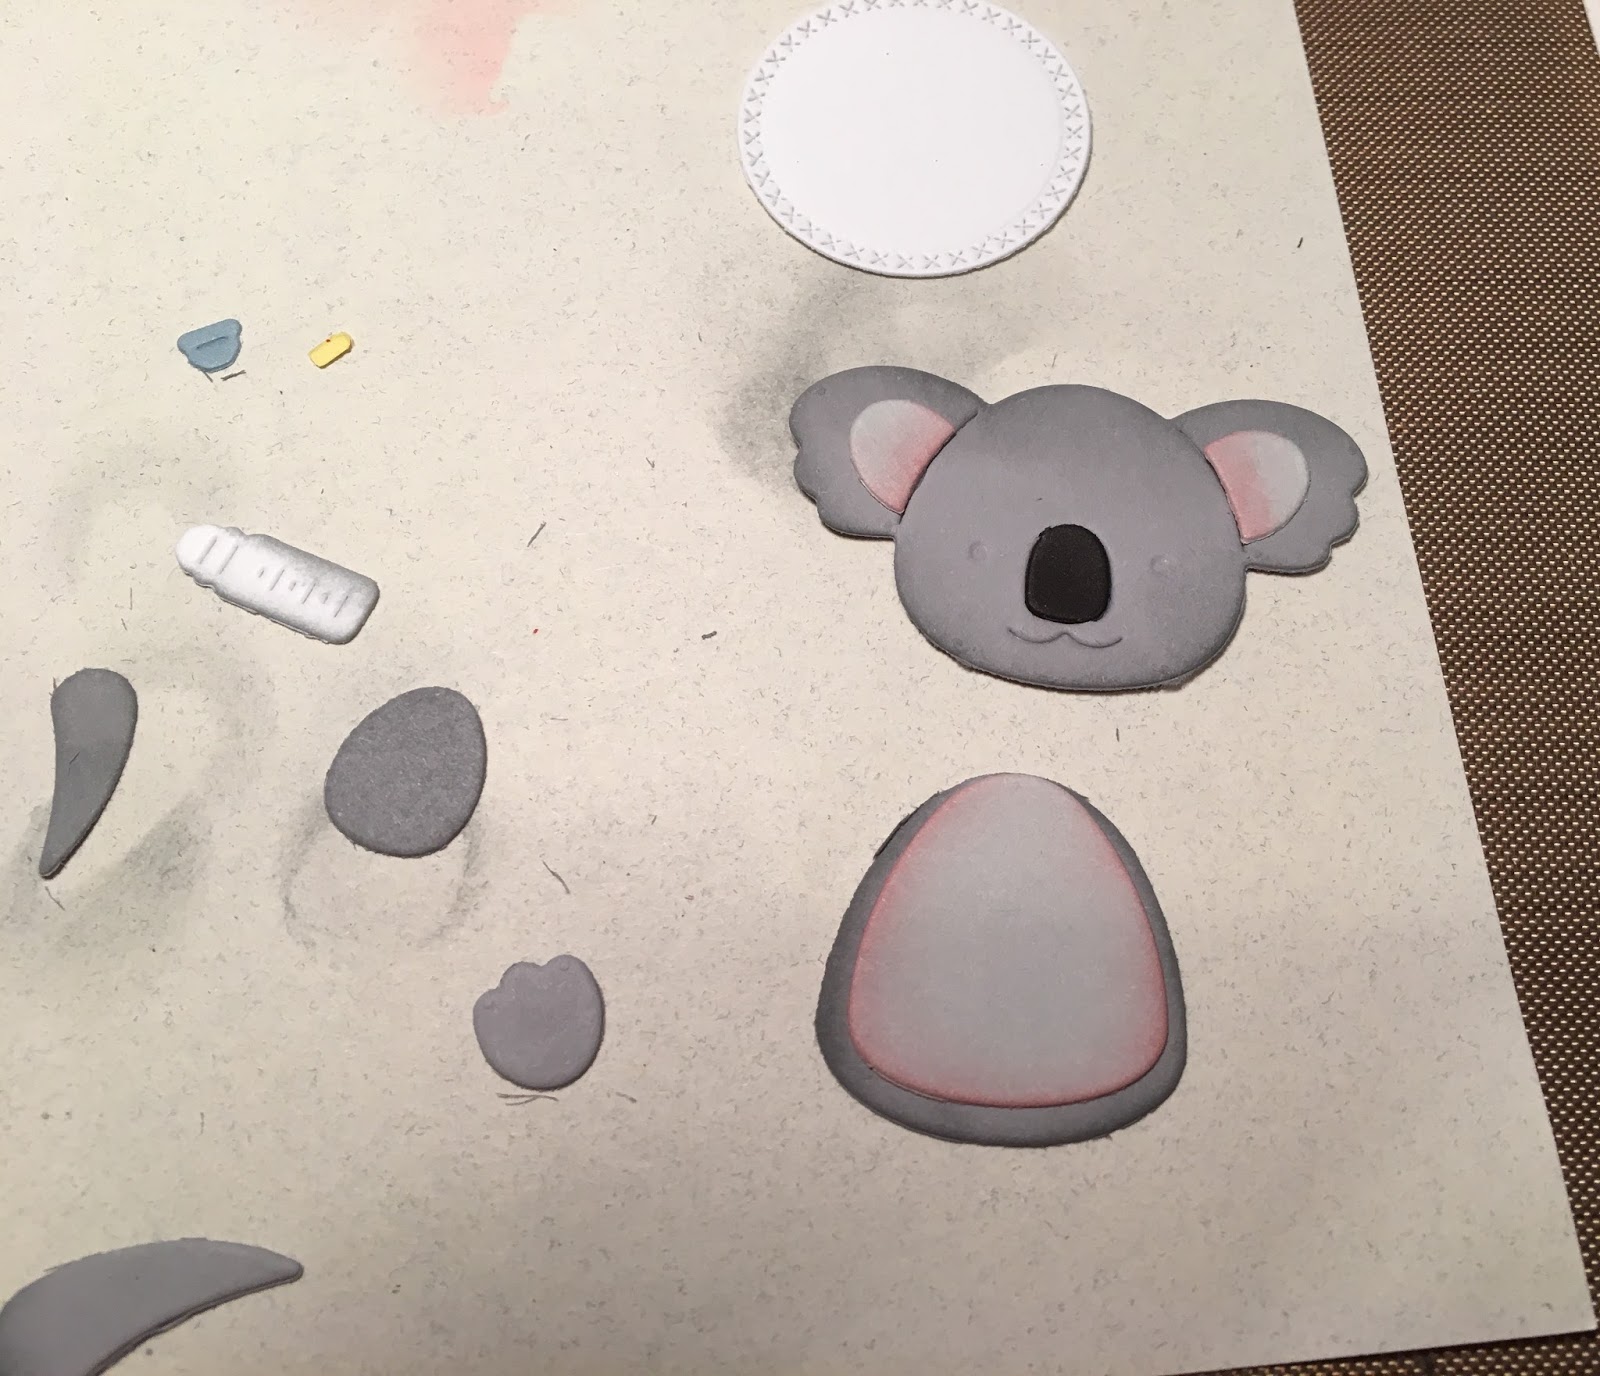
 4.  Cut out all the pieces of the Baby Koala with Blanket.  Use dark gray, light gray, black, white, yellow and blue card stock for the pieces.
 5. Using gray, blue and pink ink lightly sponge around the edge of the Koala bear pieces, the blanket and bottle
 6.  Use the second to the smallest Cross-Stitched Circle die and cut a white piece of card stock then stamp on the sentiment
 7.  Assemble all of the pieces by using a narrow tip fast drying glue.  Use small black pearls for the Koala's eyes
 8. Pop up the Koala Bear and the bottle onto the pink designer paper.  Pop up the sentiment on the upper right hand corner add a star button and bow

Cottage Cutz Products Used:


Thank you for stopping by today and I hope you decide to make a new mom very happy with one of these darling new release baby dies!

Blessings

Pam