Showing posts with label Ben Up Up and Away. Show all posts

Saturday, April 01, 2017

Birthday Ben + Sketch


Hello Scrapping Cottage friends! Thanks for taking the time to stop and visit today. It's Mary Marsh here bringing you the Saturday edition of the Blog.

A couple of months ago there was a new release of the cutest little bear stamps & coordinating die sets. Adventures of Chloe & Ben have been featured by many of the Design Team. If you haven't seen them before take a look back on the Blog.

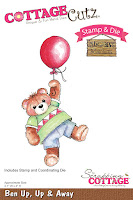
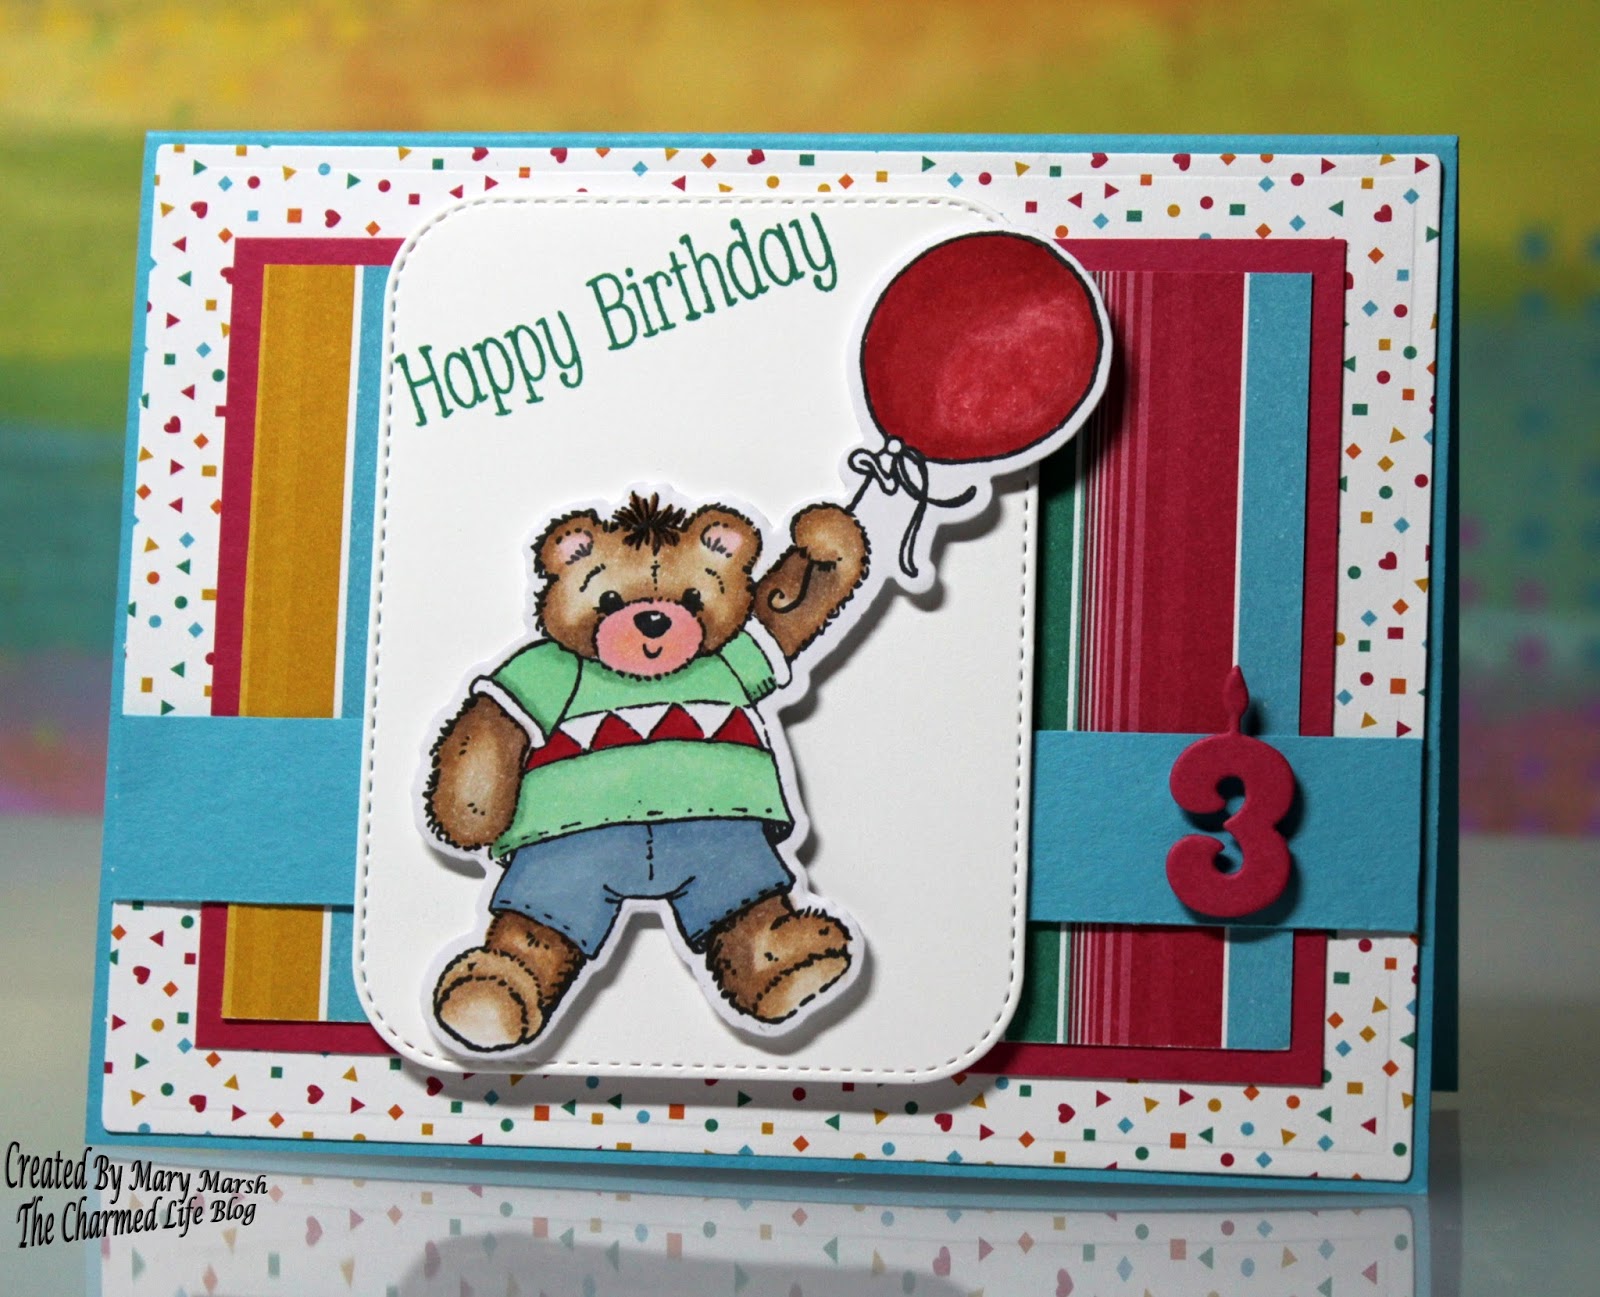
Today for your viewing pleasure, I am showcasing one of those dies.  I present Ben, Up Up and Away. He will be the star of my birthday card. So without further delay, let's get started on how I created my card.

Step 1: I used Tuxedo Black (Memento) ink on  X-Press It Blending cardstock to stamp the image. I always stamp 2 just in case I make a mistake in coloring.  Used both Copic Markers and Prismacolor pencils to color and this cardstock works great with both these mediums.

Copics used: R27, R29 (red), B93, B95 (blue), YG 41, YG 45 (green) and R20 (blush)
Prismacolor Pencils: PC1082, PC947 (brown) and PC928 (blush)

After coloring I cut Ben out with the coordinating die. It's included in the set.
 

Step 2: My layout decision was next. I looked at a couple of different sketches and finally settled on this one. It allowed me to use some bright and festive patterned paper and also had a separate layer where Ben would have the center stage.
When I work with a sketch, I print it out and then figure out the sizes of my panels. My card base and first layer are the easiest.
Turquoise Card Base: 5 1/2" x 4 1/4"
1st Patterned Paper layer: 5 3/8" x 4 1/8"

Then I look at my printout and guesstimate how much of a border will be around the next layer. In this case, I thought 1/2" was about right. I cut a piece of scrap paper to lay it down and check to make sure it works. Then I actually cut the cardstock and patterned paper I will use.
Neon Pink cardstock layer: 4 5/8" x 3 3/8"
Striped Patterned Paper Layer: 4 3/8" x 3 1/8"

For the image panel, I again take a piece of scrap paper and fold it roughly and make sure the borders on my card look like the borders on the printout. Then I used the 2nd largest CottageCutz stitched stitched rounded rectangle die and cut my panel. I stamped my birthday sentiment in an emerald green ink.
ImagePanel: 2 5/8" x 3 5/8"

For the long rectangle piece running the width of the card, I used turquoise cardstock. I thought of ribbon but I didn't have any turquoise that worked on this card. The sketch has a bow on this panel. But, I decided to use the CottageCutz Number Candles die and add a "3" for this element. I need a birthday card for a 3 year old. So this worked out perfectly for me.

Step 3: Now that everything is cut and stamped, it's time to assemble my card. I used dimensional adhesive on the image panel and also on Ben. It adds depth and interest to your card. I did the same for the #3.

And that is my card for this Saturday. I hope I have given you another idea of a way to use these new stamp & die combo sets. See you next Saturday!

Dies I used to Create Card:
http://www.scrappingcottage.com/cottagecutzbenupupandawaystampanddie.aspx
 
 
http://www.scrappingcottage.com/cottagecutznumbercandleselites.aspx
 
http://www.scrappingcottage.com/cottagecutzroundedrectanglesetbasics.aspx


Monday, February 20, 2017

Ben Up, Up and Away

Lois here today with a card I made using one of the new Chloe and Ben die/stamp sets.  I decided that I wanted to make another card using the layout from last week's Sketch Challenge on Splitcoaststampers, using Ben Up, Up and Away.

Here is the layout from the challenge. . .


. . . and here is my card:


Supplies for my card are:

Red cardstock - 5 1/2" x 8 1/2", folded in half at 4 1/4", three small panels 1" x 1 1/4", scrap for label
White cardstock - three small panels 7/8" x 1 1/8", scraps for Ben and label
Red/white polka dot patterned paper - 5 1/4" x 4"
Scraps of blue, red, green cardstock for balloons
Ink - Memento Tuxedo Black and Lady Bug
Copic markers and White gel pen
Copic Colorless Blender
Word Window punch and Modern Label punch
Foam pop dots, tape runner
CottageCutz dies - Ben Up, Up and Away; Calendar Icons

To begin my card, I die-cut three balloons from the Calendar Icons die, coloring the strings with a black Copic marker.  I then stamped, colored and die-cut Ben.  A little hint for getting the "fuzzy" look to Ben's fur.  After coloring his fur (but before coloring anything else), squeeze a little bit of Colorless Blender onto a piece of terrycloth.  Gently dab it onto the fur.  This will remove some of the color in places, giving it an uneven look.  Should the ink bleed into the white areas, you can "repair" that by dabbing on the white gel pen after the ink is completely dry.  I had to do that around his feet.


After cutting the small red and white panels, I assembled them by gluing the white panels to the red panels and popping the balloons in the centers with the foam pop dots.


I stamped the sentiment onto the white scrap, punched it out with the Word Window punch (as well as punching out the Modern Label from red cardstock) then assembled my card, using the layout as my guide.  It went together quite quickly.  Here again is my completed card.


The CottageCutz dies used on my card are: